Had a request over at Benno's Figures for a tutorial on how I've been doing my bases for the 1/72 project.
My main priority when it comes to basing is to get multiple textures on the base. The ground I walk around on is typically a lot more complex than the "layer of sand" approach I see on lots of wargaming figures. I figure that if I can replicate that complexity of texture, the bases will look more real. Consequently, there's a number of steps here. Bear with me if this is more detail than you can stand ;)
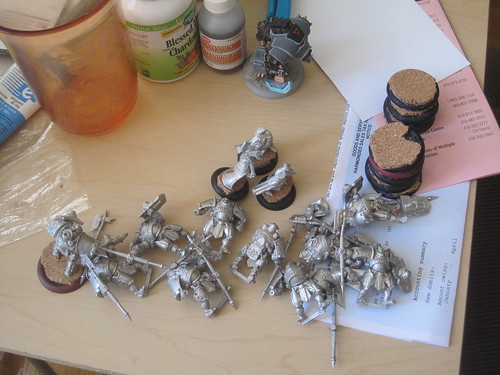
Step 1: Glue figures to base (I'm using some leftover bases from an earlier project that were professionaly laser cut, but am just as likely to use whatever scrap I have lying around, and my cheapy jigsaw from Canadian Tire).
Step 2: Gloss varnish the glued figs, and try to bring the varnish down over the figure's base and on to the unit's. Although I've not had problems with paint peeling from the soft plastic used for 1/72 figs, they have a reputation. By bringing the varnish coat down, I'm hoping to avoid this problem.
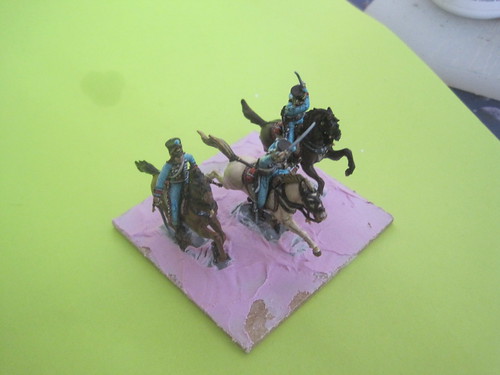
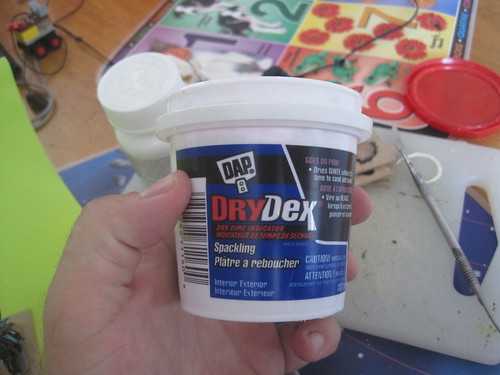
Step 3: Using drywall filling compound, smooth out the transition between the figures and the unit base. I find this tends to diminish the "ants on a log" effect. It also puts down the first layer of texture on the base. The stuff I've been using goes on pink and dries white. It also has a kind of rubbery texture that's easy to work with.
Step 4: Dribble, spread and otherwise distribute glue (white craft glue, the same stuff the cub uses for art projects) around the base, being sure to favour those areas that didn't get filler compound, but also to try and further break up the transition between figure and base. Then, dip in sand.
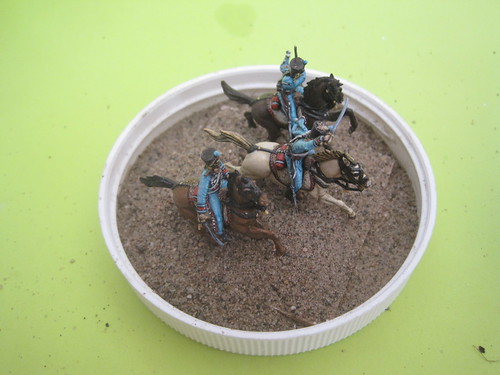
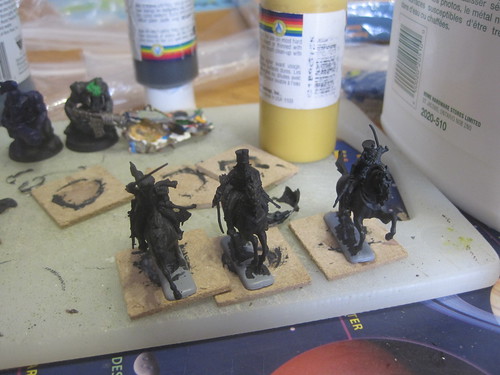
Step 5: Second sand dip. I find after five minutes, the glue starts to seep up around the sand (or maybe the sand settles?). You can sort of see the gloss of the glue in the bottom of this picture:
The effect is that the first layer of sand on the base gets damp with glue, so I dip it again, then let it dry completely. This isn't critical, but it does ensure good coverage.
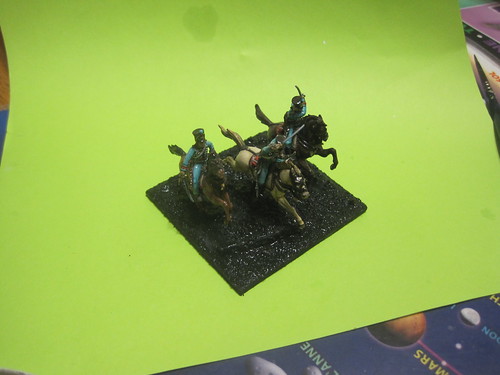
Step 6: Once the glue is dry, paint the entire base black. I use the same black gesso I use to prime the figures, but any black paint will do. This helps the sand and drywall compound bind, and adds to the overall durability of the base.
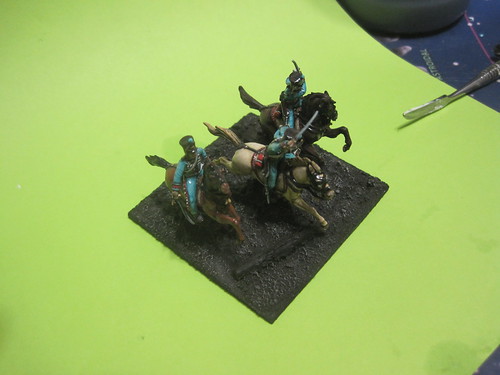
Step 7: Paint the entire base brown. I use craftpaint for this (Delta Ceramcoat).
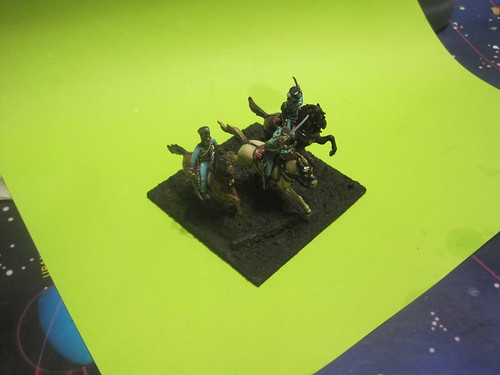
Step 8: Drybrush. I've been using a cooler grey-brown on these figs, but generally, you're looking to bring out some of the differences in texture between the filler and the sand, so the actual colour is a matter of taste and intent.
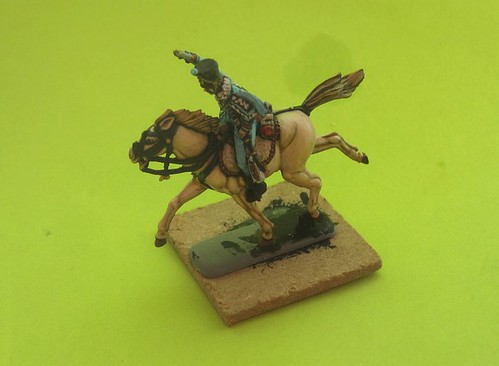
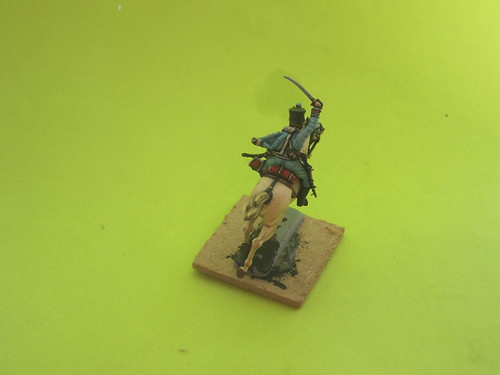
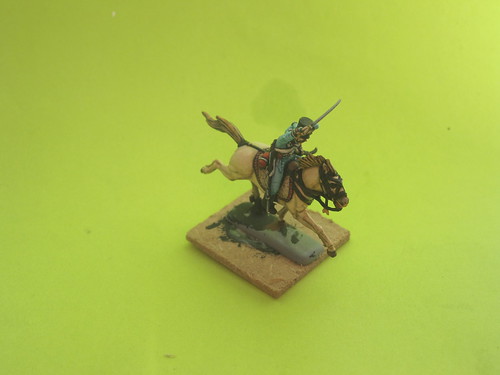
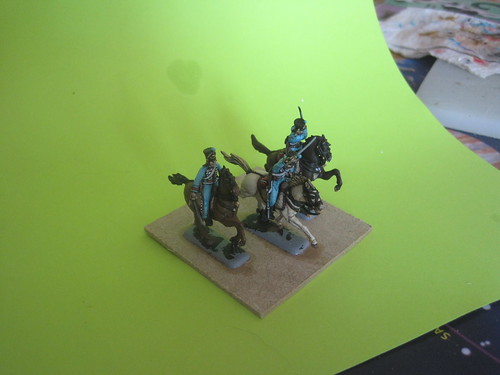
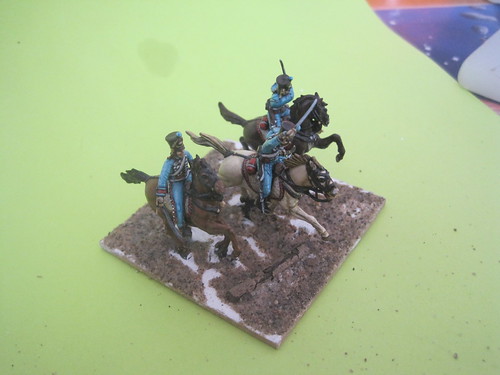
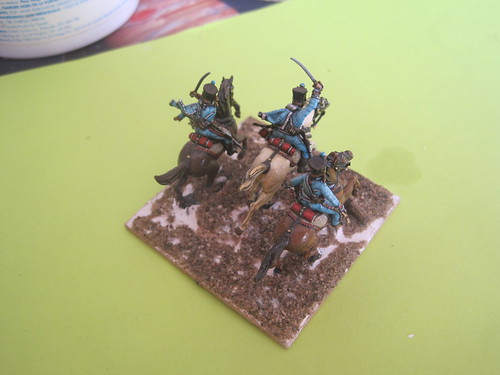
Step 9: I put down another layer of glue, and then dip in green flock. I try to spread the glue in a way that it suggests what's going on in the base. For example, with the Hussars, I've put more at the front of the base, the idea being that the galloping horses are tearing up the turf and leaving exposed earth behind. After five minutes or so, once the flock settles (as in step 5) I do a second dip. Unlike the second sand dip, however, I use a different material. This time, instead of using flock, I use static grass. This gives me a kind of layered texture to the basic vegetation, and seems to produce a better overall effect.
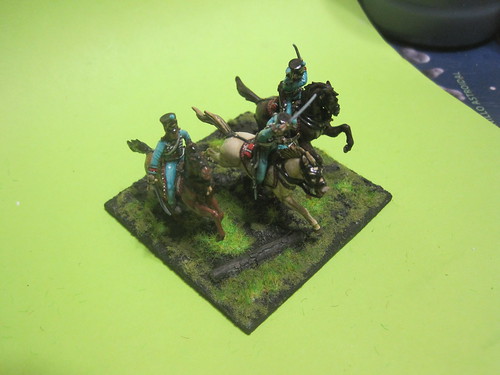
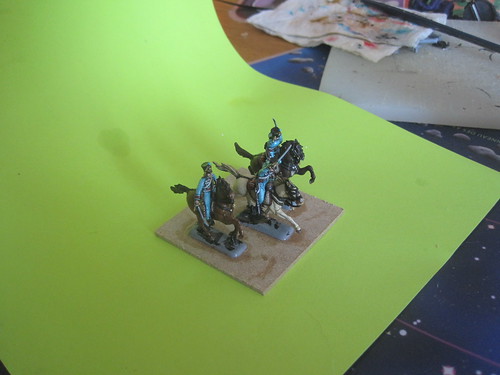
Step 10: Detailing. I'll generally try to include a few things on each base to break it up and draw attention - in this case the log, plus a few other things that didn't show up in the above picture. I'll get a good shot in the morning when everything is dry. I usually use a matt spray over the whole base, but I need to pick up a new can, so the Hussars will have to stay shiny for now.