Showing posts with label 1/72. Show all posts

Sunday, March 19, 2017

Only took a few years

Hi all,

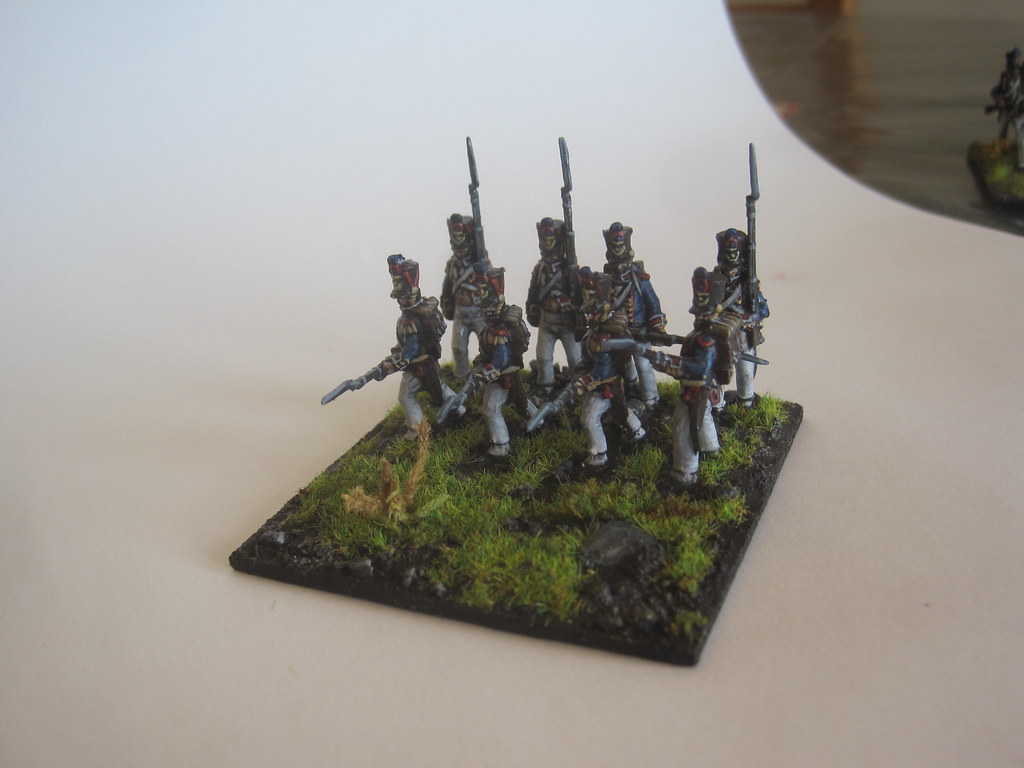
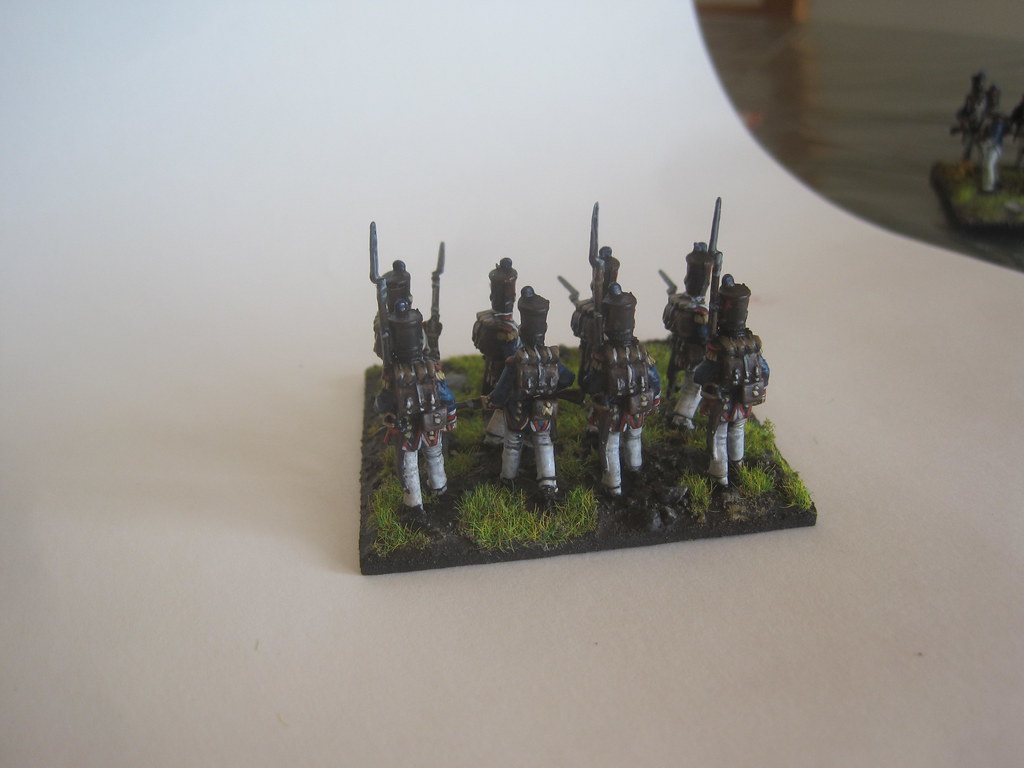
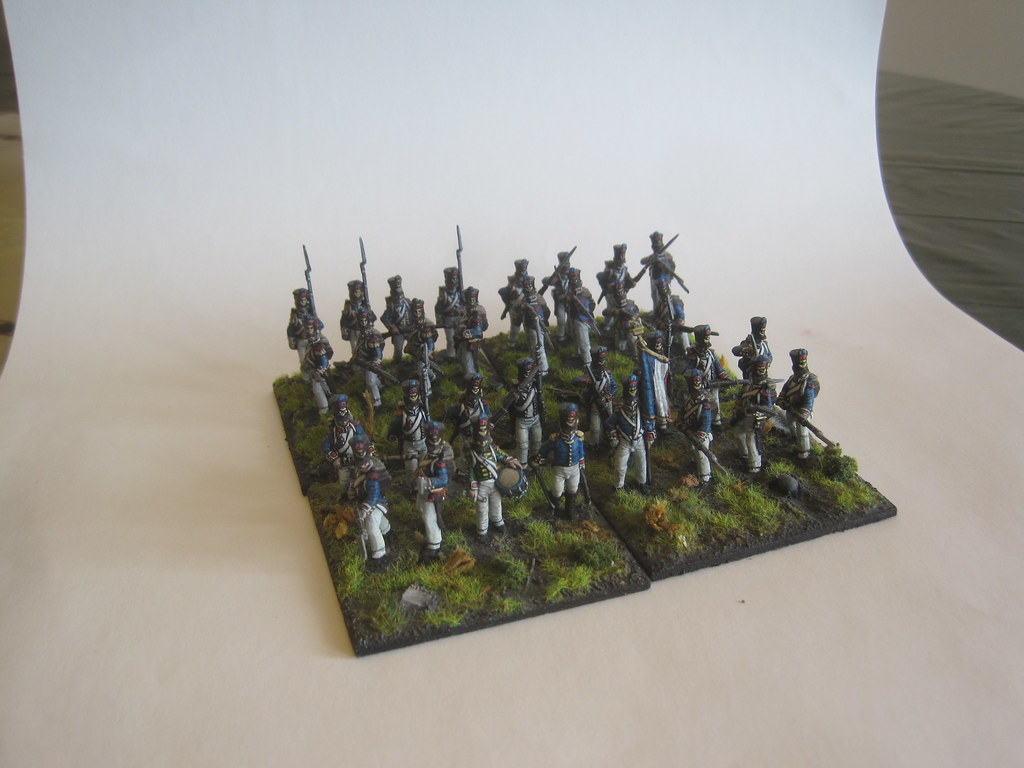
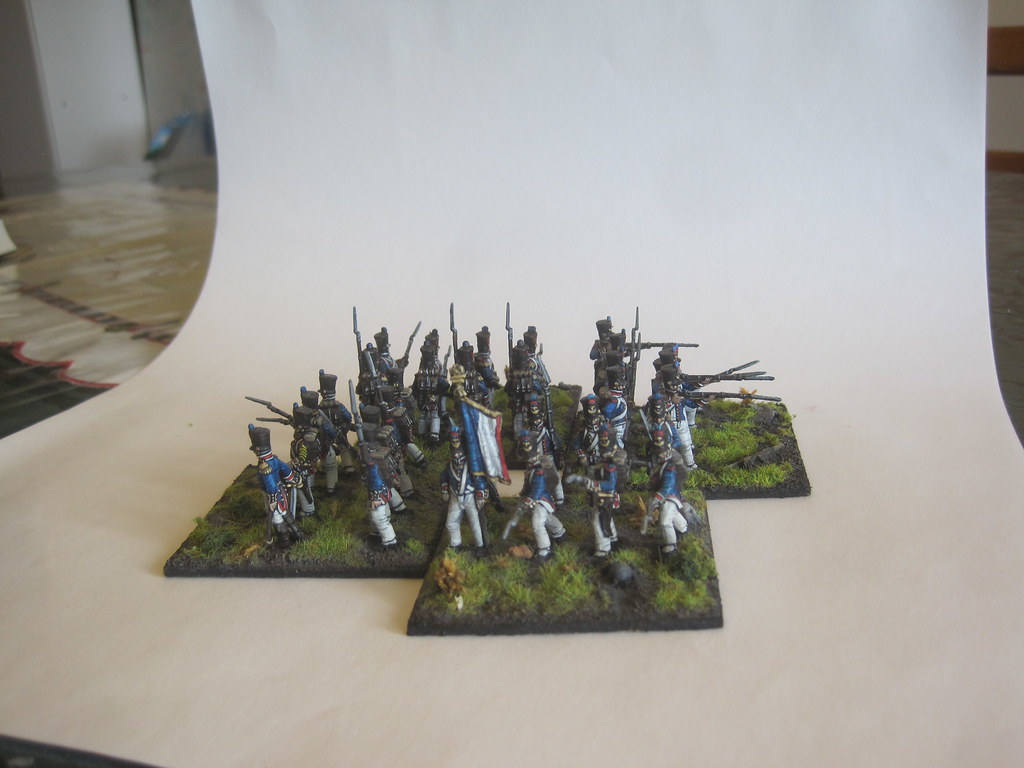
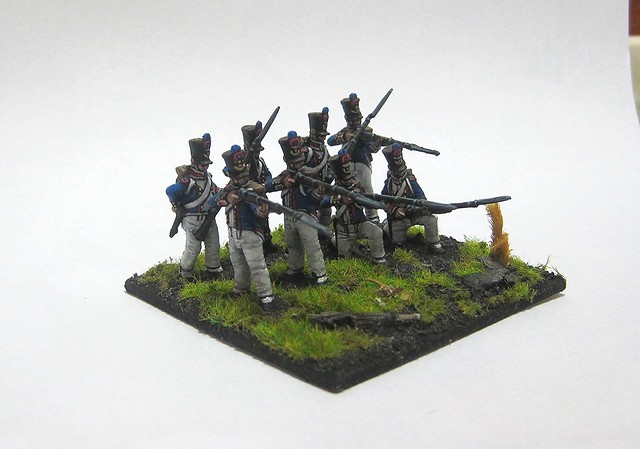
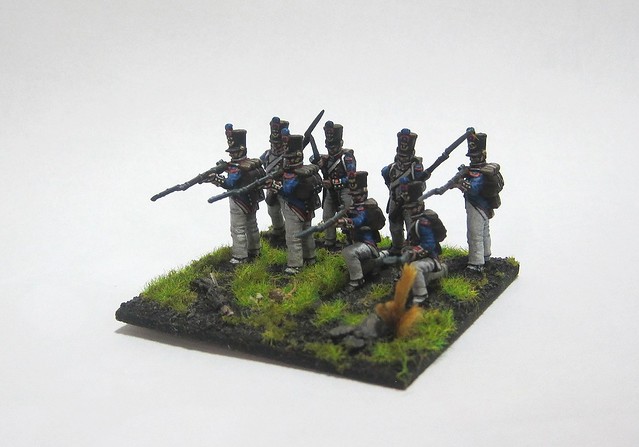
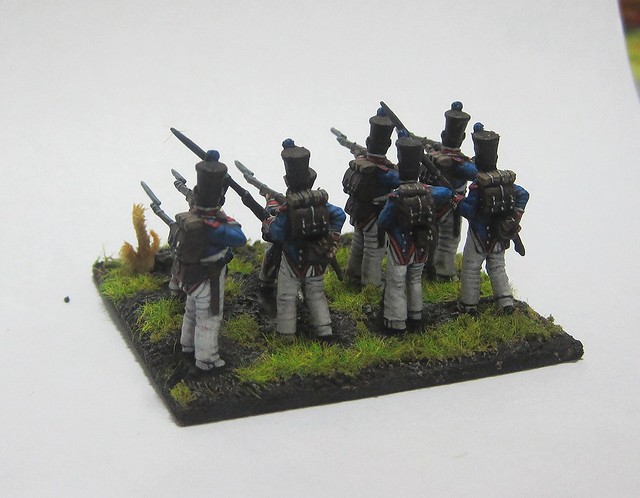
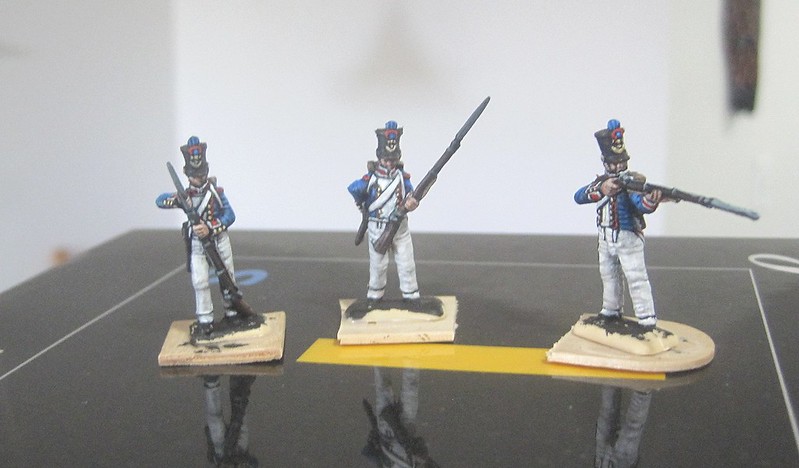
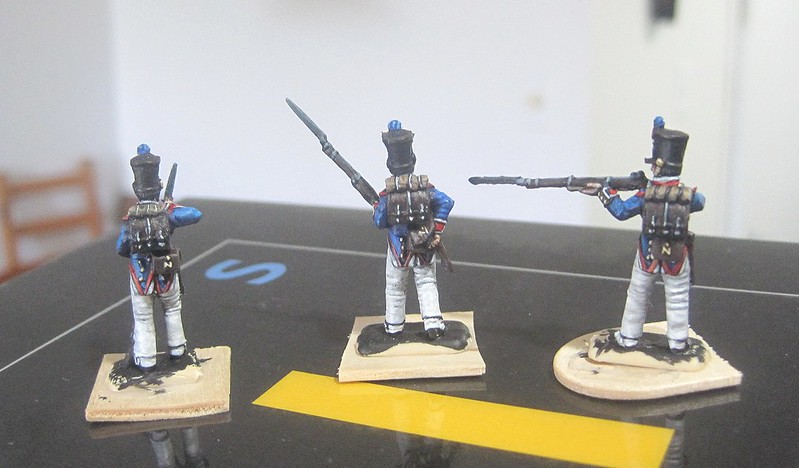
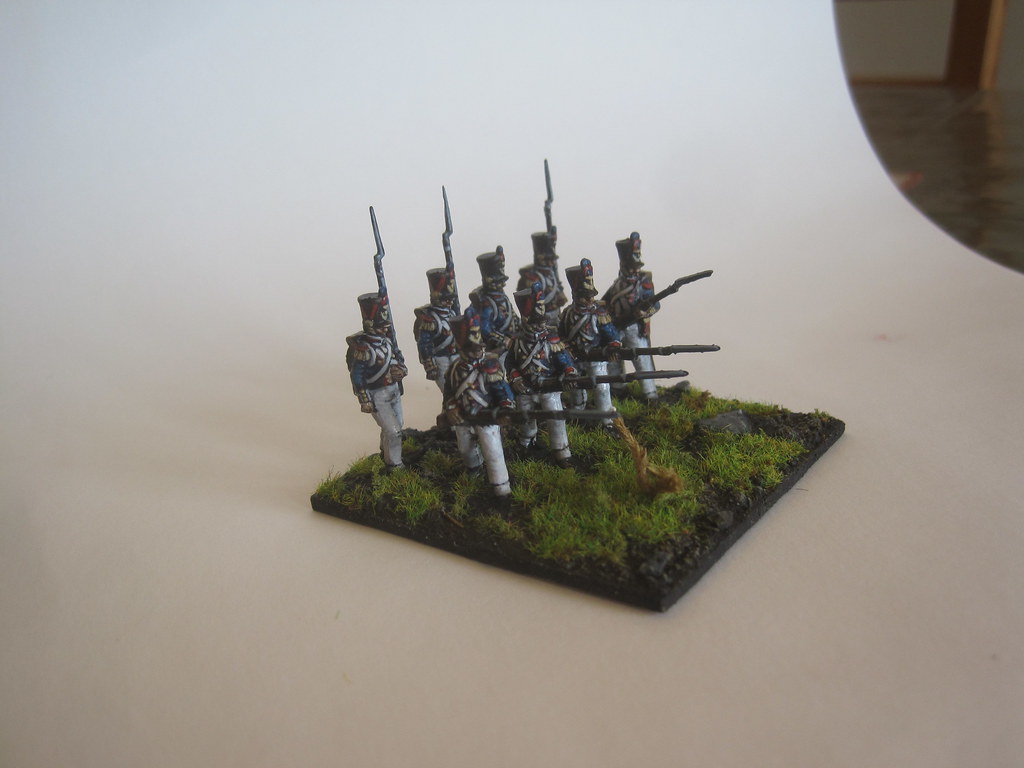
So, many (many) moons ago, I started picking away at some 1/72 French, part of my ongoing existential crisis about what scale in which to play the period.  Finally, after some internet-based inspiration (I'm look at you Johnny Rosbif) and a trip to Benno's Forum, I finished up the last base for the first complete unit of French.

IMG_8822

IMG_8823

IMG_8824

The original plan was to use these for Black Powder, if and when I actually get enough painted up to play.  Basing is a little unconventional for those rules, but should work just fine.  I stuck with the larger, almost element basing I started out with, for much the same reason - it looks good, and deals with the overhang that results from the use of multiple poses in 1/72 ranges.

IMG_8826

IMG_8827

IMG_8829

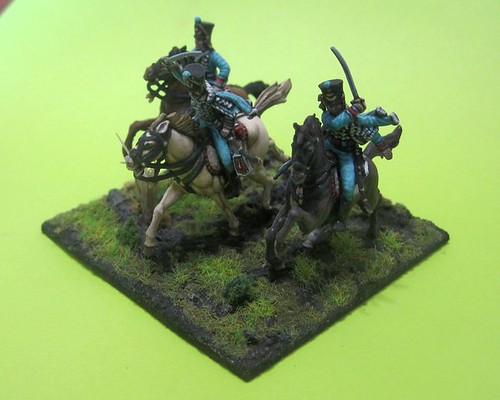
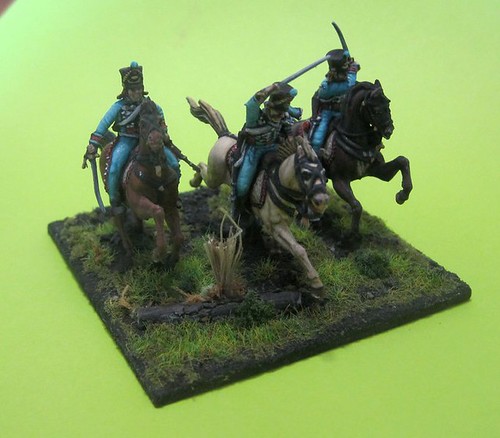
I've got some voltigeurs to use for skirmish markers, and have some French Hussars up and prepped as a next step.  I figure I'll paint these guys until I start to get bored, them maybe go back to some GW stuff.  In the mean time, I'm scratching a historical itch, and enjoying myself in the doing.

FMB

Friday, March 17, 2017

Sprog wars: The revenge of Sprog.

Hi,

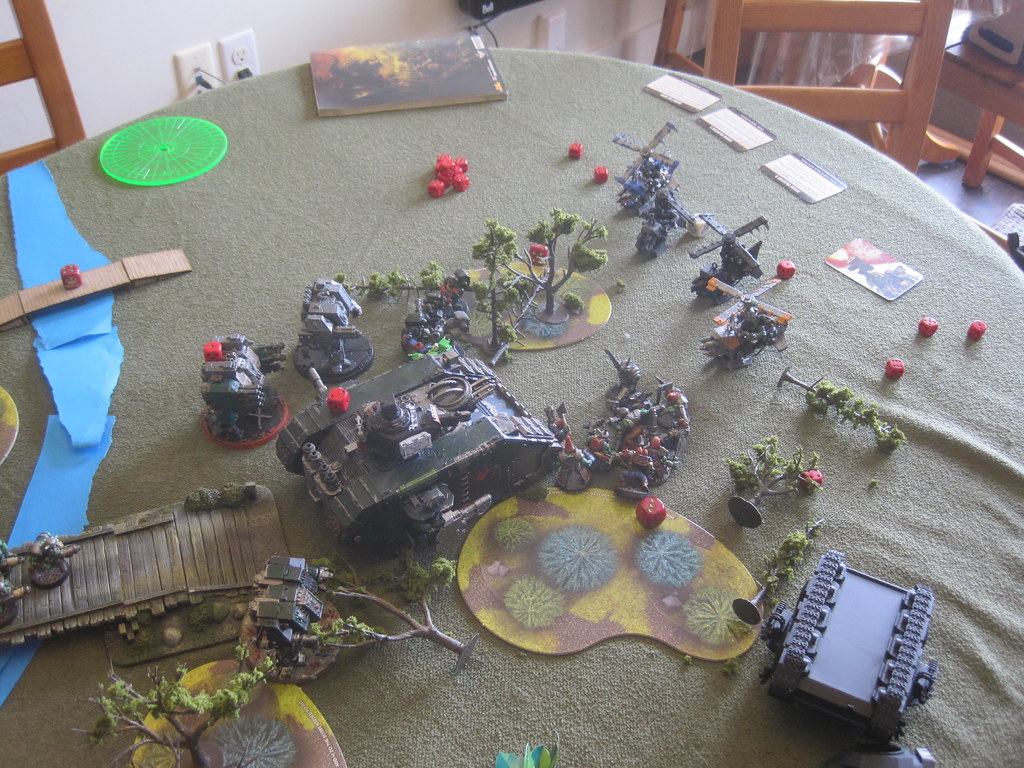
Got my butt handed to me by the Cub today, as we managed to sneak in a game of 40k before he headed back to his mom's post-March break.

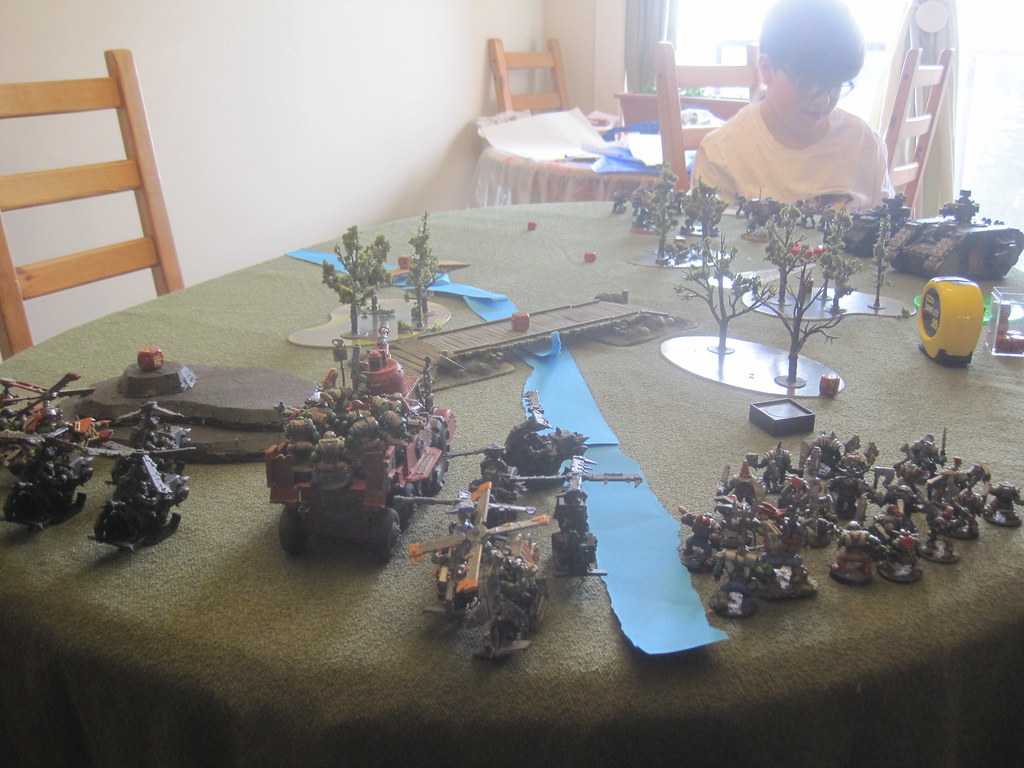
The game was notable in that both of us took rather different forces than usual.  Cub went armour heavy, and unbound, with a Redeemer, Predator, and 3 (!) Dreadnaughts, whilst I moved away from my usual recipe of more boyz =   better by taking my Dakka Jet, my full suite of Deffkoptas, and a Battlewagon.
IMG_8813

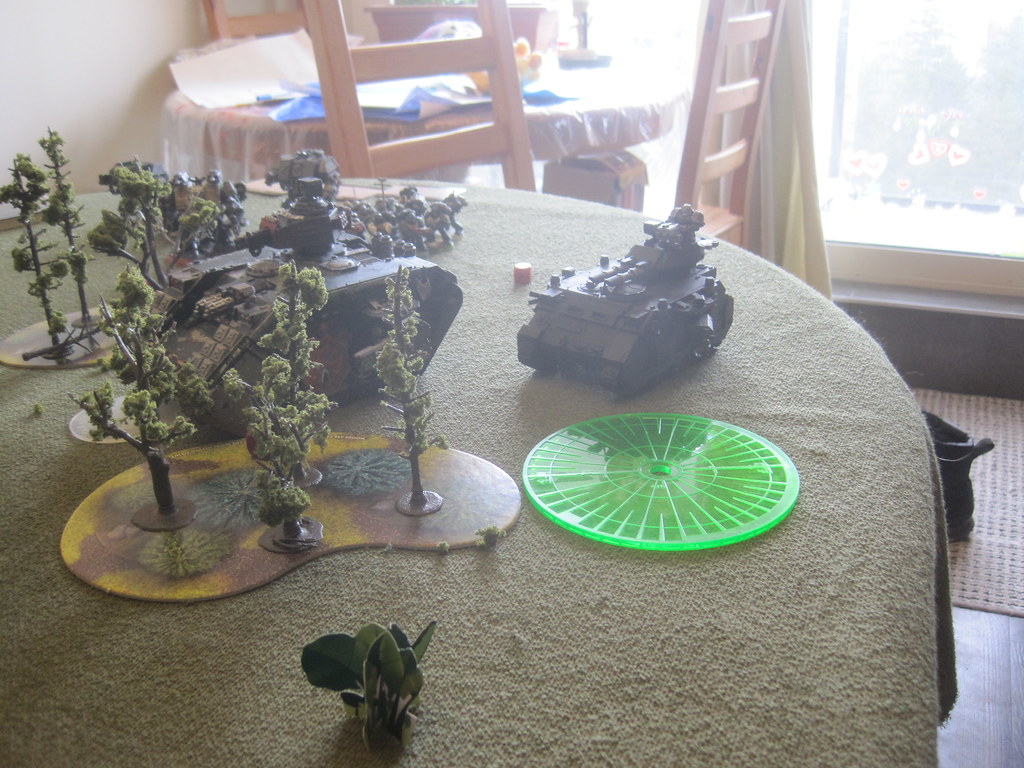
Cub had himself a massive turn 1, with his Landraider scoring a penetrating hit on my Battlewagon (which subsequently managed to get itself stuck in difficult terrain), and an aggressive drive toward my forces.  His LR Redeemer is a bit of a nightmare for me, as it not only has ridiculously heavy armour, but is equipped with the perfect weapons to sweep orks off the table in droves.  To kill it, I need to get my power klaws into b2b contact, but that means exposing my boyz to flamey templates of doom.  It's always an issue, he knows it, and he's learned to use it effectively.
IMG_8815

That said, Warboss Binky and a power klaw are a solution to many problems, and via the power of the Waaagh, I was able to put an end to the Predator fairly quickly.  This set me up for a charge against the Landraider the following turn - if I could weather the firestorm.

In a bid to ease the path a little, I threw the PK -equipped Nob from the mob that had been in the (immobilized) Battlewagon against the Redeemer, but sadly, managed to do little more than scratch its paint.
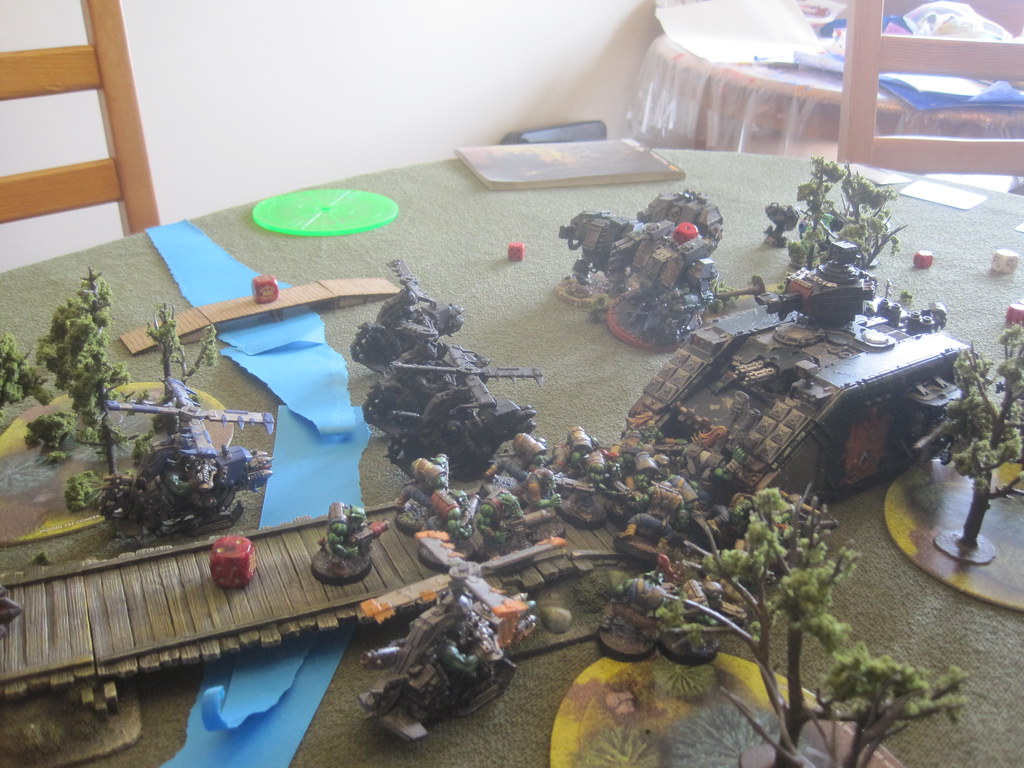
IMG_8817

In the meantime, my Deffcoptas screened the approaching dreadnaughts - which proved fairly effective.  One Dread I've had little trouble dealing with, but a vanilla, Ironclad, and venerable, all marching towards me, proved  a tougher nut to crack.
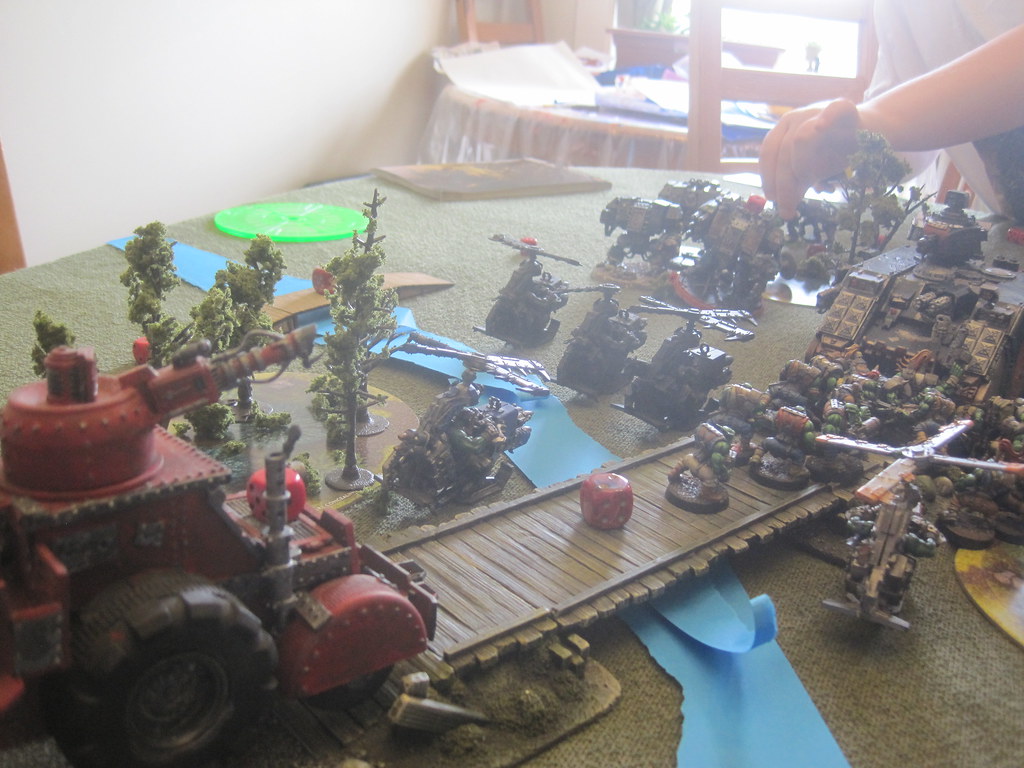
IMG_8818

Turn 4 saw the arrival of my Dakkjet.  I love this model, got it for Christmas over a year ago, and have yet to play it, so this was a much-anticipate moment.  Also, something of a disappointment.  In a flurry of high-caliber shoota fire, the 'jet managed to force a total of 3 armour saves, and kill the grand total of 1 marine.  Warboss Binky got in his charge, but between he and the Nob tagalong, only managed a couple of hull points and a destroyed assault cannon.  The following turn would not be pretty.
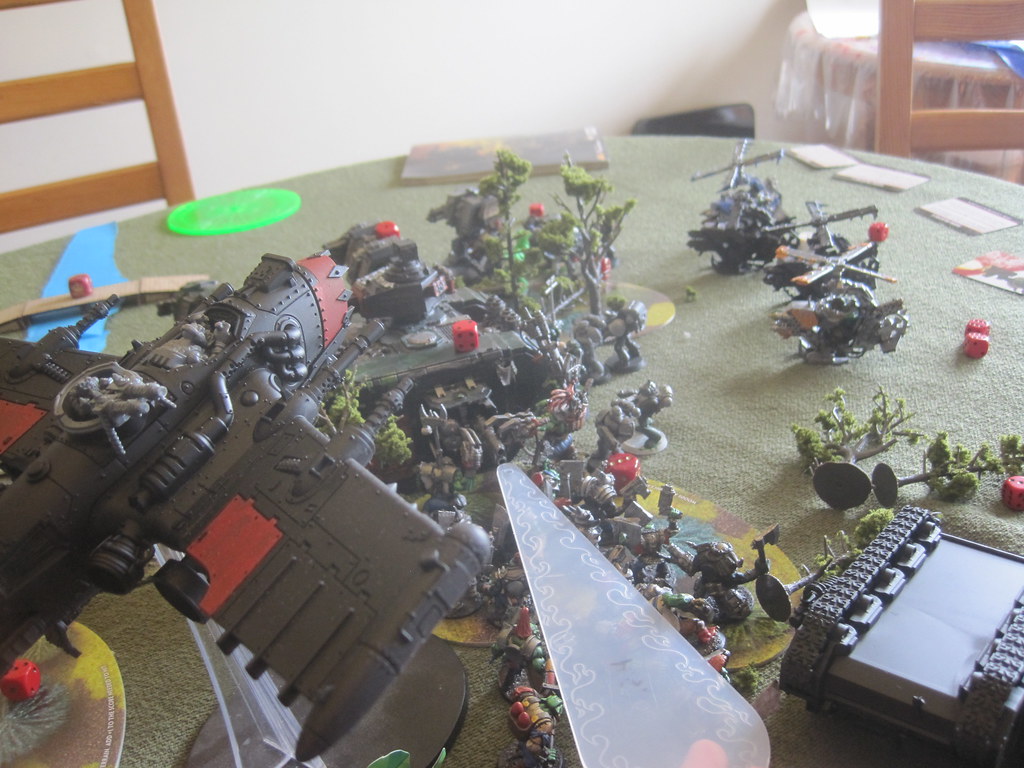
IMG_8819

On the following turn, the Cub opened up with both his uber-flamers (gutting Binky's mob, and bringing the Warboss down to 1 wound) and his multi-melta, which left poor Binky as nothing more than a smoking boot on the table.
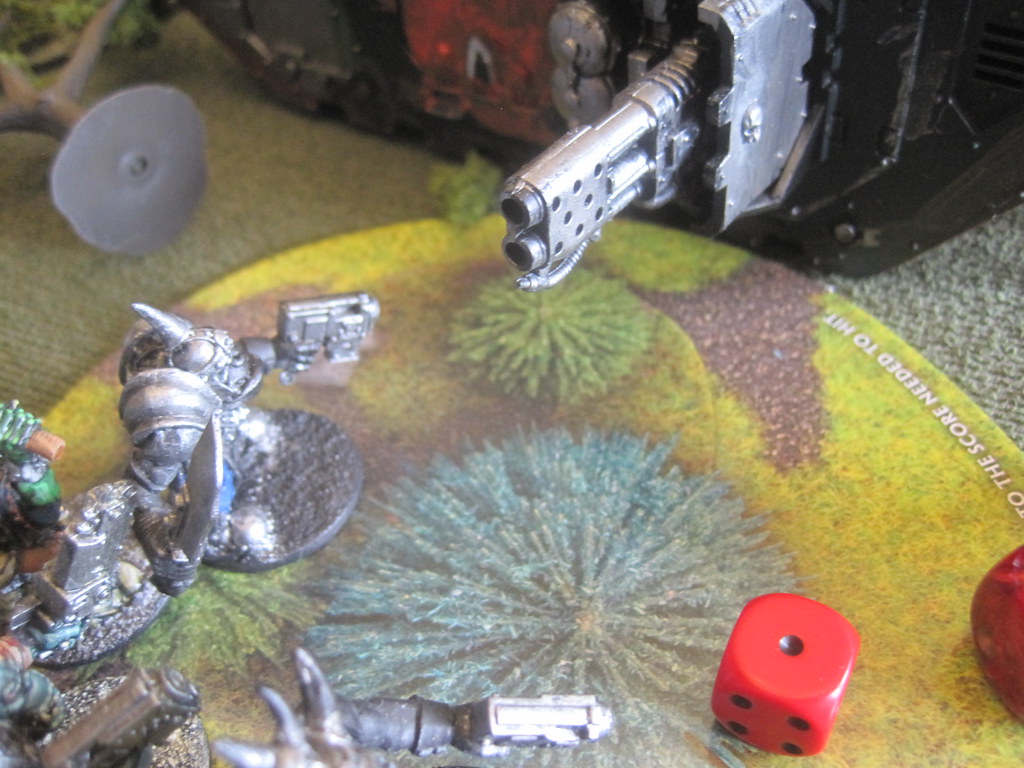
IMG_8820

The assault cannon on one of the Dreads took down my dakkjet, and things went downhill fast.  We called the game for time at the top of turn 5, with points tied, but I was down to the rump of a couple mobs, 4 dakka jets, and nothing that would be able to counter the mass of armour Cub brought to bear.  Even the cold comfort of a successful Sluggaboy mob charge (which wiped out his tac squad) wasn't going to do much to turn the tide.
IMG_8821

It was fun to get (and see) some new stuff on the table.  I was, honestly, disappointed in the Dakkajet.  While I can see some utility in it against other forces, against Marine armour it struggles.  Maybe I'll give the bomber version a try - and I've been itching to try the Forgeworld FightaBomma rules as well.

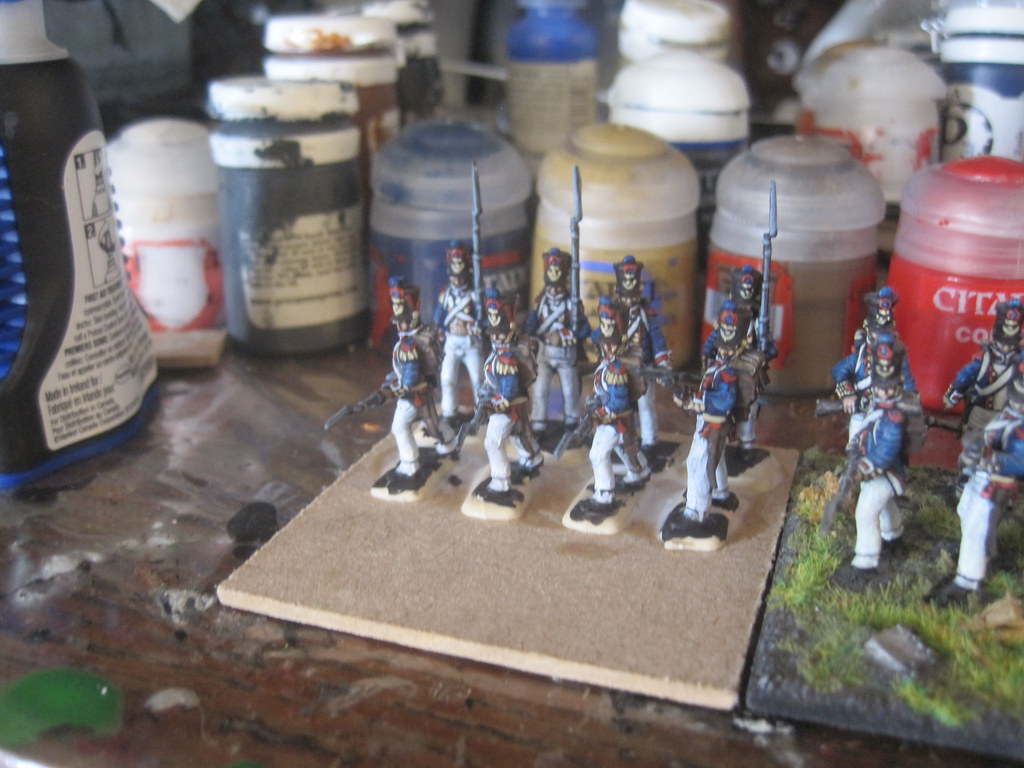
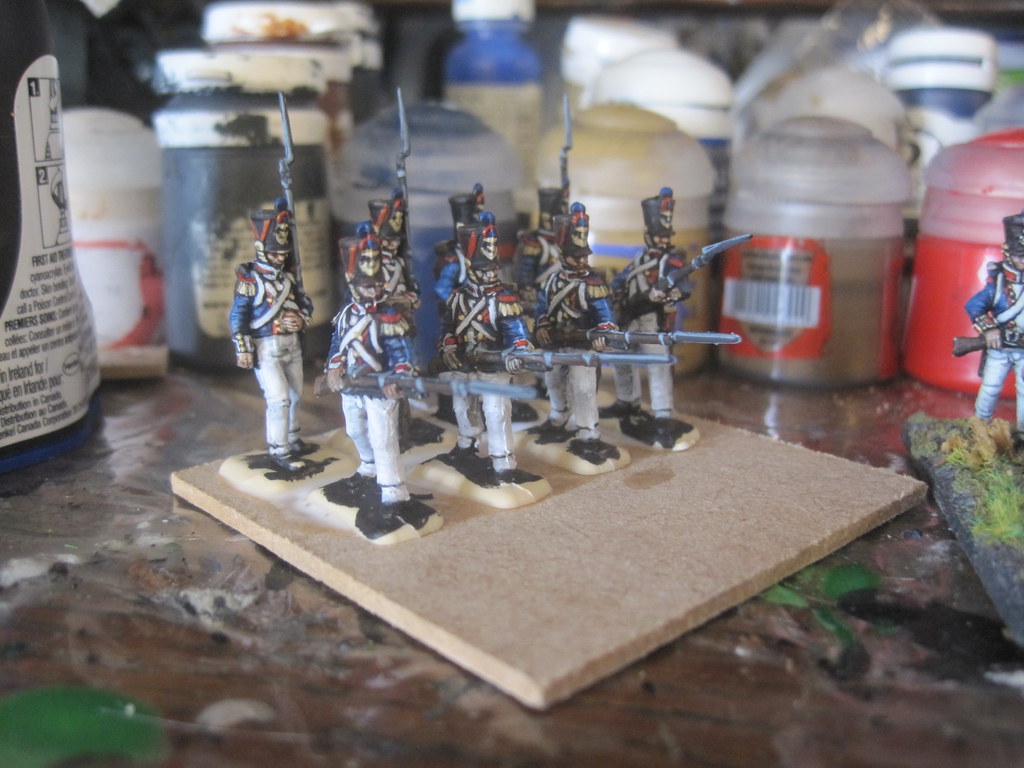
In other news, I've been picking away at the last base for my first unit of French 1/72 Napoleonics.  Saw a post over on RB and JtF the other day, and it fired me up a little.  I quite like the scale, the figs have improved marvelously since the old Airfix models, and it's got me reading the Black Powder rules again.
IMG_8810

I have enough figs on hand for a couple more units of French Infantry, and at least one of cavalry, plus officers.  I figure I'll work on these for a bit until it's time for another change.  There's no rush on this project, as playing BP will require a) more room than I have, and b) more opponents than I have, but I figure a judicious program of exposing the children to repeated viewings of Waterloo and Zulu may have the desired effect.
IMG_8811

I should have these fellows properly based in a few days, and will try to get a decent post out of it later in the week.  Until then, fare well.

FMB

Sunday, November 10, 2013

Pewter to Poppies finished.

Hi all,

Managed to squeak my contribution to our Pewter to Poppies fundraiser for the Wounded Warrior fund in just under the wire; I finished the flocking this afternoon while my daughter napped.

021

I'm reasonably please with how it turned out.  It's mounted on a 40x40 mm base, suitable as a command stand in most games that use them.

020

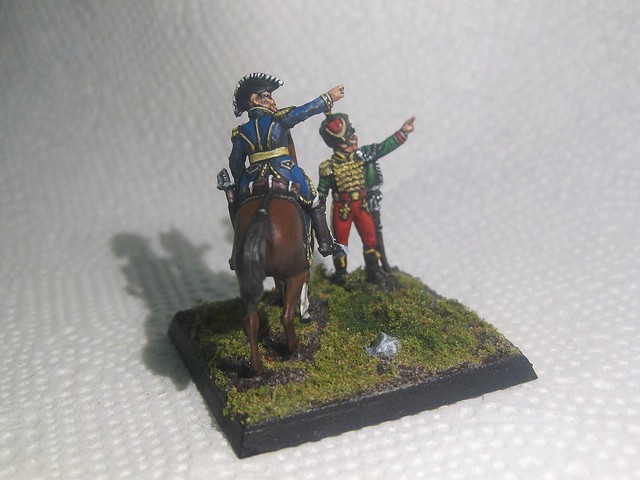
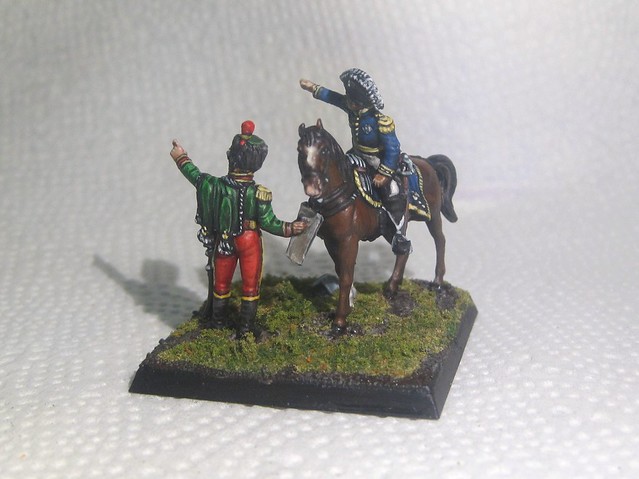
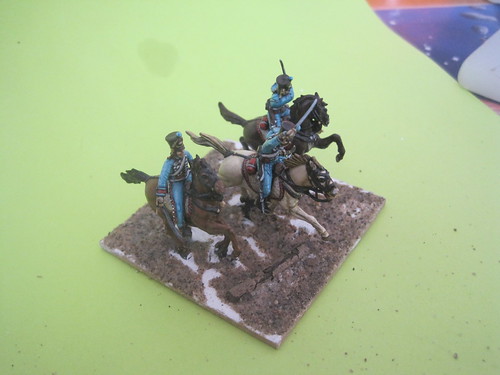
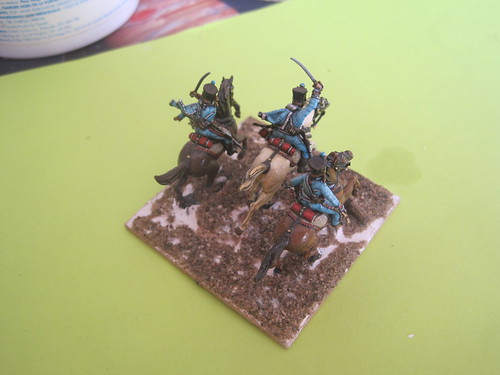
I did my best to make it a little scene, with the Hussar pointing out some detail to a higher commander.  The former is of the 7th, the mounted officer and infantry division commander, although he's a bit presumptuous in his hat plumes.

019

I tried to bring out a bit of detail on what are some rather nice sculpts.  I'm pleased with the lacing on the mounted officer's wrists, and the horse really is a nice sculpt; Italeri do them well.

The next step will be to put up this, along with the other contributions, on Ebay, probably starting towards the end of the week.  I'll be promoting the auction here and elsewhere when it starts, so stay tuned.  There's some nice figures up for grabs, and the money goes to a good cause.

FMB


Sunday, October 28, 2012

More 1/72 French


Hi,

I took a little time to finally finish these guys, who've been staring accusingly at me from the WiP shelf for a while now.  This is the third base of four projected for my first 1/72 French unit.

002

This is very much a back-burner project for me, as my glacial progress suggests.  I've sort of envisioned this as a flexibly-based set of units that could conceivably work for a number of rule sets, but in the back of my mind are Lasalle and Black Powder.

001

Playing in this scale requires big tables, however, and lots of space, i.e., it's not something that's going to happen any time soon.  I sort of picture it as my one day / big boy army.  By the time I'm in a position to use it, I'll probably have enough to use.

003

In the mean time, it's a different scale of project from pretty much anything else I'm working on, and despite my occasional maundering, I do enjoy pulling these out and puttering from time to time.  Next up is probably a little Bolt Action and Impetus painting.  No game next week, as it's Halloween, and I'm eviscerating pumpkins with the family, but hopefully I'll be able to churn out something postable for the occasion.

FMB
Wednesday, August 29, 2012

End of summer

Hi,

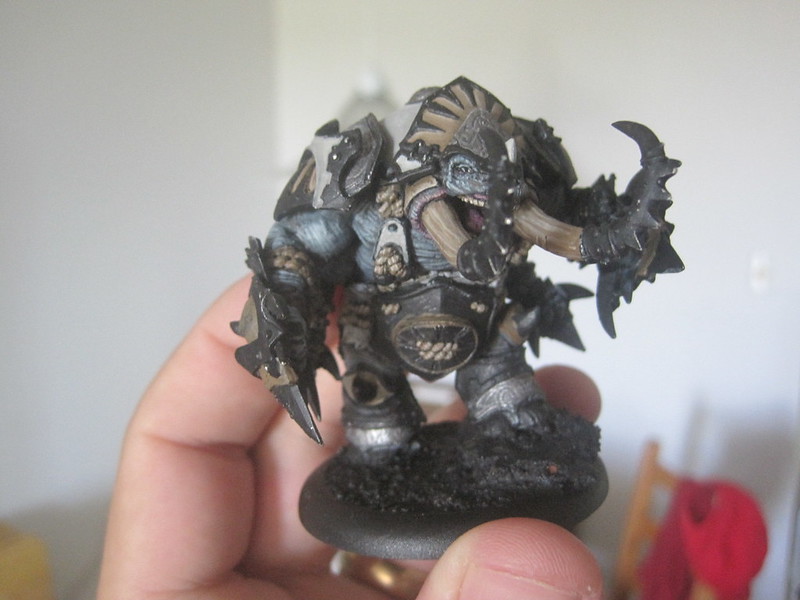
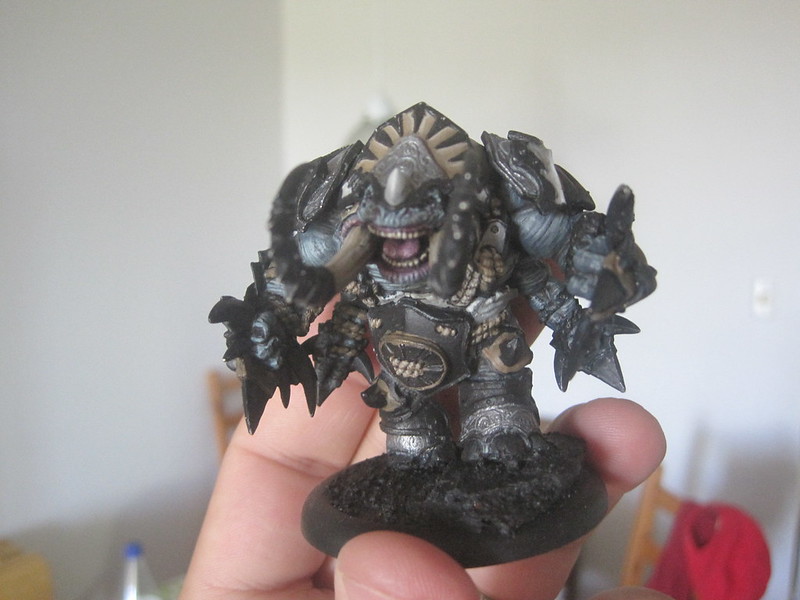
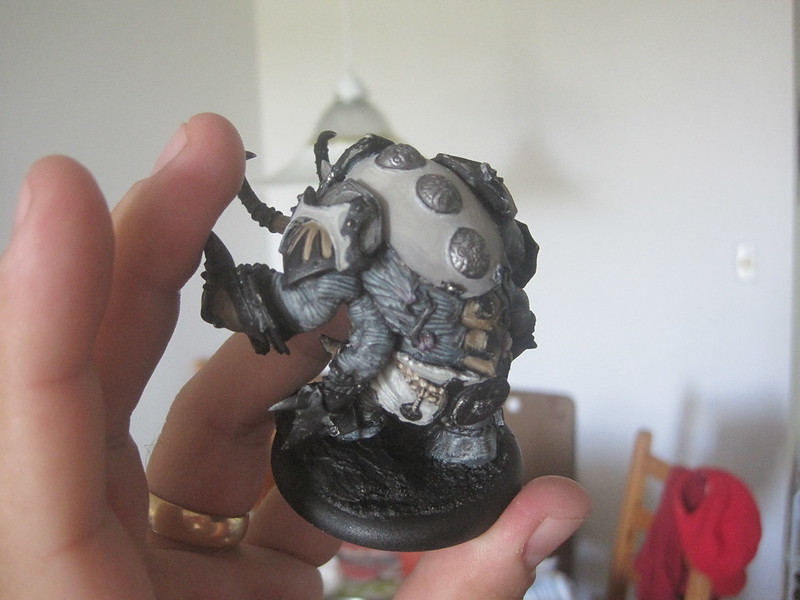
With the end of summer closing fast, life at chez Monkey has been increasingly hectic, as we try to cram in as much as possible before the Cub heads out east for school and his mom's.  This has meant geek time's been at a premium.  I've continued to pick away at the Titan Gladiator (rather than do a rush job).  Grey tones are mostly finished, and I'm now working on the browns.

049

Once the brown is finished, I'll move on the bronze metallics, and then do touch-ups and details.

050

051

I've also been puttering with some French for the 1/72 project.  I find these guys knock out fairly quickly, so they've been something I can actually get finished in the time I've been able to snatch.

053

I've been waffling a bit on basing for these guys.  The plan is to eventually use them for Black Powder, but the basing system for that game seems basically irrational, with different base sizes for infantry and cavalry.  No doubt I'll come back to the 60 x 60 bases I've used so far, but in the meantime, it's something to get all geekistential about.

054

Following up on my last post, the Reaper kickstarter ended up the third most successful of all time.  There's something like 250+ figures now associated with the Vampire pledge level, i.e., more generic fantasy figs than I'll ever find a use for, coming my way in March.  Cool beans.

With fall, and a degree of normal routine, returning in a week or two, I've been trying to get a little organizing and planning done.  While I'm reserving the right to paint whatever takes my fancy, I think this fall I'd like to shoot for two main goals.  First, I'd like to get another hundred points painted for my Antigonids, bringing me up to a fully painted 400 point.  I'd also like to bring my FoW cossacks up to a playable 1000 points.  I'd really like to try out the 3rd edition rules, but as of right now, don't have the painted figs to do it.

Next week I've got a small Impetus game planned, vs. hundred year's war figs, so should have some decent picks up for Thursday.  It'll be interesting to see how the pike does against a bow / cavalry force.

TMtW

Thursday, September 1, 2011

The big picture

Hi,

Or at least, a big post with pictures . . . .

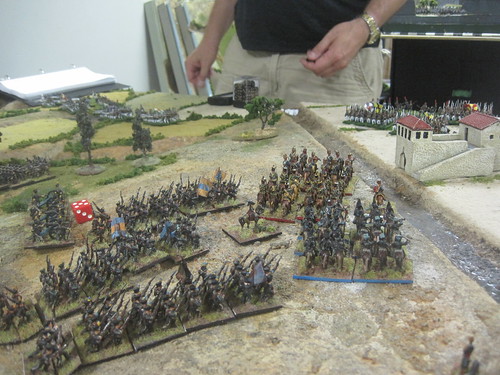
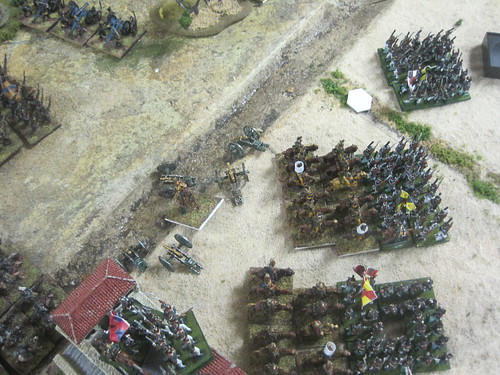
Last night I managed to get out to the Dueling Grounds for the first time since before the new addition arrived. I didn't get a game in, but did manage to sit in of most of a game of Lasalle, and get some pics of a biggish Impetus game going on at the next table over. There's plenty of pictures in this post, so a heads up to those of you with slow internet.

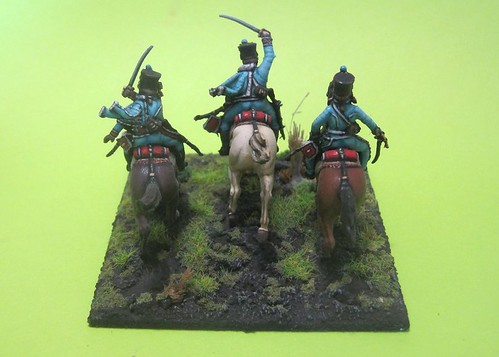
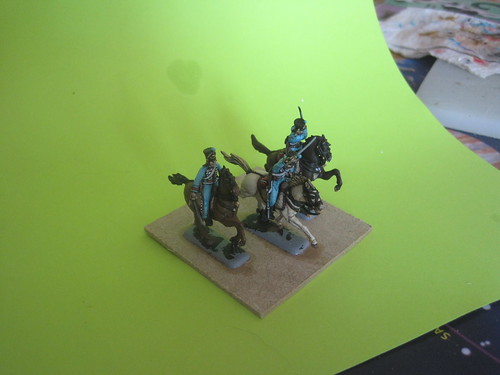
First up, I managed to get some pictures of the completed Hussar base. We had a guy in doing some plaster work in the apartment, and in the process of cleaning up the dust, I found an old can of Armory matt varnish, which unlike the GW stuff, seems to last forever. A couple of light coats later, and the Hussars are ready for their public ;)

023

022

024

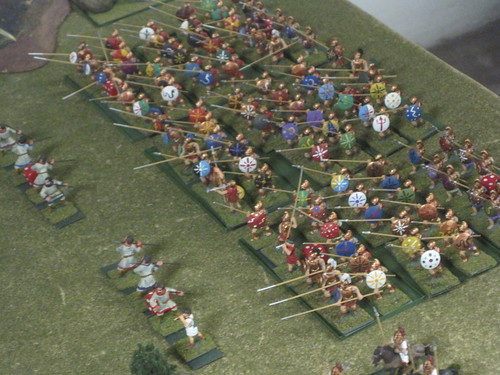
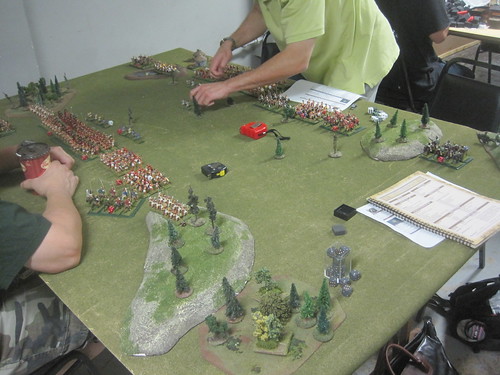
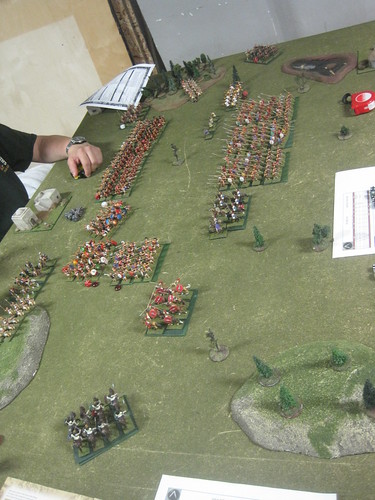
Next up, I got some shots of an Impetus game that JJMicromegas from THMG was coaching for some of the guys. I didn't sit in and follow it, but it looked good. The figures are all from JJM's collection of "true 25s", and they were playing a fairly large game - around 400 points I think it was, Philip vs. Sthpartaaaaaaaa!.

001

003

004

011

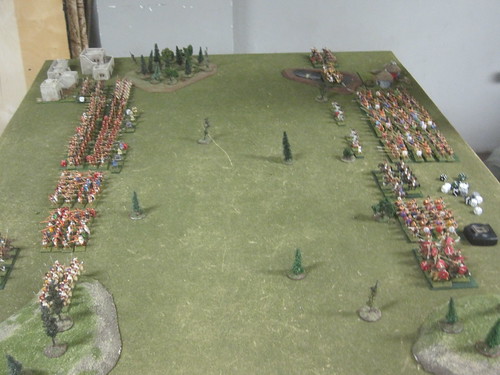
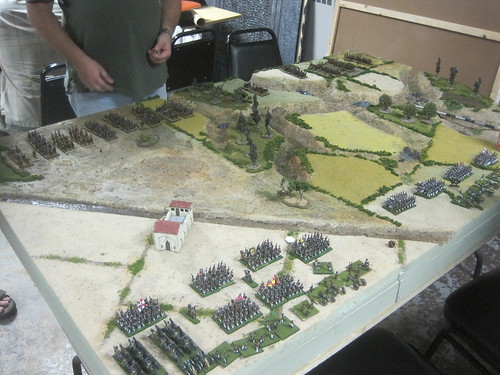
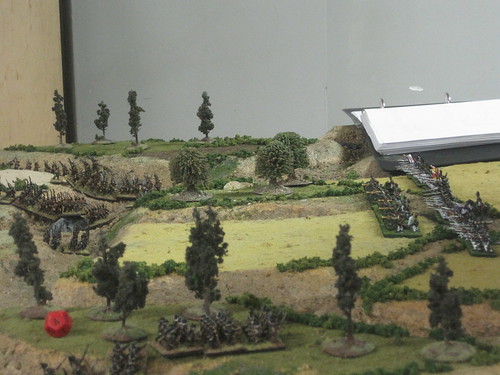
The highlight of the evening for me, however, was a game of Lasalle played by michaeld (playing Russians, guards IIRC) and James Smith (playing Waterloo notBritish), again, both from the THMG. The game was played on a table the club recently put together for a FoW show in Barrie. Looked marvelous.

Opening moves saw the notBritish advance, with an aggressive push on their right towards the Russian position around the manor house.

006

008

The Russians formed up to welcome their guests.

009

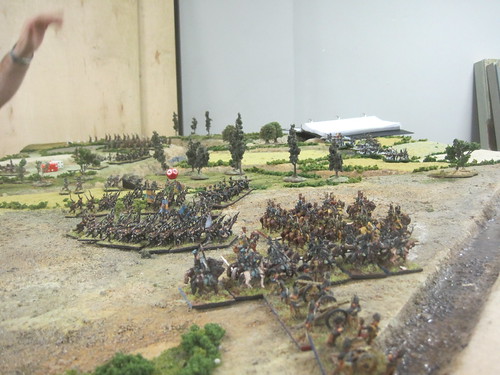
After both sides deployed battaries on the notBritish right, and traded some fairly ineffective shots, the notBritish concentrated their attack on the left side of the manor. In the lead were the shaky, amateur Hanoverian cavalry, who apparantly were so new to the business they didn't realise the trouble they were in.

012

On the left, the notBritish used the gullies that cut across the ground to advance under cover towards the Russian line.

014

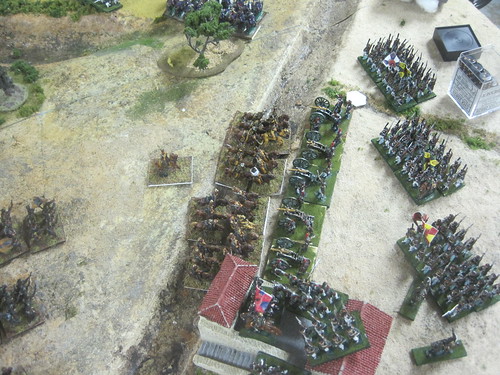
With a (possibly drunken?) "Hurrah!", the Hanoverians charged a battary of Russian guns deployed to the right of the manor. One can only assume their officer was so amateur he was unaware of the effect cannister could have at short range. A more experienced leader would probably realised he was about to lead his troops into a dog food factory.

015

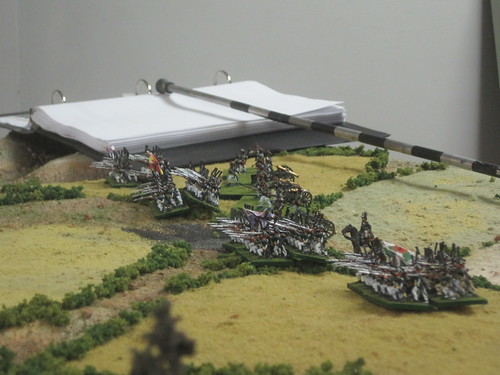
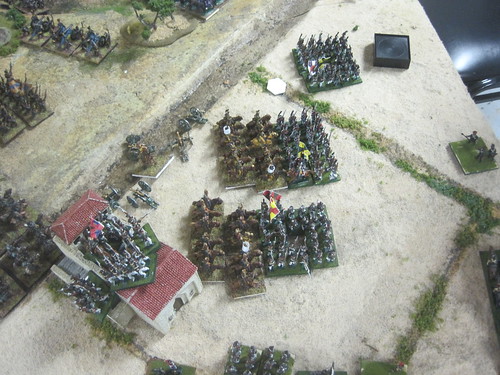
Of course, a more experienced leader would also not have over-run the Russian guns, and barrelled on into two battalions of Infantry, only one of which was able to form square in time.

020

You can see the abandoned Russian guns behind the upper set of units.

021

Amazingly, both cavalry units were thrown back in disarray, and the Russians promptly formed the rest of their infantry into square. It was around this time I had to leave, but the battle was apparantly settled by a clash between the elite cavalry on both sides - Russian guard and uhlans vs. Brunswick. When the game was called for time, the Brunswickers had thrown back the Russians, and the notBritish were closing in on all sides.

I have to say, the game looked terrific, and played much quicker than I had expected from reading the rules. If I had the cash, I'd be putting in an order for 15mm napoleonic figs right now. As it is (unless I find a buyer for some fo the geek detritus I'm trying to sell off), I'm going to be good and stick to the projects I've got going already. Priority is to get something on the table I can play. More on that next post.


Friday, August 26, 2011

Shiny.

Hi,

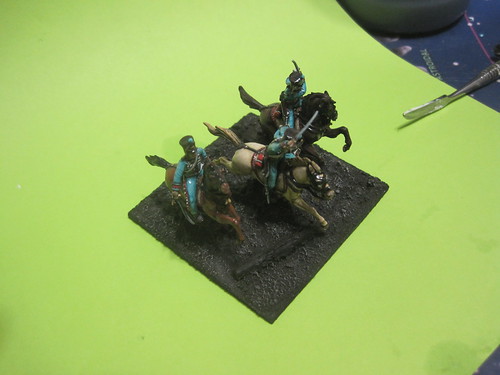
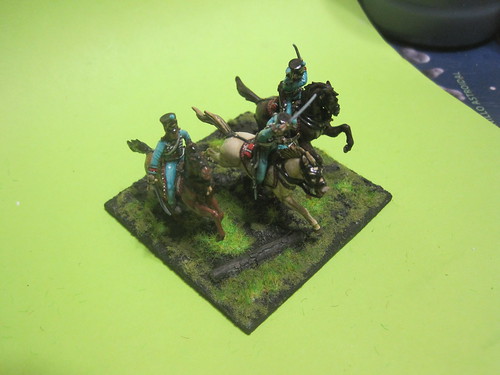
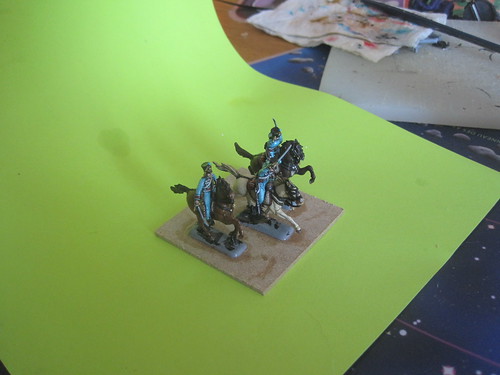
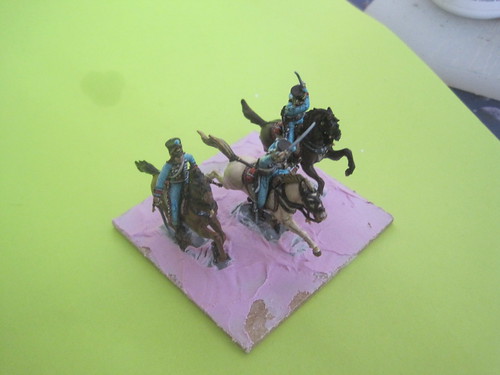
Had a request over at Benno's Figures for a tutorial on how I've been doing my bases for the 1/72 project.

My main priority when it comes to basing is to get multiple textures on the base. The ground I walk around on is typically a lot more complex than the "layer of sand" approach I see on lots of wargaming figures. I figure that if I can replicate that complexity of texture, the bases will look more real. Consequently, there's a number of steps here. Bear with me if this is more detail than you can stand ;)

Step 1: Glue figures to base (I'm using some leftover bases from an earlier project that were professionaly laser cut, but am just as likely to use whatever scrap I have lying around, and my cheapy jigsaw from Canadian Tire).

121

Step 2: Gloss varnish the glued figs, and try to bring the varnish down over the figure's base and on to the unit's. Although I've not had problems with paint peeling from the soft plastic used for 1/72 figs, they have a reputation. By bringing the varnish coat down, I'm hoping to avoid this problem.

001

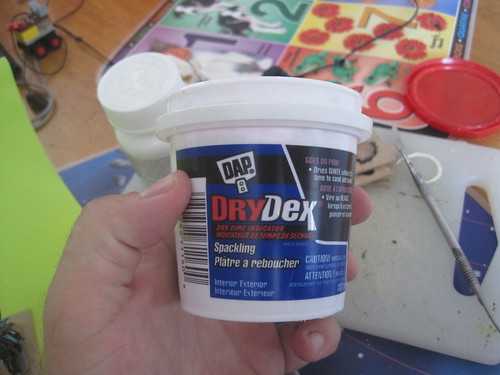
Step 3: Using drywall filling compound, smooth out the transition between the figures and the unit base. I find this tends to diminish the "ants on a log" effect. It also puts down the first layer of texture on the base. The stuff I've been using goes on pink and dries white. It also has a kind of rubbery texture that's easy to work with.

004

003

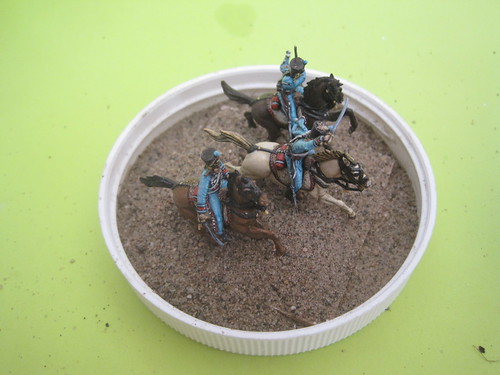
Step 4: Dribble, spread and otherwise distribute glue (white craft glue, the same stuff the cub uses for art projects) around the base, being sure to favour those areas that didn't get filler compound, but also to try and further break up the transition between figure and base. Then, dip in sand.

043

045

Step 5: Second sand dip. I find after five minutes, the glue starts to seep up around the sand (or maybe the sand settles?). You can sort of see the gloss of the glue in the bottom of this picture:

048

The effect is that the first layer of sand on the base gets damp with glue, so I dip it again, then let it dry completely. This isn't critical, but it does ensure good coverage.

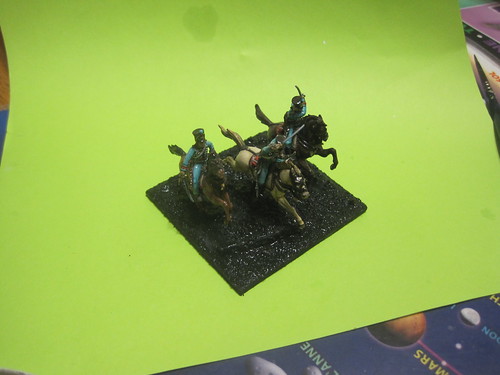
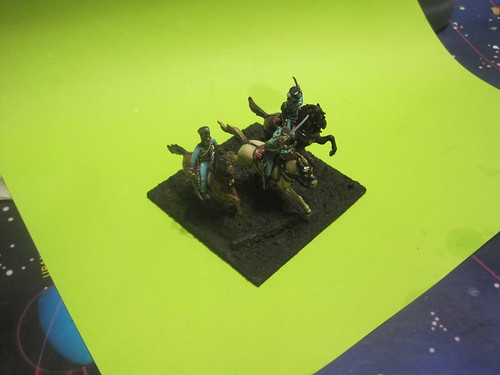
Step 6: Once the glue is dry, paint the entire base black. I use the same black gesso I use to prime the figures, but any black paint will do. This helps the sand and drywall compound bind, and adds to the overall durability of the base.

049

Step 7: Paint the entire base brown. I use craftpaint for this (Delta Ceramcoat).

051

Step 8: Drybrush. I've been using a cooler grey-brown on these figs, but generally, you're looking to bring out some of the differences in texture between the filler and the sand, so the actual colour is a matter of taste and intent.

052

Step 9: I put down another layer of glue, and then dip in green flock. I try to spread the glue in a way that it suggests what's going on in the base. For example, with the Hussars, I've put more at the front of the base, the idea being that the galloping horses are tearing up the turf and leaving exposed earth behind. After five minutes or so, once the flock settles (as in step 5) I do a second dip. Unlike the second sand dip, however, I use a different material. This time, instead of using flock, I use static grass. This gives me a kind of layered texture to the basic vegetation, and seems to produce a better overall effect.

053

Step 10: Detailing. I'll generally try to include a few things on each base to break it up and draw attention - in this case the log, plus a few other things that didn't show up in the above picture. I'll get a good shot in the morning when everything is dry. I usually use a matt spray over the whole base, but I need to pick up a new can, so the Hussars will have to stay shiny for now.