. . . from the jaws of victory. That was the story of last night's heart-breaker of a game vs. that odious petit-Austrian lackey, Nicholas von Lemmingsdorf, aka Nick the Lemming down at the THMG. We were playing the first game of our succession wars campaign, which Nick, as first player, has named the "sausage wars". Don't ask. No, really.
It all starter out so well. Set up was as per usual. We drew Plains for terrain, and Nick ended up winning the scouting roll and choosing to defend.
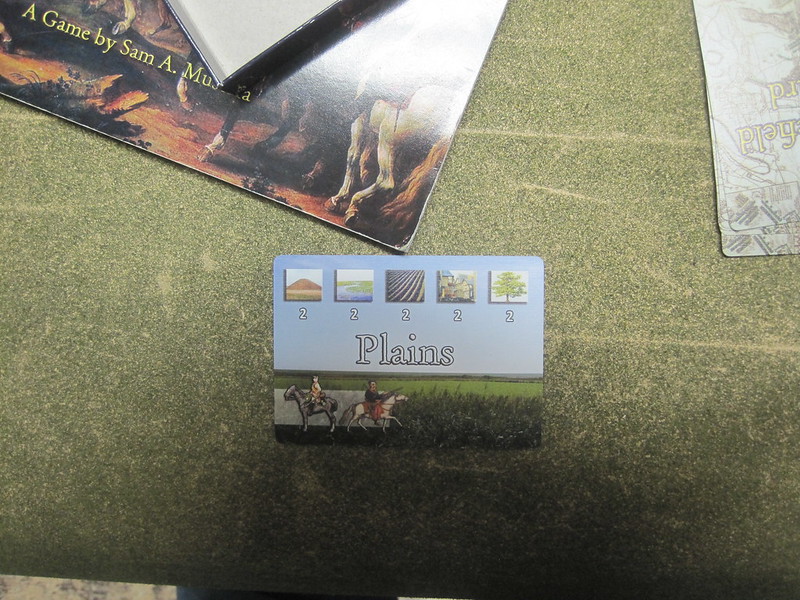
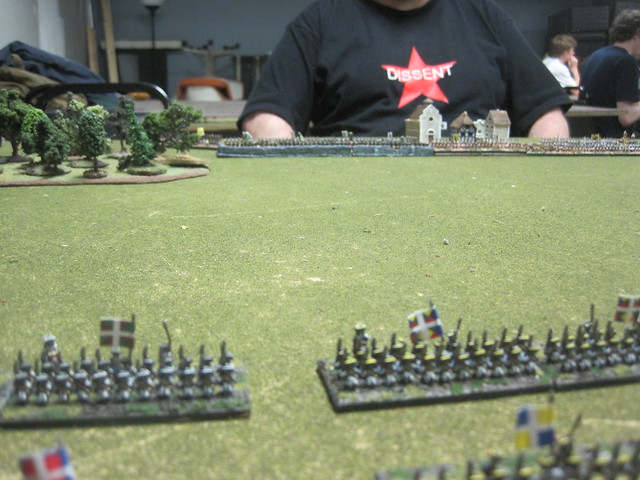
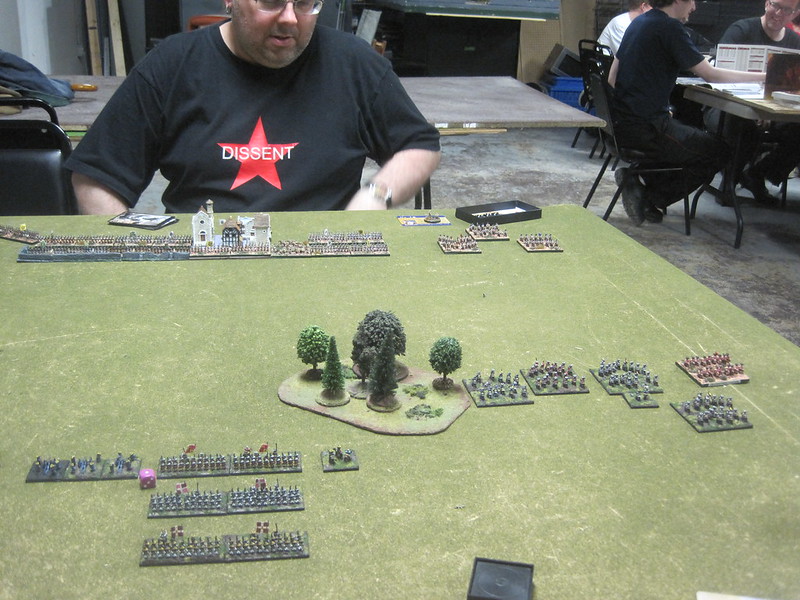
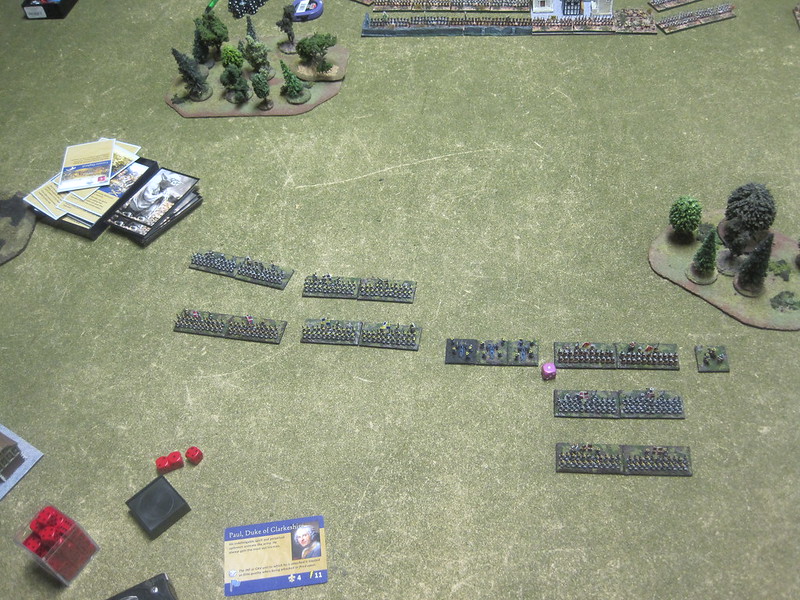
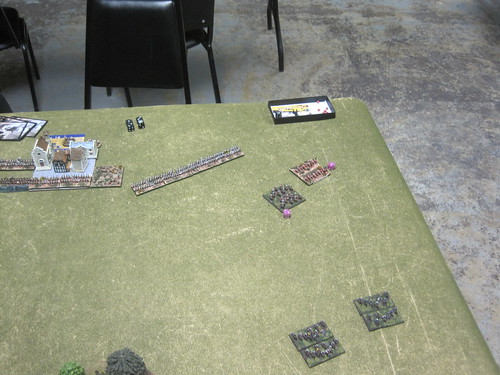
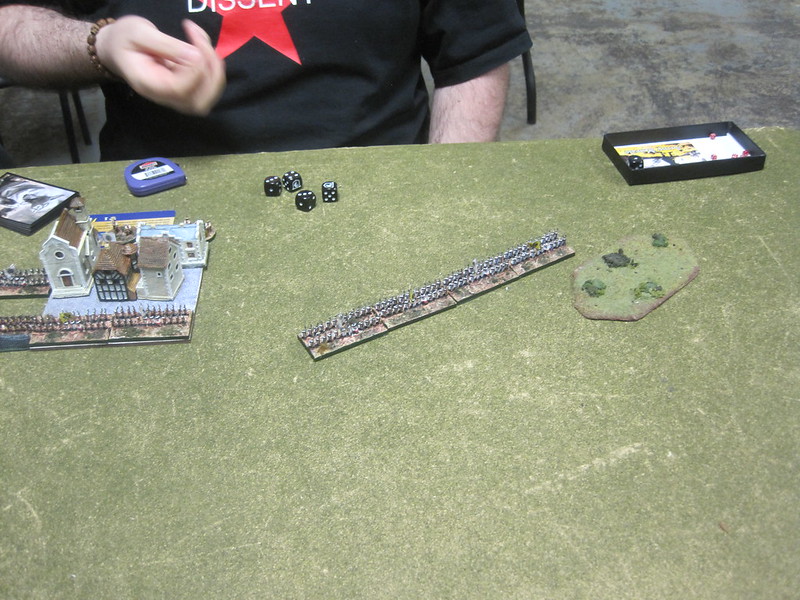
We ended up with a total of six pieces of terrain. I put a town on my side of the table to cut down on the number of garrisons I'd have to deal with, and a couple of woods. Nick set himself up a nice littel defensive position of a town and stone wall, and a marsh off on the flank. As defender, he deployed first, and in depth around the town and wall. His left, however, was hanging loose, and that's where I figured to attack him. I put my conscripts on my left, a "column of lines" of my best infantry in the centre, and my cavalry (along with my free mercenary unit as attacker, and my notable, Paul, Duke of Clarkson) on my right. Guns posed a bit of a problem. There was no where I could see to put them that they wouldn't be in the way of my eventual attack, so I ended up putting them in the middle, though I was careful to place them so that the infantry could combine into one large force when they moved out.

I was rather chuffed at the sight. I ran the list I outlined in my last post; it is now fully painted, and except for one base of artillery, based. I still need to do a unit or two of mercenaries, but the end is in sight. My lovely little French were able to gaze across the table at their petite-Austrian foes.
My plan of attack was pretty straightforward. Nick's centre was well defended, and the odds of a sudden collapse were slim. I knew if I attacked frontally, he'd likely end up chewing me up with musketry (he has taken Lethal Volleys as an advantage). In stead, I figured to use my advantage in cavalry (both quantity and quality) to engage on the right. I should be able to beat his cavalry wing, and then hopefully bag the "loose infantry" as well. Even if this didn't break the army, I could at least attack the town from the flank, cutting down on the amount of gunfire to which my troops would be exposed.
I opened the party by alternating an artillery barrage on the infantry acting as "hinge" between the town and his cavalry, and looping my own cavalry out and around the woods on my right. The artillery barrage didn't do too much, especially given Nick was running "Rally to the Flag" as one of his advantages (making it relatively easy for him to recover disruptions). It did let me build up my hand of cards however, and gave me something to do while manouevring my cavalry. On that note, I cannot praise the "Oblique" advantage enough. At 6 points, it's a steal.
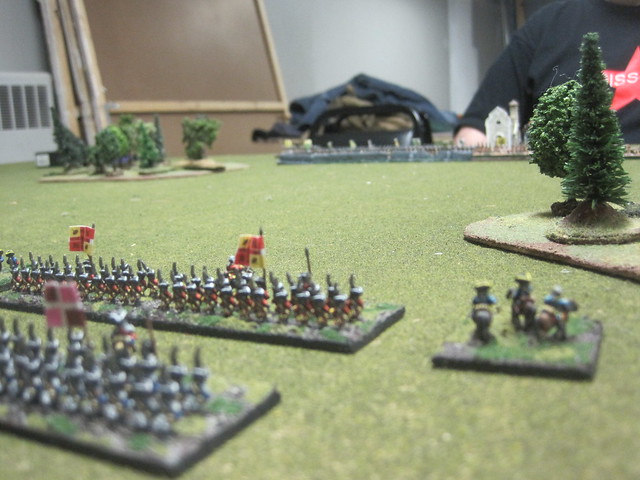
At this point, I decided to remember some of the lessons from last game. It's very easy in Maurice to get sucked in to one part of the battle line, and end up with the bulk of your army sitting and doing nothing. We were still early in the deck, so I decided to advance the left wing as well. This would give me some options later in the game, and might divide Nick's attention.
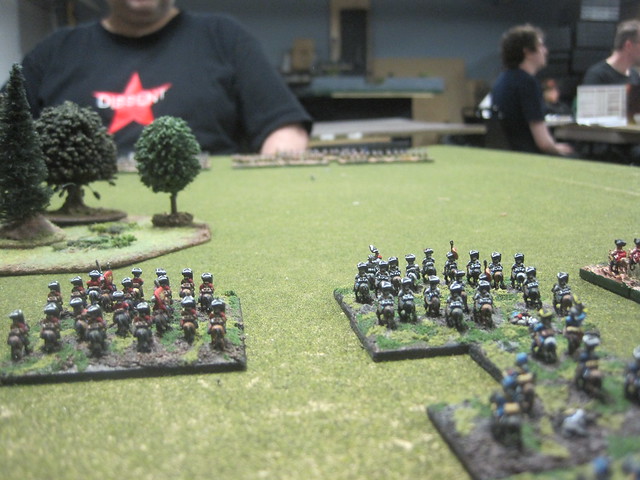
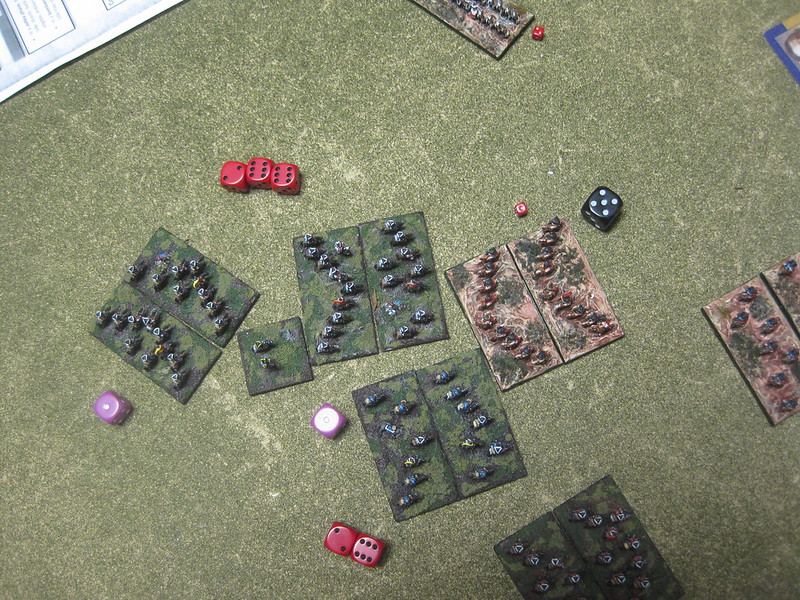
I kept up the artillery barrages, so that when my cavalry were in position, I had a mostly full hand of cards, and then sent them in. I tried to use some of what I've learned about the game so far. I kept the attacks controlled and limited. I used my manoeuvre advantage to set up 2:1 fights. The attack unfolded over several turns. In each stage, I ended up breaking one of his cavalry.


I tried to pace the attack, so it unfolded over several turns, with pauses to rally between. My notable, Paul of Clarkson, was incredibly useful for this. His "instinct" feature is the rally action, which meant that even though my cavalry were now some distance from my commander, I could rally the force cheaply. I also remembered to retain force coherence, so the whole cavalry wing would activate as one.
At one point, this left me in musket range of his infantry, so I pulled back to rally in safety.
And then sent part of the force back in again to finish the job.
In the process however, my unit to which Paul of Clarkson was attached took some disruption, and then were broken by a combination of musket fire and artillery bombardment. Although the Duc survived, this was a blow, as it meant it became much more costly to rally the cavalry, something that would have an impact fairly soon.
Nick then made what was probably his best move of the game. He played the "That's not on the map" card, which is quickly emerging as my most hated element of the game ;) I've had it played against me with significant effect in two games now. The impact isn't tremendous, but it does mess with one's timing and momentum, and these are two factors I'm coming to realize are critical in Maurice.

The card allows a player to put a smallish piece of difficult terrain pretty much wherever they want. In Nick's case, it was in the gap my cavalry were about to exploit to get in on the flank of his infantry. This would mean my cavalry were going to have a significant penalty in combat, more than enough to tip things in favour of Nick. Redeploying to avoid it took enough time for him to reposition his infantry and guard his flank. If I was going to break his infantry, it was going to have to be the hard way.
I pulled back my cavalry out of musket range, and took a couple turns to rally them and deploy them so they could attack with maximum effectiveness.

I can only assume I got caught up in the game, as I only got a few pictures of the later stages of play. I sent my cavalry in to attack his flank, getting in on his artillery and infantry. I managed a two on one on one infantry, but got cocky, and sent my third cavalry in alone against his other infantry unit. I wiped out both of his artillery, won the two on one, and lost the one-on-one. This, unfortunately, left my cavalry sitting in front of two units of infantry with Lethal Volleys and Rally to the Flag, which translates as units able to pour in considerable musketry and with an advantage in rallying. What's more, I had more or less blown my cards in the attack, and simply didn't have the resources to pull the cavalry back out of harms way. The end result was I lost my cavalry, and two freshly rallied infantry units remained.
 |
| Smug little sausage-gobblers, aren't they? |
This was a gamble, but while the one-on-one fight was a mistake, I don't think the charge was. Nick was down to a single morale point when the furball was over. A slight break in either his morale rolls or the combat dice could have settled the game (there was the potential to break his unit in the two-on-one combat). Losing my cavalry was a blow, no doubt, and I'd rolled a little high for morale losses, but I had four morale points to Nick's one, and another run though of the deck to go. I could lose another unit safely, and all I had to do was break one more of his units to win.
It was at this point that two mistakes I HAD made came back to haunt me. First, I'd used the "Death of a Hero" card earlier in the game. This is an event card that causes damage directly to an opponent's morale. I should have discarded it from the game, but for some reason, didn't. Nick used it on me, costing me a morale point. I'd also had the the "Do you want to live forever card", which gives you bonus morale when played as an event. I should have done so, and removed it, but instead used it to activate one of the cavalry charges earlier. Nick now used it, bringing him up to two morale points. Army morale was now three to two in favour of me.
 |
| This crew is still laughing about it. |
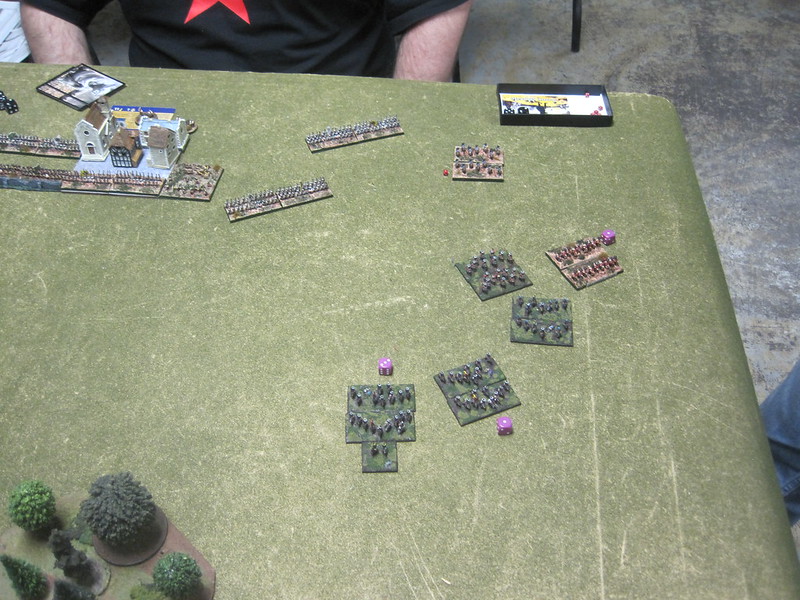
I advanced my infantry, shaking out my better units into an attack posture on the right. Nick used the "That's not on the map" card, again, but it had less of an effect this time. I was careful to keep my units in force coherence, and my conscripts out of musket range (as they have a tendency to melt when up against Lethal Volleys). On the right it took a couple turns, but I was able to position my guard infantry and one of my trained units so that they'd have a two on one combat versus his.
At this point, I thought I had the game. With a two on one advantage, and the "A la baionette" advantage", I should be able to win the combat decisively. I also had a "Grenadiers forward" card, which would give me a bonus in combat. Somehow, it didn't work out.
It took a couple turns to set up the attack, giving Nick a round or two of shooting while I manoeuvred. My return fire was ineffective, despite playing a card to give me a bonus. On the turn I attacked, he used a "Fire fight" card to force a volley phase, and again, poured fire into me, enough that one of my two units that were about to attack was pushed past its disruption limit, and was broken. It cost me two morale points, and now I was down to one.
I'll admit, this took the wind out of my sails. I still had my guards, though, and decent cards, and there was still a chance to break him. Moreover, we had at most another three turns worth of cards before "night" and the end of the game. I figured, what the hell, and threw in my infantry.
I hadn't counted on Nick sitting on a mitt-full of cards. He played the interrupt "Attack falters" to counteract my attack bonus, played a card that gave him a defensive bonus, and rolled well. I rolled poorly (and completely forgot the option to reroll I get from "A la baionette"). Net result was this:

My guards lost the combat, took two disruption, and broke. End of game. I won't deny this one was a heart breaker for me; there was a definite sense of stealing defeat from the jaws of victory. For the first half of the game, things went really well. I think the overall plan was good; I can't see how attacking his dug-in, attrition-advantaged infantry in a frontal assault would have worked better. I think I made a few key mistakes in the game, and while the effect wasn't immediate, it was enough to cost me.
As this was a campaign game, we went through the full after-game process. There were only limited changes to my army. While my national advantages protected most of my broken units, one, the 13ieme Royal, went down to conscript status. One of my conscripts, the Saintonge regiment, was promoted however, leaving things a wash in terms of army quality. A more significant blow was the loss of the Duc de Clarkesburg. Although he'd survived the destruction of his unit, it must have had an effect, as he decided to retire from active duty. This leaves me without any notables in my army. The loss of the Duc is significant, as it really cuts into my cavalry's ability to operate at a distance.
%20-%20A%20Man%20Playing%20A%20Lute%20In%20A%20Landscape,%20ca%201720.jpg) |
| I hear he's taken up the lute in retirement. |
Lessons from losing:
1) Keep your commander forward. I lost my cavalry because they were too far away to activate; losing my cavalry meant that I had to expose myself to musket fire from troops with a significant advantage in that phase, and lost me my advantage in mobility. If my commander had been closer, I would have been able to either march them back out of danger, or rally them. I think I got cocky because I'd had a handful of high-span cards early on, but then ended up drawing nothing but fours when I really needed them.
2) Use your whole army. I'm getting better at this, but I still should have brought up my infantry sooner. I sent the cavalry in against Nick's artillery and infantry without any support. This was a mistake. The formation I attacked wasn't going anywhere. Bringing up the infantry would have given my commander cover from any opportunistic advances from Nick (making lesson 1 a safe option), and would have forced him to split his musketry when the attack went in. Instead, I gambled on breaking his line, and lost.
3) Use the event cards. I made a point of trying to build, and keep, a good hand this game. This is necessary, but I think I did it at the expense of a couple of advantageous plays. I've noticed a tendency to try and time the use of these cards for dramatic effect - saving "Death of a hero" for when my opponent is down to only a few morale. I won't do this again. Card that give an advantage and can be removed (thus eliminating the chance of offering your opponent the same advantage) will be used promptly, and discarded. Not doing this made for a two-point margin in this game, i.e., it cost me the win.
4) Remember the macro-game. We are playing a campaign now. When Nick shot up one of my two "attacking" infantry, there were at most three turns left in the game. In a one-on-one infantry duel, although my unit should have the advantage, the likelihood of a decisive outcome (i.e., doubling his score and breaking him) was slim. I could have pulled back, rallied, and taken the minor loss (for failing to capture the objective) instead of the major. This would have reduced both Nick's haul of epic points, and reduced the points that went to the opposing faction (of petty germanic sausage-gobblers). As it turns out, while there's still one battle to be fought in this series (between my Bourbon brothers of Spain and the Anglo-Hanoverians), the outcome of the battle won't affect this round of the campaign - we've already lost badly enough that our side will sue for peace. While it was theoretically possible to break his unit, the odds were long. I need to shift my thinking to long-term objectives, especially in the end game.
 |
| I'd ask myself "What would Louis do?", but he'd just quote the Notorious B.I.G. at me. |
For those of you interested in the Austrian take on things, you can go here, though I can't recommend it. Read at your own risk ;)
I really have to applaud Sam Mustafa. This game has captured my imagination. The game last night wasn't over a minute before I started breaking it down, looking for what went right and wrong, where I could correct mistakes, and generally scheming. I've spent an inordinate amount of time over the last several weeks just thinking through the game. Every time I play, I discover some new dimension of depth, something new of which to take account, some new factor to consider in terms of play and how I use my army. Despite all this sort of cerebration, the game is just fun. Lose, win, doesn't matter, I enjoy the game. For those of you out there on the fence, I can't recommend it enough.
I should have a painting post up for Sunday. Next week I won't be able to get a game in (work is interfering, I'm afraid), but will hopefully have some sort of alternate content. My regular schedule of posts should resume in about two weeks, after the 20th.
FMB
I think you'll find, sir, that you were simply outclassed by the Austrian forces in every way.
ReplyDeleteThe outcome was inevitable as soon as you decided you had the temerity to try to take on the noble Habsurg empire. Count Nicholas von Lemmingsdorf was never in any doubt that victory - and a full victory, not some puny minor victory - was his for the taking.
Seriously, thanks for the game, it was great fun, even if it did break my 100% (losing) record. As I'm sure you're now aware, losing at Maurice is as much fun as winning. I don't think your strategy was at all wrong - you almost had me, after all - but I was lucky at the end to have had quitq a few cards that I'd managed to save up that proved to be your undoing - I had two First Fires in my hand, so the first four volley phases were going to be dominated by me when you got in close, and the card that makes sure you have a volley phase in your round even if you don't want one. I also had infantry defence cards, a Grenadiers forward card for when I counterattacked, and the card which makes your infantry ignore disruption for the purposes of combat, as well as the interrupt I used against your final charge and the modifier I used against you. The cards I had on me were enough to make sure that at least 2-3 combat rounds would have given the advantage to me, even without the fact that you were going up against my elites who were in cover. I played a much more defensive game than I normally do - certainly much more than the first game we played! I think next time I might go on the attack more though, I feel more comfortable doing so, even if I do run more of a risk in losing. C'est la guerre, as you French saucissons-munchers say!
Herr Escargotbarrie - my condolences. I have emptied the Rastenburger sausage stores and have sent them on to France where you can enjoy them in peace.
ReplyDelete@ Nick - yep. Losing gives you the opportunity to plot bloody revenge ;) @ Anthony - Huzzah! Do I sense an upcoming alliance?
ReplyDeleteWell, one more time, a really impressive battle report. Photos are wonderful! The game is looking very interesting!
ReplyDeleteExcellent AAR with some very useful thoughts on the game.
ReplyDeleteNice board and super report!
ReplyDeleteChristopher
You should get a spiff for your most excellent AARs, Fire. My friend Mark and I both bought Maurice and are both painting our first musket units ever. I can't wait to give this a try!
ReplyDeleteGlad to hear it Monty - you guys should have fun!
ReplyDeleteGreat stuff and good to see the miniatures all based/painted :-)
ReplyDelete