Actually got out to GDub yesterday for real live games of Age of Sigmar yesterday. The shop ran a 1000 point tournament, and I took my "Free Bretonnians", along with my newly (almost) completed Freeguild General on a Griffon. The TO rules that the "Free People" and "Free Peoples" keywords were distinct by the rules, but it prompted me to bring a list that was probably better for the scenarios we were playing anyways.
 |
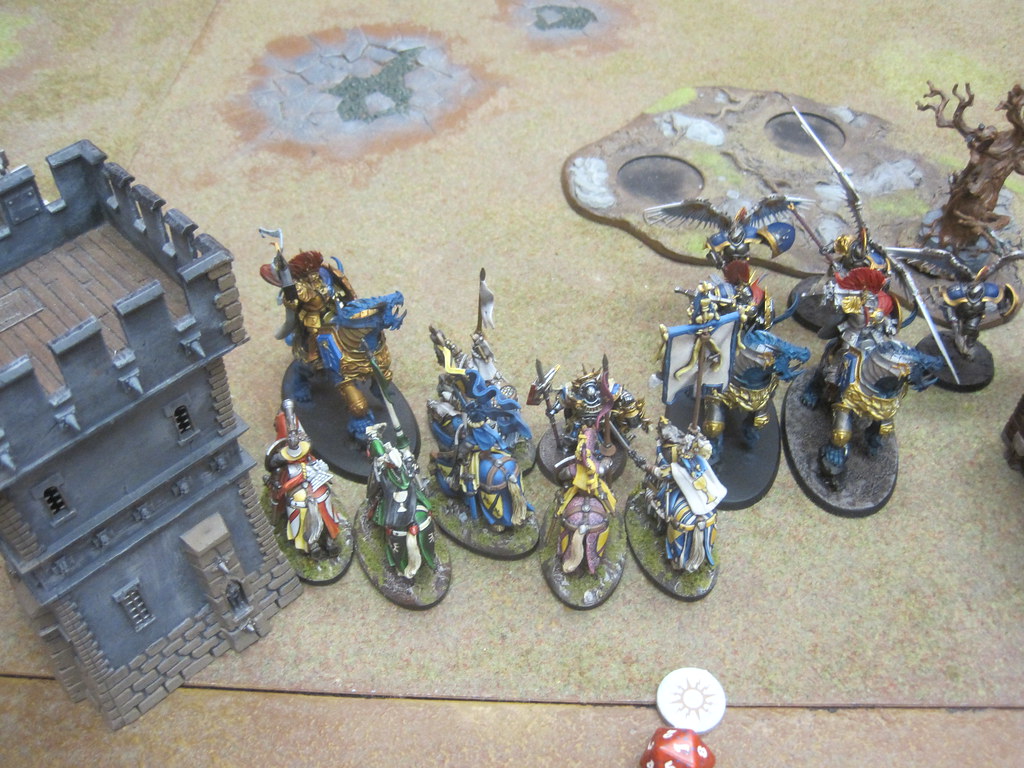
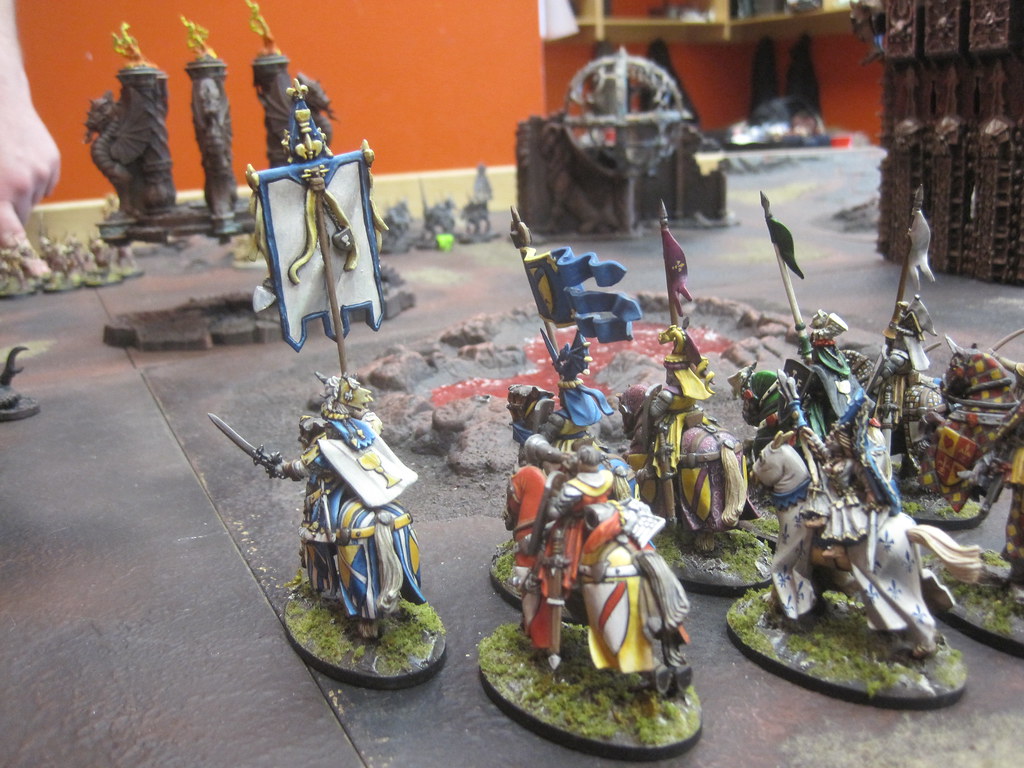
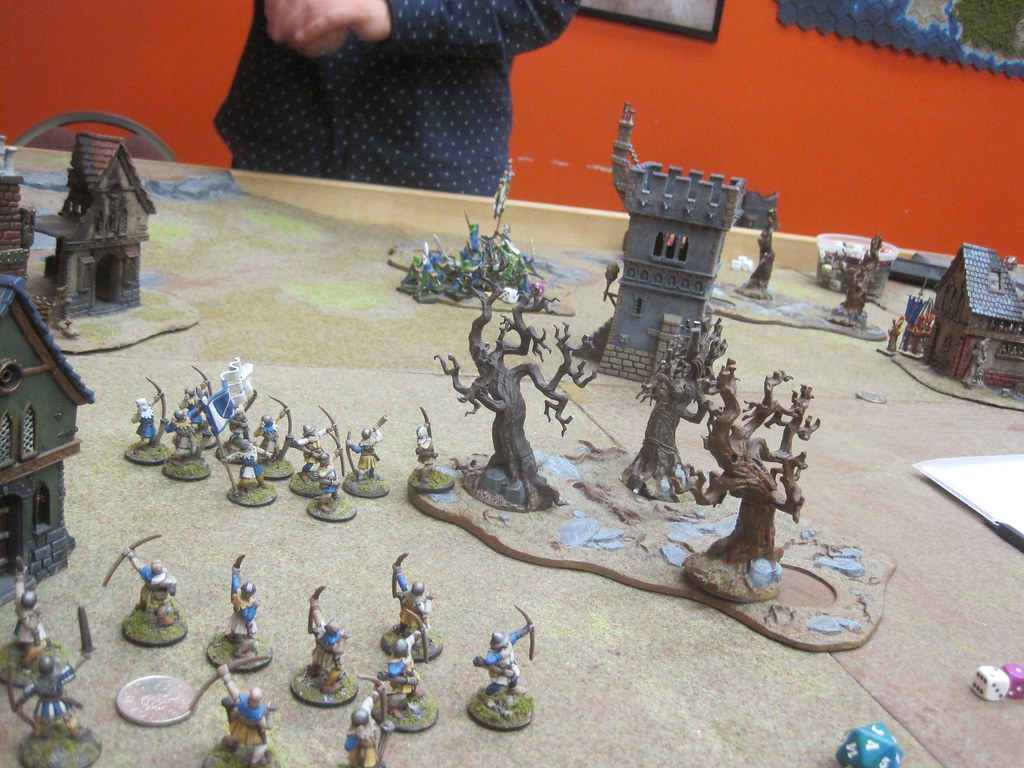
| The pride of Bretonnia-that-was |
I took two units of Freeguild archers as battleline, a unit of Grail knights, a Lord, a Damsel, a Standard bearer, and the aforementioned FG general on griffon. Game one was 2 Places of Power (heros claim objectives, you get more points the longer you hold them) against a solid, but not oppressive Stormcast list, with a mix of Liberators, Prosecutors, Drake riders, a Celestant on Dracoth, one of the lantern guys, and the standard bearer from the starter set, the name of which I don't recall. He'd built for resilience, which I discovered when my Griffon charged into a prosecutor unit that, thanks to stacked buffs, had 2-up saves, re-rolling ones. Not the smartest move I could have made ;)
 |
| Grail knights vs. Dracoth riders. Not going to win this one. |
 |
| Griffin vs. Prosecutors. This one I'll win, but it took much longer than expected. |
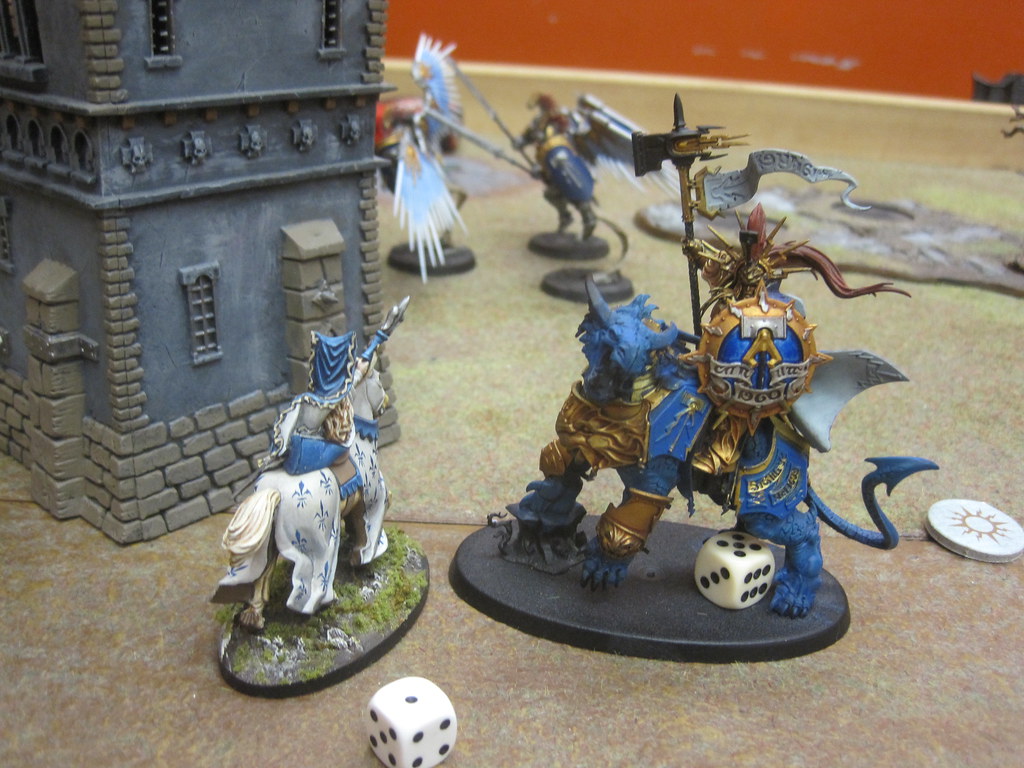
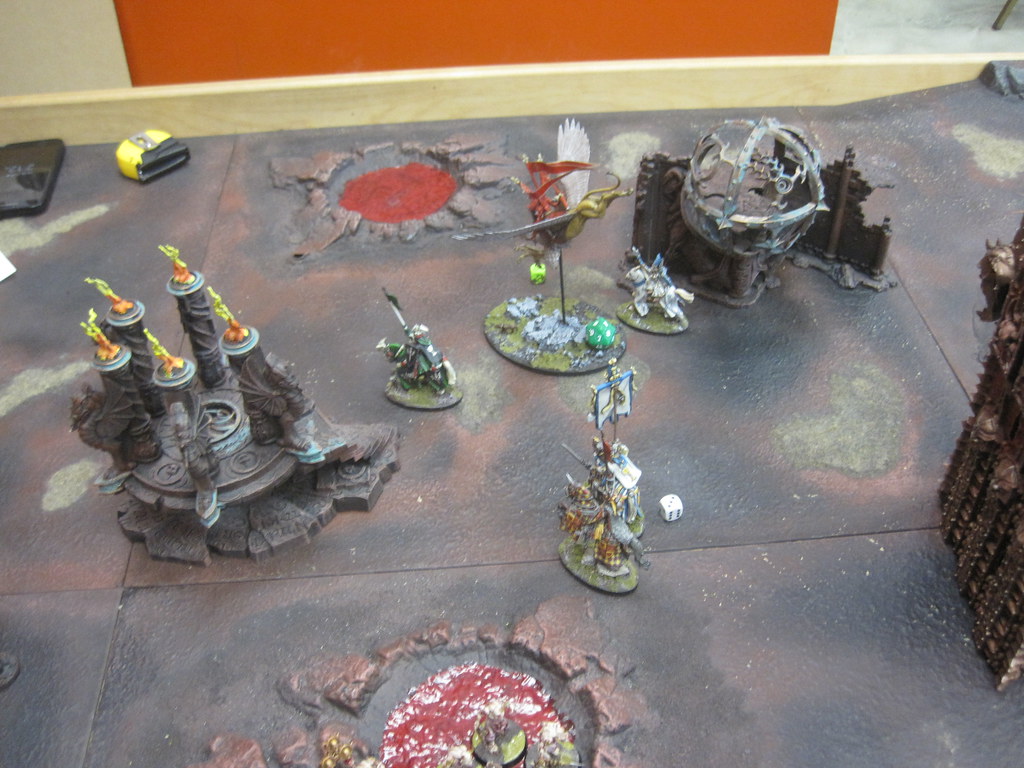
First couple of turns went okay, I used my mobility advantage to get the alpha strike, sending my Grail knights against his General and my Griffon against the Prosecutors on my left. The plan was to take and hold two of the objectives. As it turned out, however, I didn't do much more than scratch the Stormcasts' armour. Grail knights, while solid, are not as super killy as I recall, and the Griffon struggled to punch through the buff-stacked armour saves of his opponents. This set up my opponent (a fun player I've run up against before) up to counter charge with his own heavy hitters. As my units are generally most damaging on the charge, having fired mine to little effect, things weren't looking great.
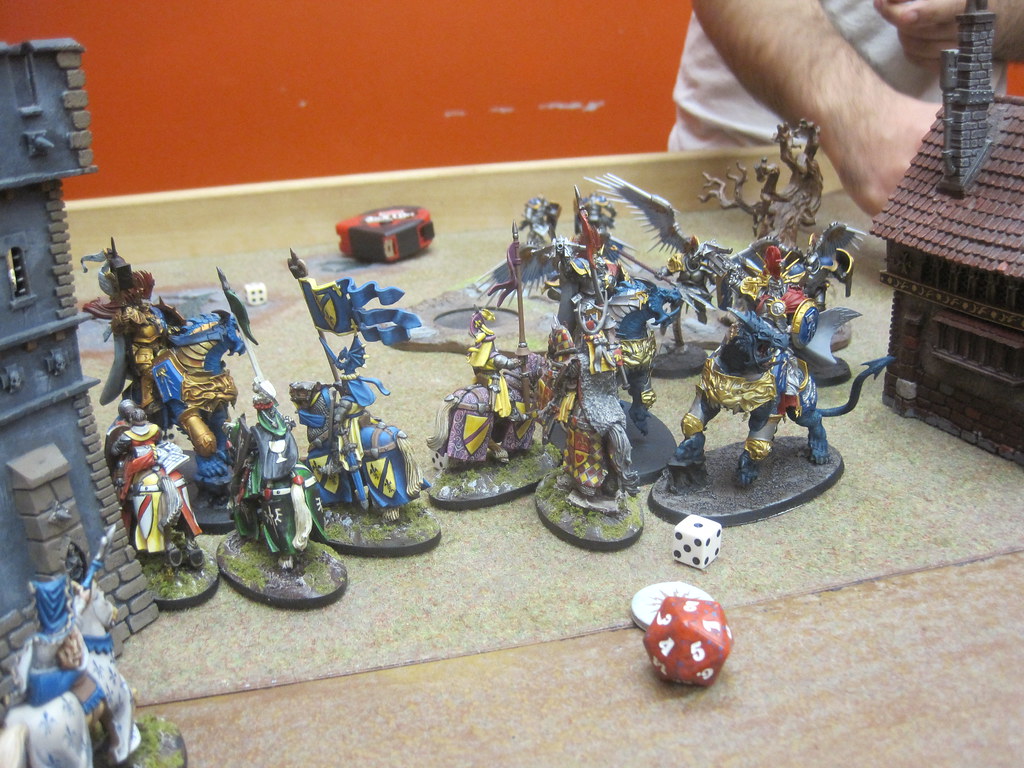 |
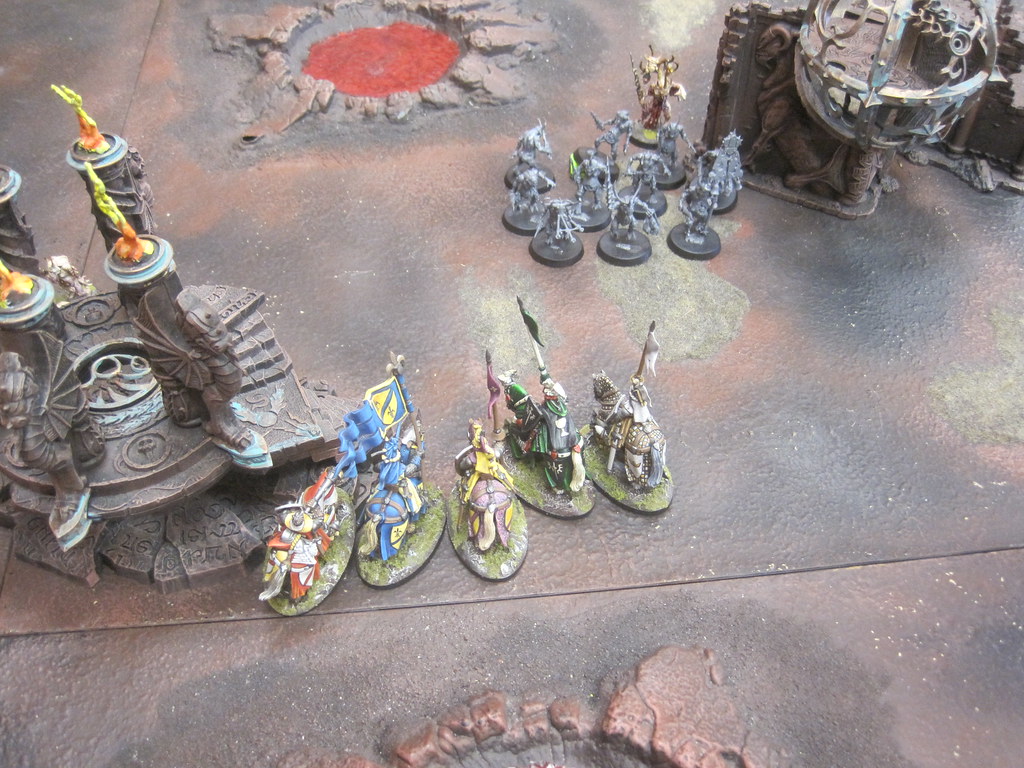
| The Horned Duke charges in. Still not winning this one. |
 |
| Standard bearer, in splendid isolation. |
 |
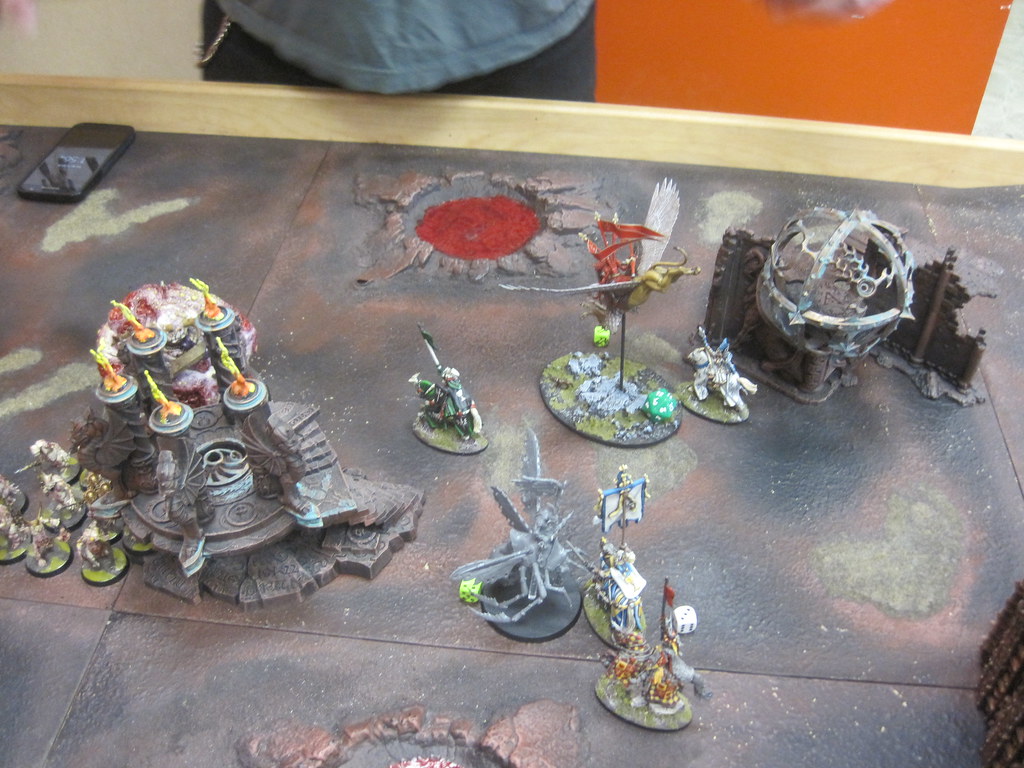
| Damsel vs. Celestant on Dracoth. Really not winning this one. |
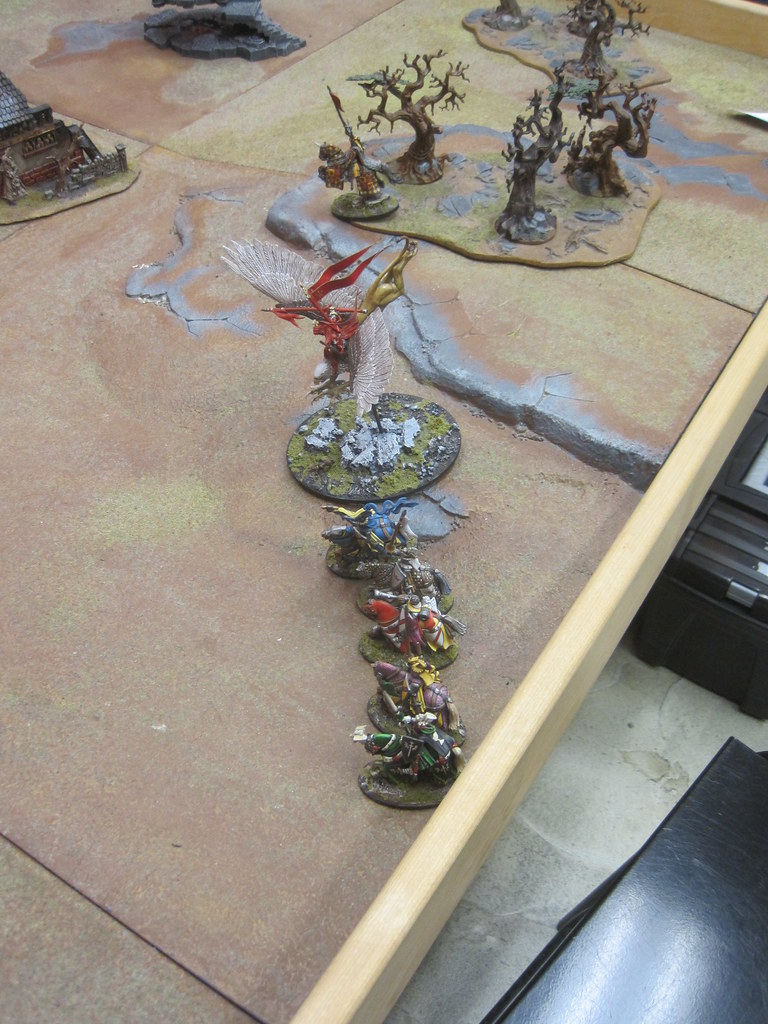
An early lead in objective points was lost as the game turned into an attrition fight. While the stormcast lack my mobility, they make up for it in equal or greater killing power, and better overall durability. I tried to cycle a bit, pulling my standard bearer out, and sending in the lord, but even he couldn't do enough damage on his charge to counter the pressure I was facing in the center - and my big hitter, the Griffon, was bogged down, and eventually surrounded.
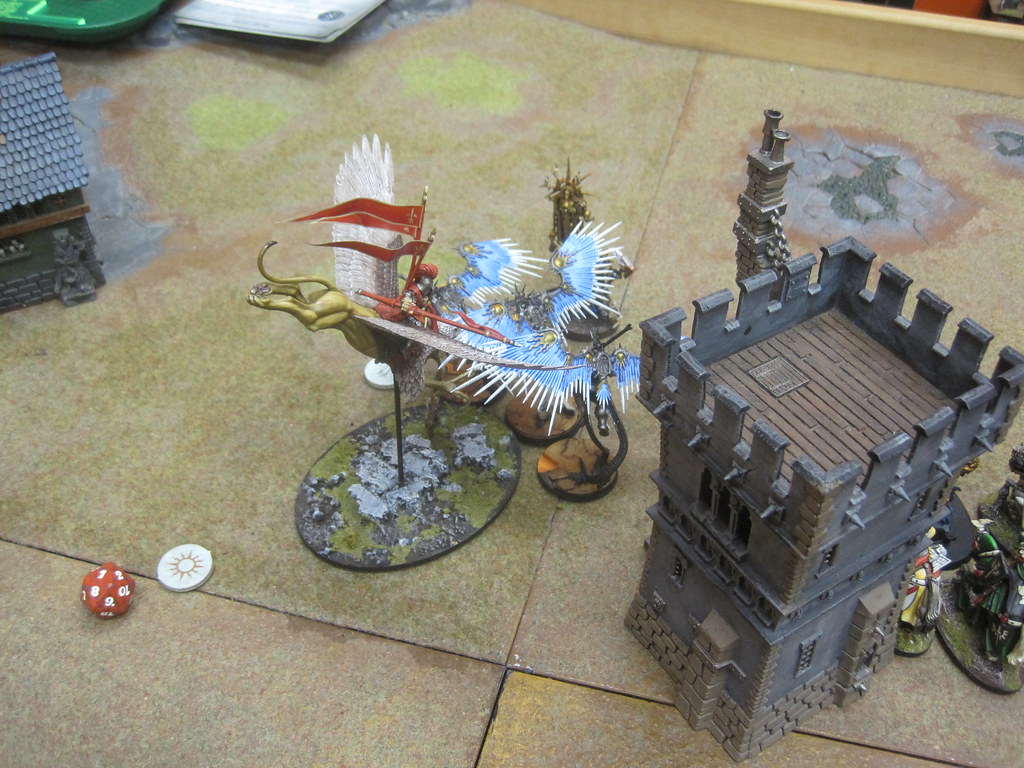
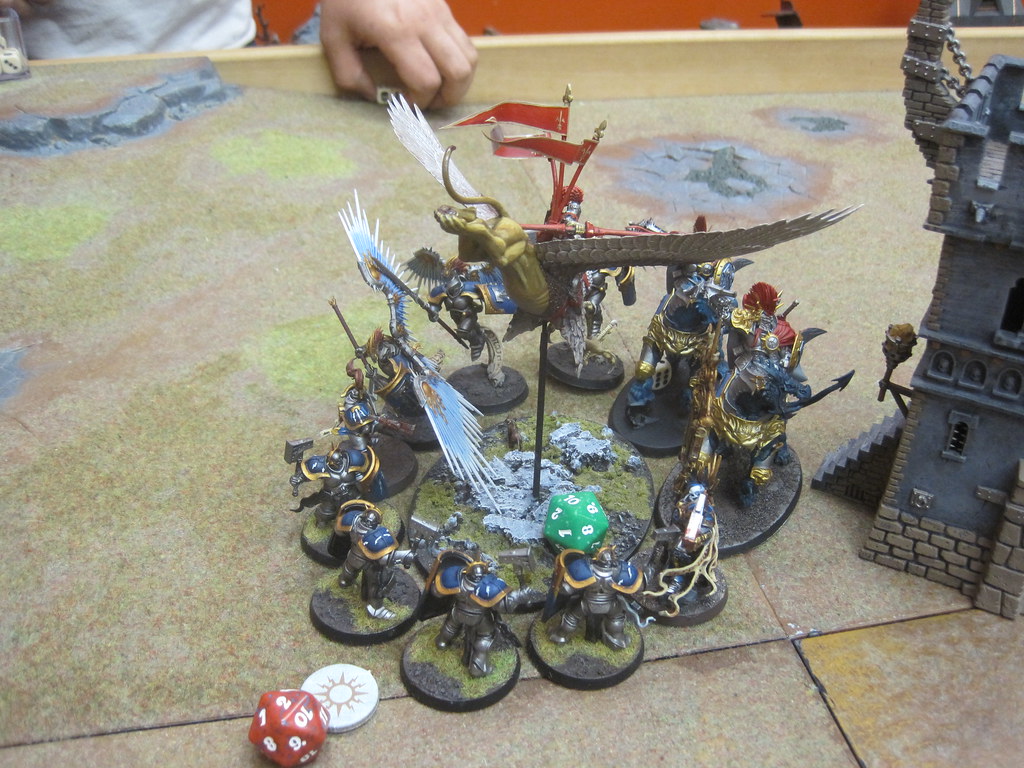 |
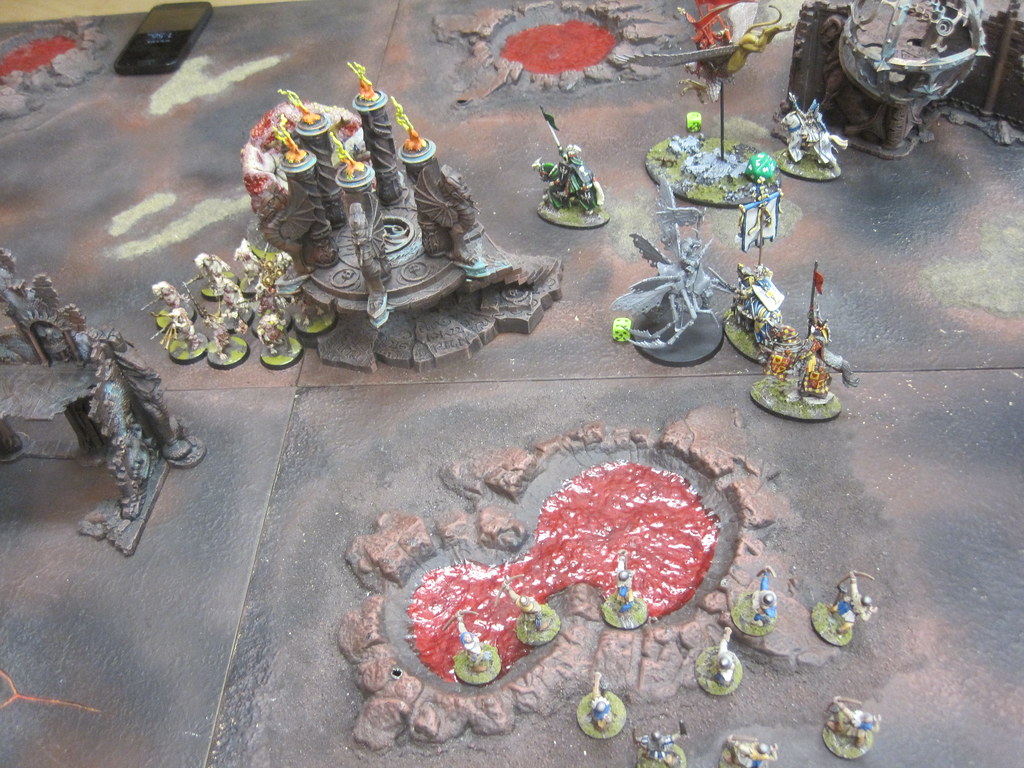
| It wasn't long after this I remembered that the Griffon could fly. Away. |
In retrospect, I should have redeployed the griffon sooner, rather than trying to grind. I also needed to concentrate my forces a little more. I forget that my Brets aren't as hard hitting as they used to be, except in large numbers, and I need to use my mobility to concentrate attacks on single targets as much as I can.
 |
| Turn four, and a distressing lack of Brets on the table. |
Forgetting this led to me being ground down and tabled by turn 4. Solid learning game, against an enjoyable opponent.
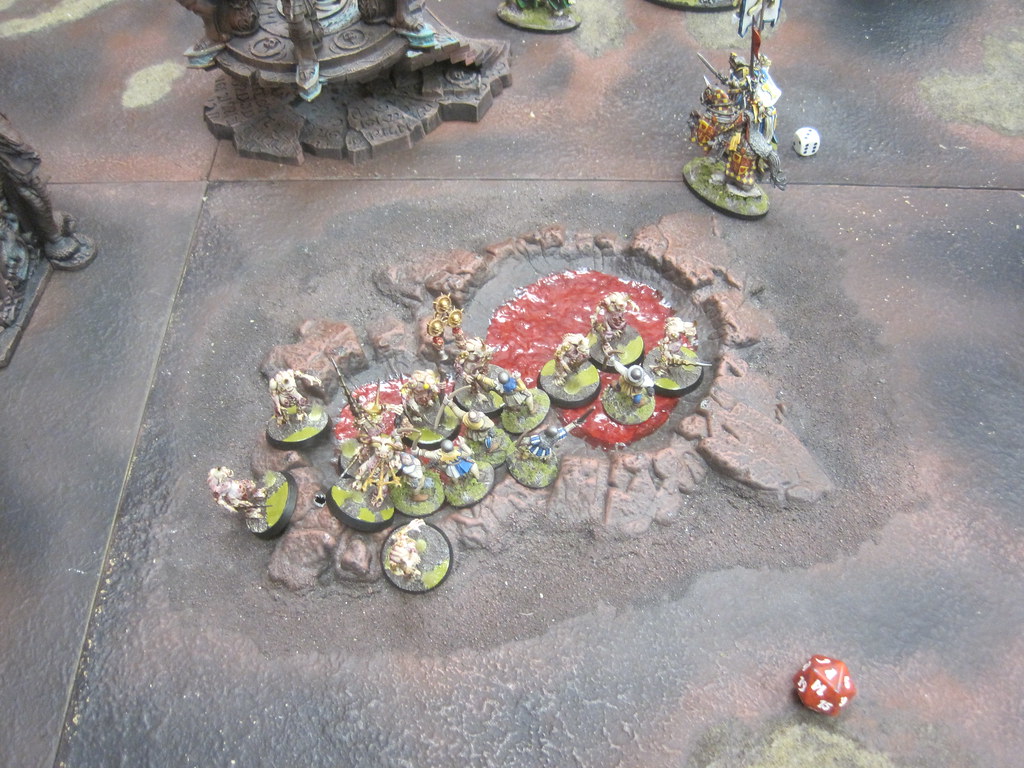
Game two was Border War (objectives scored by number of models, the further into opposing territory, the more valuable) against a Nurgle Demon army led by a fantastic looking Forgeworld Great Unclean One.
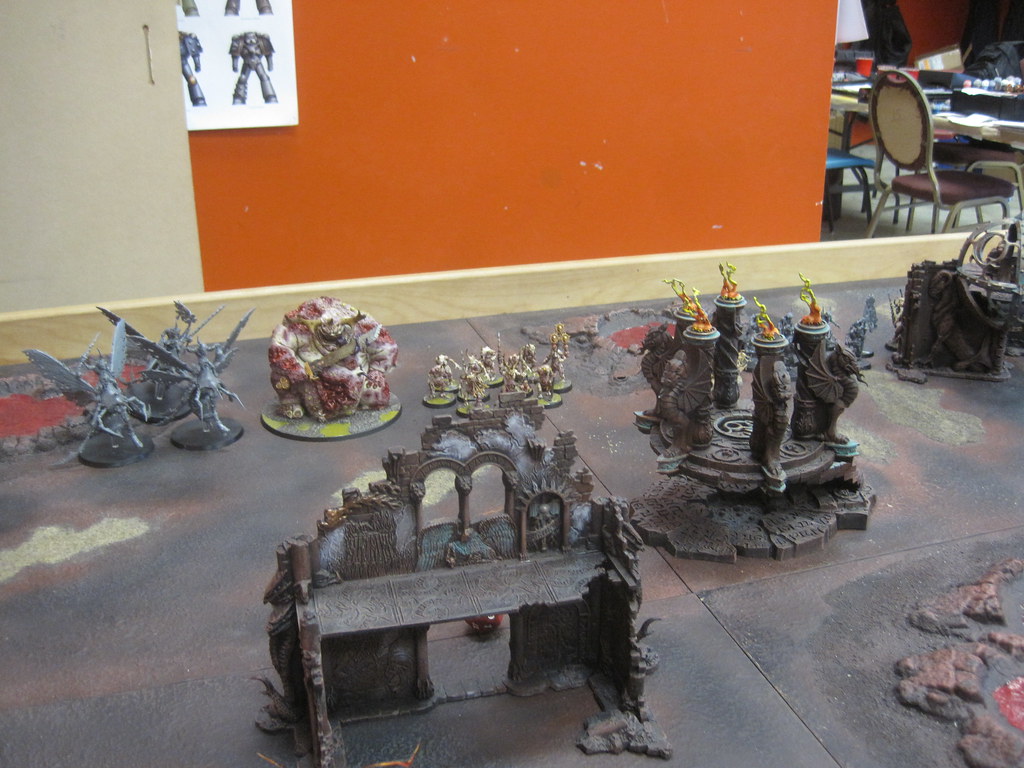 |
| Papa Nurgle's Tallyband. |
I've played this scenario before, and the key seems to be taking the objective in one's opponent's deployment zone - it's worth as much or more than any other two put together. In my experience, this usually involved some combination of force concentration (to break through an opponent's line) and sacrifice play (you don't have to stop your opponent, just delay them). With that in mind, I deployed so as to refuse a flank. The plan was to concentrate the killy parts of my army in a way that would let me turn one of his flanks, and hold off his advancing units by feeding them peasants.
 |
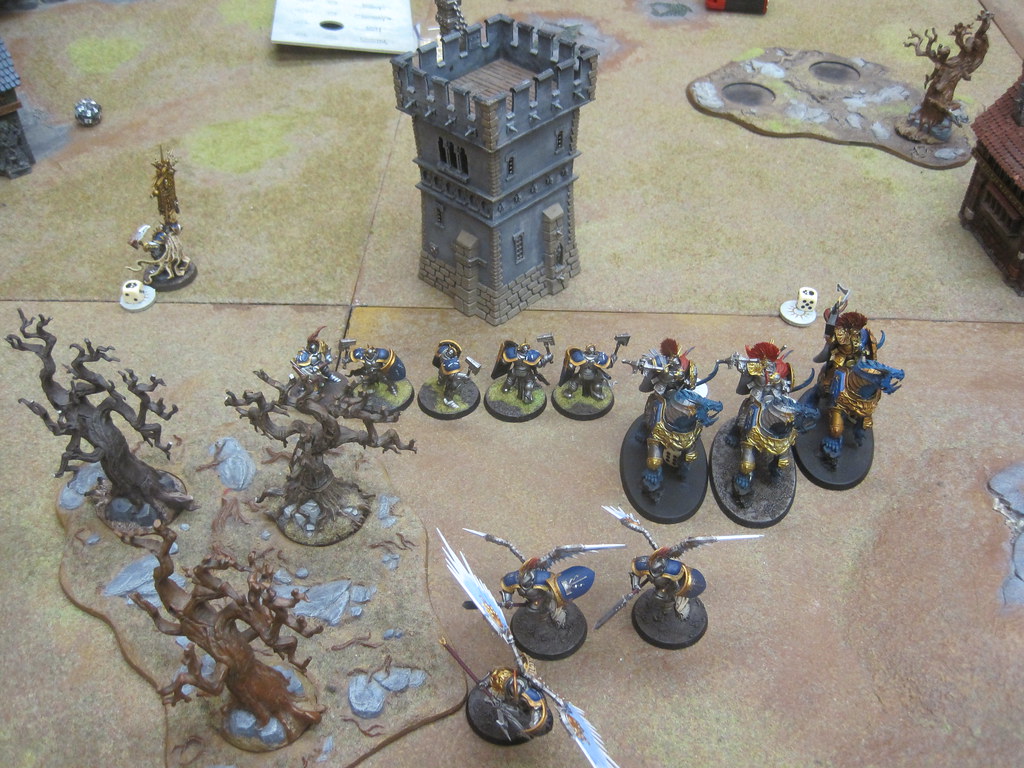
| Massed Bretonnian chivalry cares not for toxic slime. |
I had some early success in this game, managing to rapidly clear out his speedbump units (including a FW plague toad he ran as a beast of nurgle, and some Nurgling swarms), which put pressure on him to defend the high-value objective in his zone.
 |
| There used to be nurglings in front of those knights. A good charge, and I think an Arcane Bolt from the Damsel took care of them. |
While this left my grail knights exposed in the centre (they'd eventually go down under the combined weight of a unit of plaguebearers and plague drones), it left my Griffon free to sweep around to attack his backfield, and my heroes free to charge targets of their choosing. Net effect was I ended up holding a central position, with my griffon on the high-value objective in his zone.
 |
| Plague bearers dealt with, Plague Drones dealt with (mostly), Herald dealt with, and my Griffin on the sweet spot. |
It also meant I was free to hold the objectives behind the lines with scruffy peasants, which added to my points, and put further pressure on him to attack.
 |
| Don't discount scruffy peasants. What they lack in fighting ability, they make up for in stench and numbers. |
A critical moment came when he committed the Great Unclean one against my Griffon. While he was able to do some damage, it didn't take me out, and I had good counter attacks. A couple turns fighting saw my griffon rider emerge battered, but triumphant.
 |
| Post-battle action. Nothing left of Papa Nurgle but some stains, and I suspect a raging staph infection |
 |
| Plaguebearers kill peasants, but not quickly enough to drive through to the objective. |
He committed his remaining unit of plaguebearers to the fight, but wasn't going to grind through to the objective in time, leaving me with clear control of all four for the two remaining turns. Big win to me.
This was a game where I think I generally played it right, and a few things went my way when they needed to. In this list, the Bret Lord and the Griffon rider are the things that actually kill stuff, but I also used my units together well, concentrated attacks, and made sure to eliminate threats before moving on. I played to the scenario, and it worked.
Third game was Escalation (army comes on in three waves, over three turns, fighting over three objectives), against an army that really showcases what you can do with the new version of the game - a combined force of elves and dwarfs.
 |
| Dwarfs, led by an elf. It's a brave new world. |
This was a tight game, and a fun one. I packed most of my effective force into my initial deployment wave, which consistent of the Griffon, the Lord, and my Grail knights. These ended up looking across the table at a Dwarf cannon, a unit of ironbreakers (which ignore anything under Rend -1 - and only the Bret Lord and Griffon have Rend -2), and his general, some kind of elven sniper guy).
The cannon is a bit of an issue. While it's not super accurate, it has (perhaps unsurprisingly) the potential to blow large holes in things, and can, for example, easily one-shot my Lord. Getting to it is a priority, but it meant exposing my guys to at least a couple turns of shooting - and he could easily hide it behind the line of iron breakers, which meant probably another turn of exposure before I could work my way around.
 |
| Knights, about to grin and bear it. |
The plan was to try and score some early points, and then put enough pressure on that something could get through to the cannon and shut it down before it could do too much damage. It mostly worked; I got my first wave stuck in quickly, and chewed my way through to the cannon before it could get more than one effective hit in (I caught a break in that his dice were a little cold shooting), and my second wave brought in my peasants in the backfield to hold an objective. By turn three, with all forces on the table, I had a decent edge in points, and while he was in a strong position to counter-attack in the centre, I had a good shot at winning.
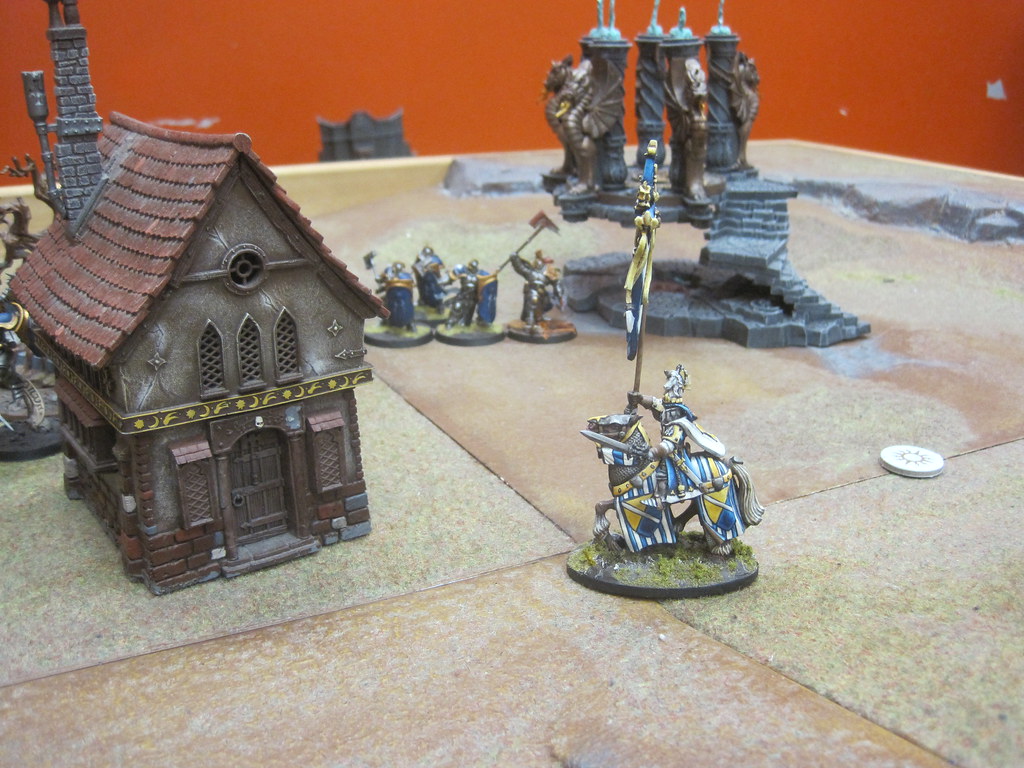
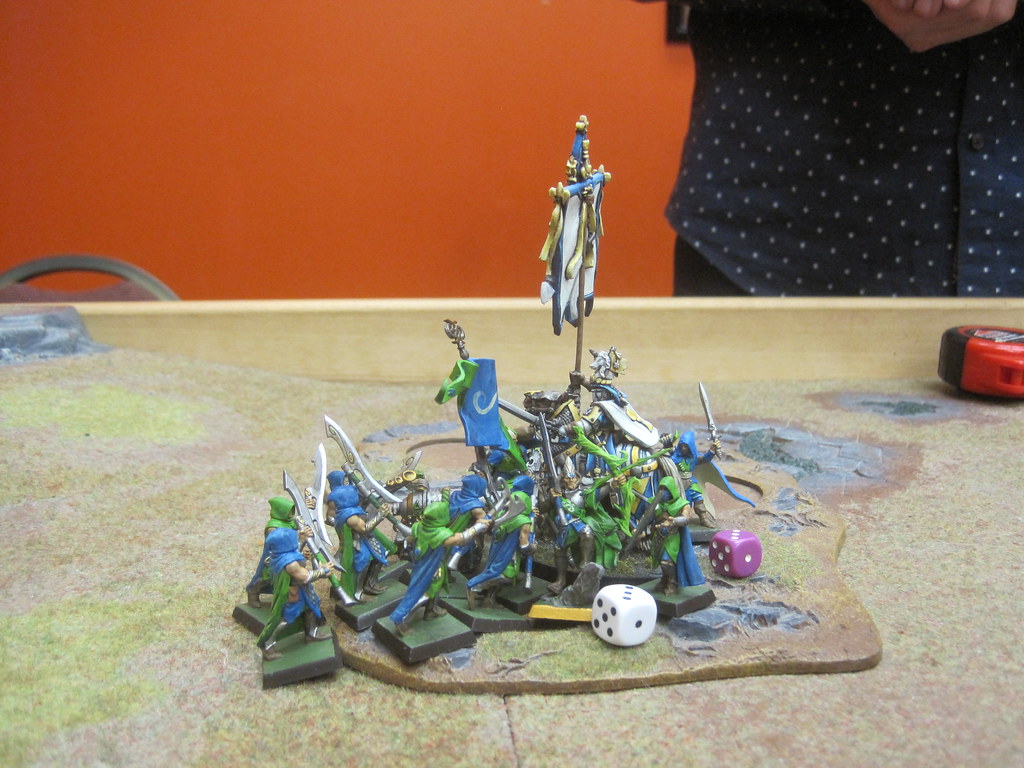 |
| Love this shot - The Blue Laird under a pile of choppy elves. |
He had a unit of elves with these giant falchion things - not sure what they were called, but they got bonuses against monsters, and put the hurt on just about anything they came in contact with. They chewed through my griffon efficiently (with the help of some concentrated shooting), as well as most of my heroes. One of my favourit pictures from the day was them swarming my battle-standard bearer, who went down swinging.
 |
| Peasants sensibly far from the action. |
At this point, the game more or less came down to dueling mistakes. The aforementioned standard bearer should have gone in the other direction, to intercept a unit of sword masters marching in to take the centre objective. At this point, we each had uncontested control over one objective, and were fighting in the middle. If he could take it turn five, he'd catch up and win; if I held it to turn 5, I'd win. By sending my standard bearer to fight in his backfield, I'd given him a change to reach the centre - and even if he didn't get stuck in, he'd take it by virtue of numbers. Instead, he decided to shoot the damsel holding the objective off the table (he had a number of small, but really effective "sniper" units), rather than moving up to directly challenge for control. His mistake cancelled out mine, and I won the game by a single point.
The whole day was a blast. I had three good games, three good opponents, (big thanks to all three) got to try out a new toy (even without access to the synergistic buff, the Griffon is a big gribbly monster), and learned a bit more about how Brets / Free People(s) are likely to work in AoS. I won two games, lost one, and walked away with best appearance, which felt good. Brets still need the charge, but they aren't an all-or-nothing charge army. What they bring to the table now are mobility and versatility. Concentration of force is key, and knowing where to put what resource. Getting bogged down in an attrition battle is death. I'm starting to really enjoy playing with them, and will keep picking away at the painting queue, along with my Khorne (which I've been working on as well).
FMB
had 2-up saves, re-rolling ones .
ReplyDeletethat hardly seems fair !
sounds like you had fun and good to see you painting and playing :)
What a tremendous sight!
ReplyDeleteEpic!! Wonderful and atmospheric terrain, great looking figures (these knights are spectacular, I do like them!)...Excellent!
ReplyDelete