Hi all,
Some of you, sufficiently long of tooth, may recall an old White Dwarf article where a band of heroic imperial guard held off wave after wave of orks. Loosely based on (the movie version of) Rourke's Drift, the scenario, Glazier's Creek, was recently given a refit in last years WD run, with Astra Militarum and a few friends doing their best to repeat the feat. After a fairly long lobbying campaign by the Cub, we played it out over the last week or so. Turns out, it was a ripping set of games, came right down to the wire, and was the most fun I've had playing 40k in a while.
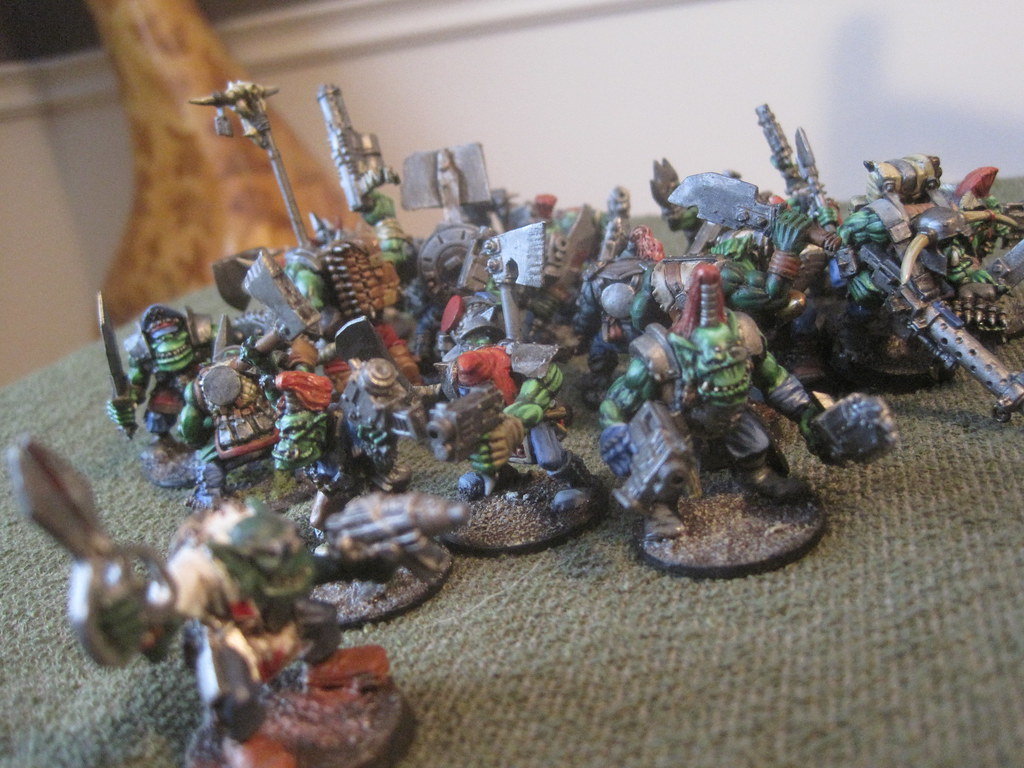
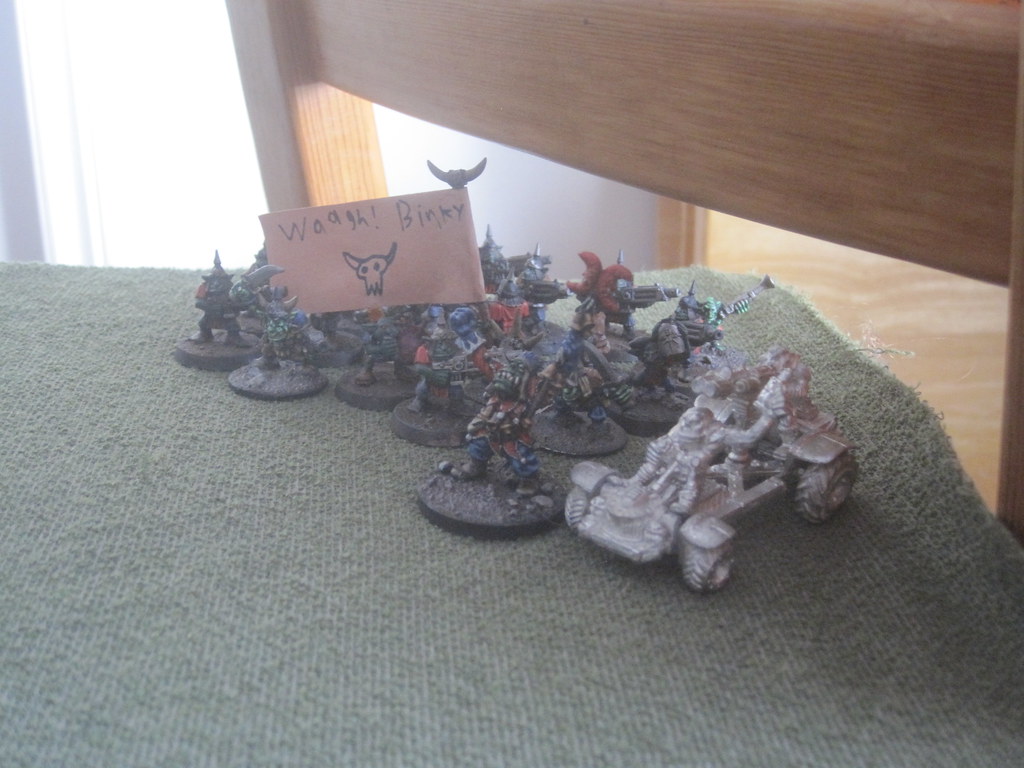
 |
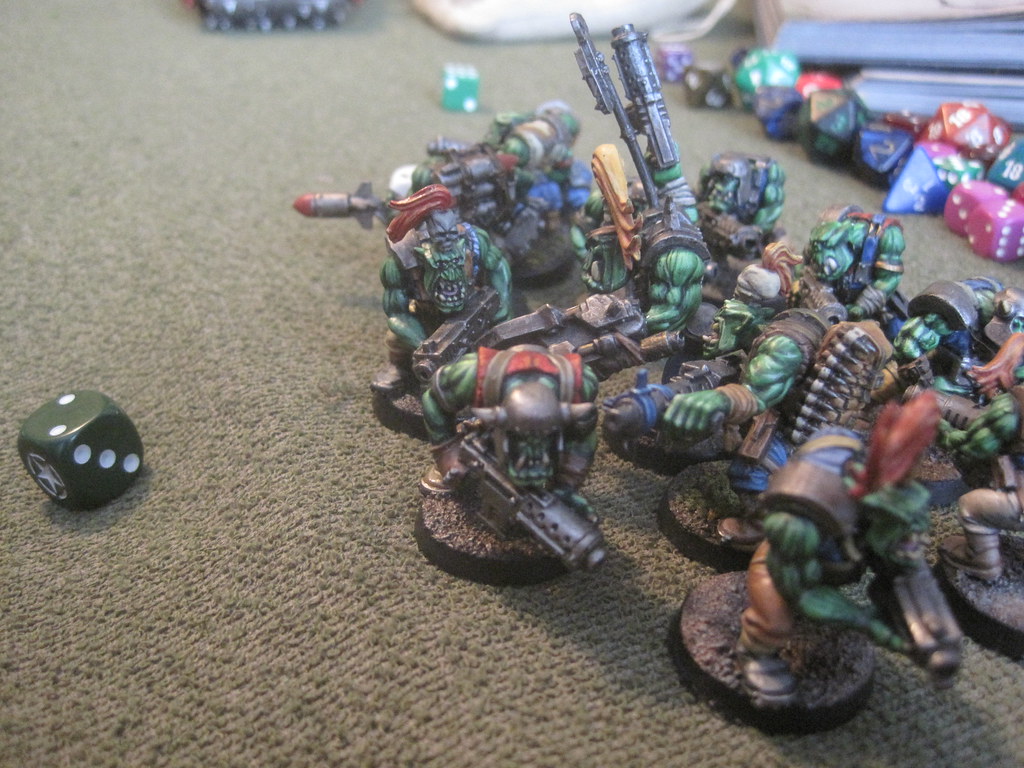
| The warband of Arz Khazor gathers. |
Cub opted to play the attacker, and used my orks (which he's been painting off and on for the last little while). After some waffling (I almost ended up using his Space Marines, believe it or not), I chose my Khorne Chaos Marines / World Eaters; choosing an almost exclusively attack-oriented army to play on defense was possibly not the smartest move I could have made. Turned out to be a fun choice (as always), and I ended up with a neat backstory for my Khorne Lord about where he got his daemon weapon ;)
 |
| One of many ork mobs to hit the table. |
Our collection of 28mm buildings is pretty limited, but we made do defining a space with my Khorne Altar (which is in dire need of a paintjob), and Cub's set of ruins (which he put together just before the game). The scenario basically depends on creating a defensible space that gives cover, and designating one building as the hospital (those of you who've seen ZULU! will understand why).
 |
| Boys before toys. |
The ork player secretly chooses a number of "waves", and then rolls on a table for a selection of units of different power levels, with the precise options varying depend on what number of waves has been chosen. The defender picks a single force of 50 power level, and this is what they play with through all the games (each wave is one game). For the defender, casualties are cumulative, with the proviso that models lost check at the end of the game, a roll is made to see what happens, with a 1 in 3 chance that the model will be dead, "in the hospital", or back in action for the next game. The net effect is that the defender, who starts out on even terms, but in good cover, becomes more and more outnumbered as games are played, as casualties mount, and the opposing attacker grows in strength.
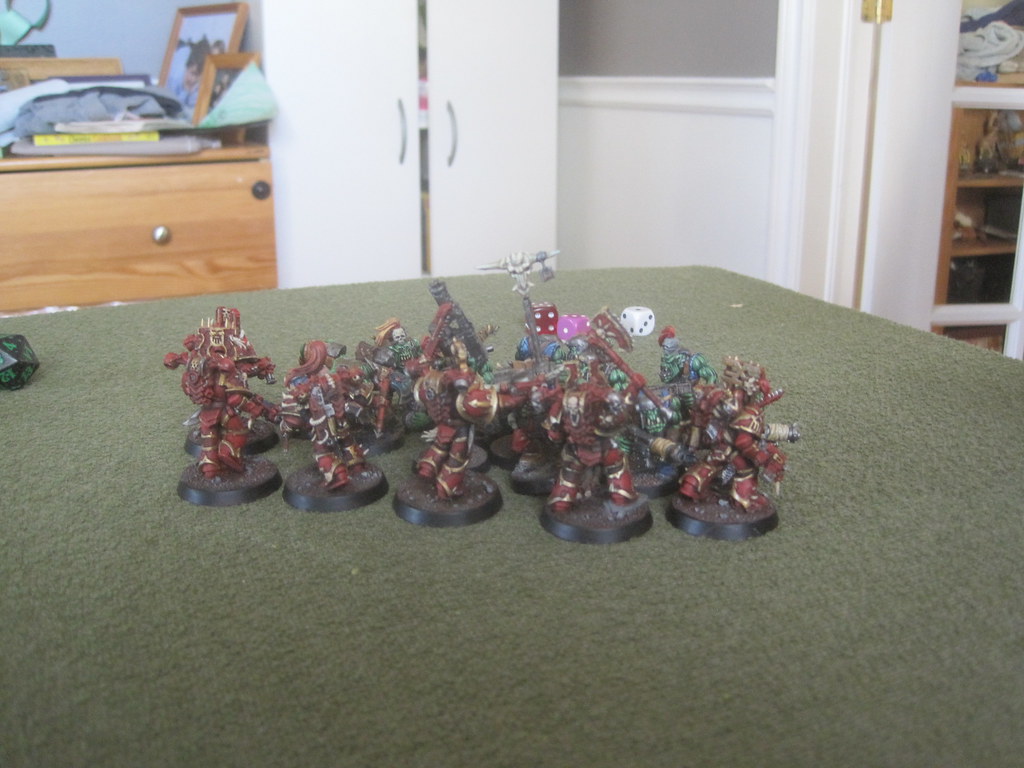
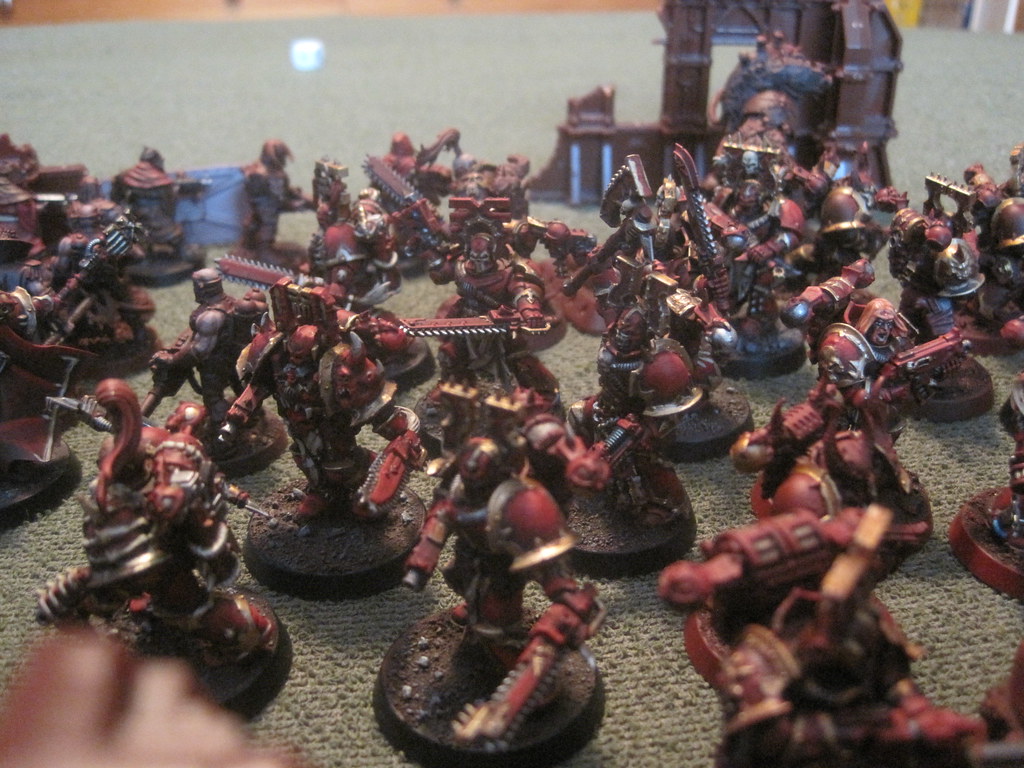 |
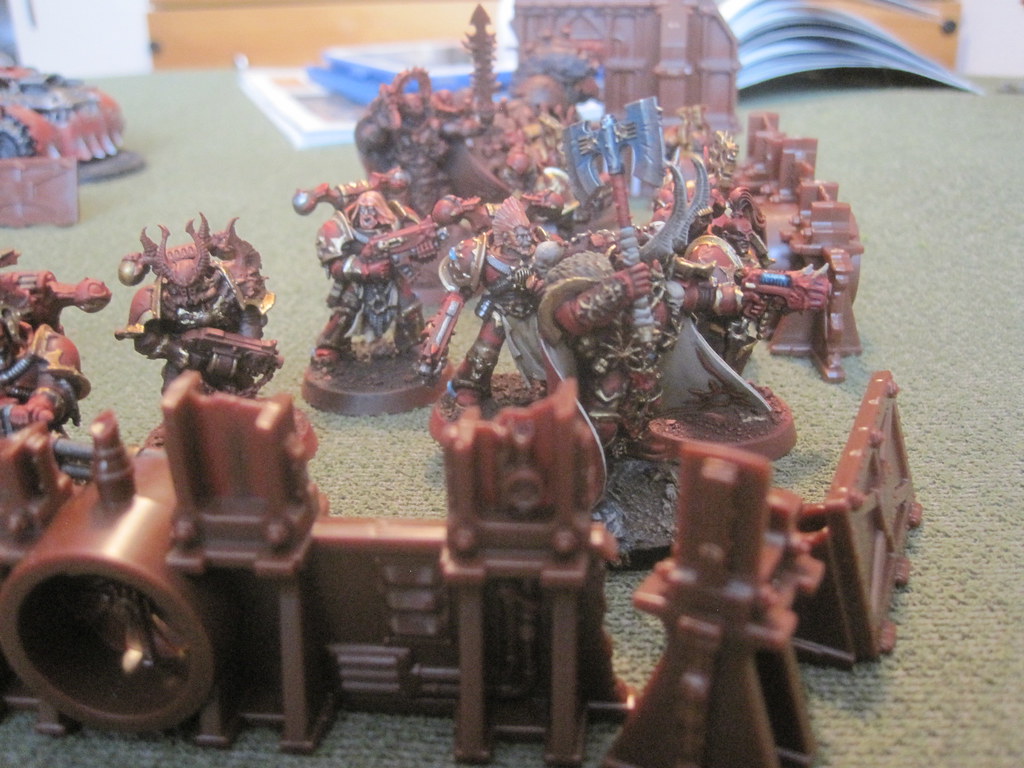
| It's a good thing I like painting red. |
A game / wave ends when the attacking force is reduced to half of it's original starting number of models. Attacker wins if they eliminate all living models inside the perimeter of Glazier's Creek, and the defender if they fight off the attackers.
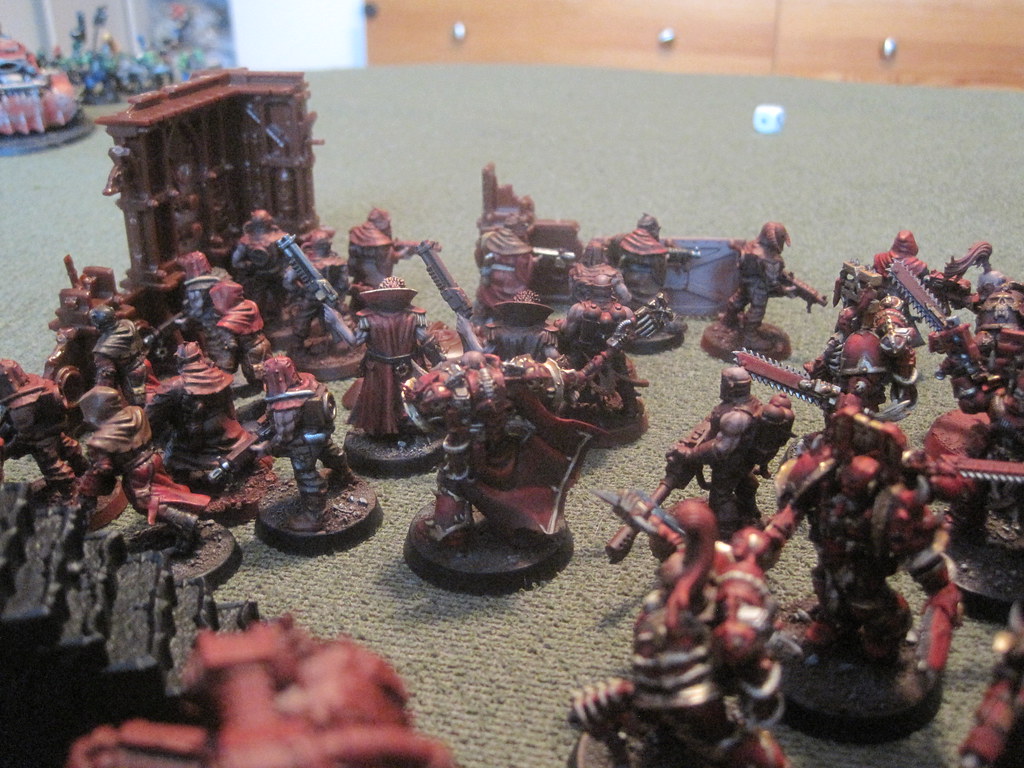
 |
| Lots and lots of red. |
I opted for a fairly "shooty" force, at least for Khorne, with a unit of berzerkers, a unit of marines, a unit of 20 "shooty" cultists, 2 obliterators, a Khorne Lord, and a Dark Apostle. I figured while things would eventually get to close quarters, have something that could reach out and damage the orks on their way in would be a good thing.
 |
| The Dark Apostle didn't live long enough to get a name ;) |
I managed to beat off the first wave relatively easily. Cub charged in his units fairly piecemeal, and I was able to concentrate my responses and take them out. I did, however, make one major miscalculation, and put my Dark Apostle in a bad spot. This made him an eligible target for shooting, and Cub didn't miss the opportunity. He also showed a distressing habit of concentrating fire on critical assets like my obliterators (among the few "heavy" shooters I have), and the first game ended with me down one of the big boys, along with the Apostle (who's morale abilities and close-combat re-roll aura were critical to making the cultists effective).
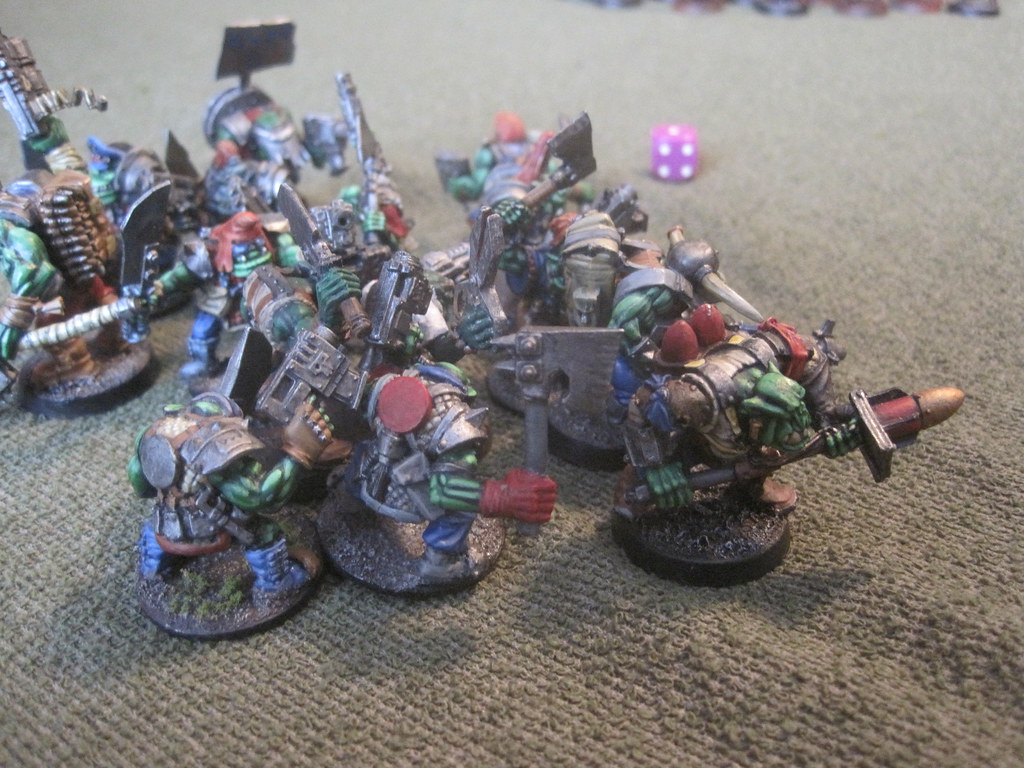 |
| Orks, orks, orks. |
 |
| These shoota boyz and I go way back. |
Game two was a repeat of game one, but with Cub playing even smarter, and me starting to feel the pressure. He again concentrated fire on my ranged assets, taking out the bulk of my "shooting" marines, and the other obliterator, leaving me with little to counter any heavy armour he might bring in later waves. While not as many of my guys were outright eliminated, there were a distressing number "in the hospital" by game's end. I did catch a couple of breaks, using a stratagem to essentially "regenerate" my cultist unit, and taking advantage of his disembarking a unit of grots to make a bunch of kills and close the game quickly.
 |
| My original Khorne Lord standing in as a unit champion. |
Game 2 also saw Cub begin to concentrate on the hospital. As this "contains" models still potentially in the game, it's a necessary target. He managed to get his Killa Kans into it on the last turn, and they would have likely "popped" the building had another turn been played - another reason why taking out the big mob of grots was a lucky break.
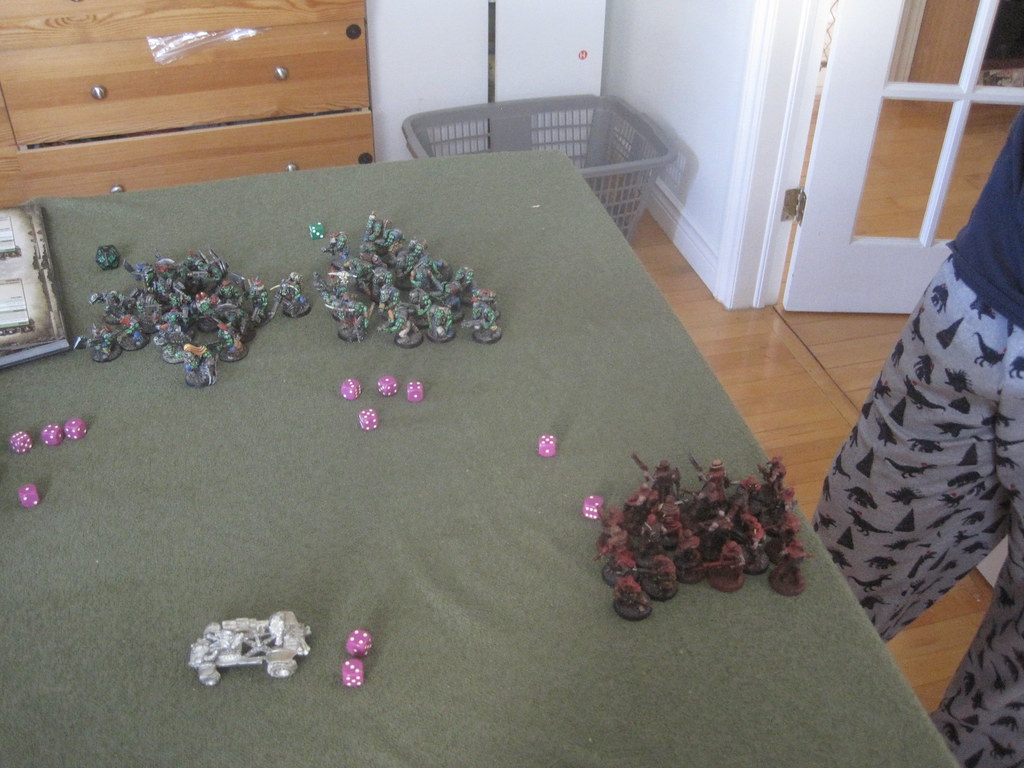
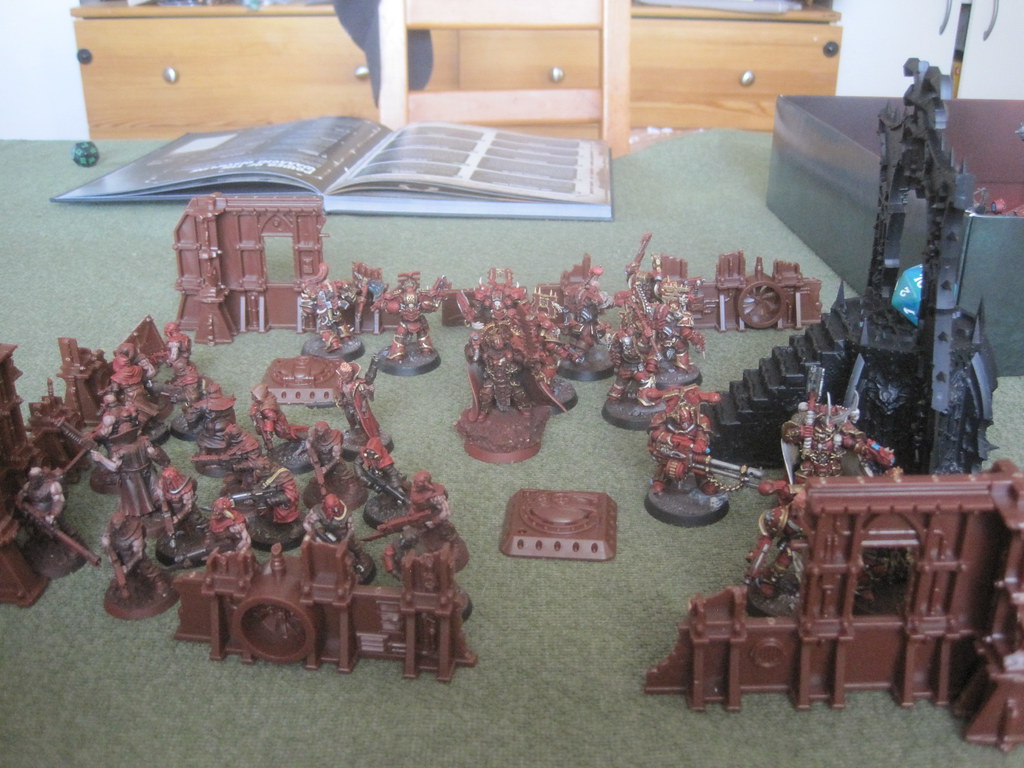 |
| What was left at the start of the third game. |
Game 3 (which turned out to be the last wave) was a squeaker. From the start, I was pretty much convinced Cub had it in the bag, as there were a lot (and I mean A LOT) of orks, and ork units, on the table.
 |
| There were so many orks on the table! |
 |
| Fuzzy, but you get the idea. There was a lot of armour too. |
 |
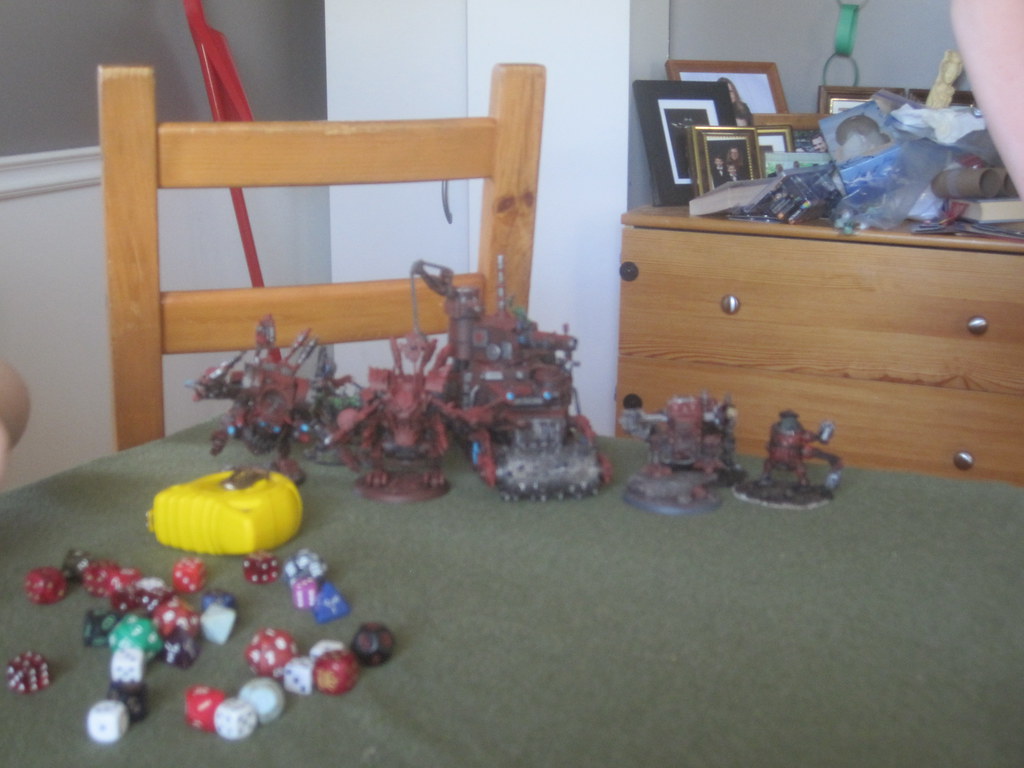
| I've had the shokk attack gun for ages. He got it together, and managed to get some paint on. Thing is seriously scary - I was missing out ;) |
 |
| "Binky", by longstanding tradition, is the name of my ork Warboss. |
To survive, I had to kill 43 models, half of what he had on the table. With my forces gutted by the first two games, I didn't really have much in the way of a response to his heavy armour. I did have an ace in the hole, however, in that I had kept back enough power points to summon a unit of daemons. I wasn't sure how much good 10 bloodletters were going to do, but I'd take what I could get.
 |
| Start of a paint job on the Lord. |
With my Dark Apostle gone, only my Lord could summon them - and only by sacrificing his movement. That left me with some choices to make. I basically had to take out two of his 20-man mobs (2 orks, 1 grot), plus three more models. My berzerkers, especially, could do work there, but not behind the walls. Move out? Or stay hunkered down?
 |
| The big gamble. Stay and get shot, or charge out, and risk losing the objective? |
After Cub moved up turn 1, and put enough firepower into the Berzerker to thin their ranks (and tear up the cultists fairly badly), it was kind of a no brainer; use 'em, or lose em'. I moved the berzerkers towards the ork mob, and used a stratagem to recycle (and reposition) the cultists between orks and gretchin. I also left my Lord behind, who summoned in the Bloodletters to add another threat to the table.
 |
| Bloodletters. Squishy, but they rarely disappoint on the charge. |
 |
| Cultists "teleport" out; and endless tide of traitors. |
Now I needed my charges to go off; if I was going to take out two mobs, it was pretty much now or never. Rolled for the berzrkers, and they went in. Rolled for the cultists . . . and they came up short. That was okay, I still had the bloodletters, who promptly also failed. I used one of my two remaining command points to reroll one of the charge dice . . . and still failed.
 |
| Such a fuzzy picture for such a pivotal moment. |
One the one hand, berzerkers are really good at killing orks. They wiped out an entire mob of orks (just the 6 of them), and I burned my last strategem to consolidate into the second unit (protecting me from shooting, at least as long as I was in combat).
 |
| That's better. |
On the other hand, I had two units hanging in the wind, and the bulk of the ork army heading for the objective, with only my Lord and 4 marines to defend it. Cub opened up his turn by rather craftily teleporting his grot mob to safety with a psychic power, and then followed with a massive salvo directed straight at my chaos lord. It was crazy - there was a battlewagon, two deff dreds, three kill kans, a shock attack gun, a buggy, and assorted ork mobs - all of them unloaded. When the smoke cleared, my Chaos lord was battered, but still standing, and daring the orks to come on.
 |
| The last stand of Arz Khazor. Or is it? |
Sadly, after being charged by three killa kans, he finally went down. I took some consolation in that by surviving, and speedbumping the ork advance on that flank, he'd bought me another turn to try and thin down the ork horde.
 |
| If the 'Kans don't get him . . . . |
At that point, it was all or nothing. I damaged one of the killa kans with shooting, and then charged the bloodletters into the killa kans, and the cultist mob into the ork mob still standing. The bloodletters did well, finishing off the wounded 'kan, and taking out another. I needed to take out 5 more models to win. I then proceeded to nearly have a heart attack when a band of almost 20 cultists completely whiffed against the orks. It was down to the last few berzerkers, who reduced to 3, managed to close it out.
 |
| Hail the glorious dead! Although, Arz made his role to "live". He'll be back. |
What a bonkers set of games. I was convinced at several points through the last one that there was no way I was going to pull it out. Cub played well; he's growing up fast, and is plenty cunning when he puts his mind to it. Targeting my shooting early put me on my back foot in the later stages of the "campaign", and had a couple of die rolls gone the other way in the last couple of turns, he would have pulled it out. He also made a point of looking to use stratagems more this game, which I think is a big jump in his play. Once he becomes more familiar with the options, and gets a sense of how to time their use, I think he'll start winning more than he loses.
In the meantime, I got in three fun games against my boy, got to play through a scenario I've read about, and wanted to play, for going on 20 years, and had a blast doing it. I also was motivated enough to get some painting done on the force, and will likely keep at it now that the games are over. We've tentatively planned to run the scenario again, this time swapping roles. I may try my Khorne daemons as the attacking horde (they just got a shot of fresh blood, pun intended), against (most likely) his marines.
FMB
What a blast! Looks like you had a lot of fun throughout.
ReplyDeleteWe did! Now I just have to execute my nefarious plan of using GW as a gateway to historicals . . . .
DeleteThat does sound like a great mini campaign. Lots of fun. I don’t know 40k we’ll enough to know what unit is what but I get the gist from context.
ReplyDeleteAnd now I totally have a craving to watch Zulu. 😀
Me too! I've had to confront the problem that while I had ZULU! on VHS, I've yet to update - might be time.
DeleteI remember the original article in WD long ago! Orks against the thin red line! Great stuff! You'll be getting beat soon!
ReplyDeleteBest Iain
Oh, yes. He's pulled it out a few times now, but I suspect the tide is turning in his favour on a long-term basis ;)
Delete