Hi,
It's evidently high-traffic time here in Halifax. As you may recall, a few weeks back an old gaming buddy swung through town, and we picked up a game of fantasy. This week, another gaming buddy, Kyle, this time from Toronto, was passing through. He touched base, and we got down to Monster Comic Lounge on Wednesday for some Warmachine.
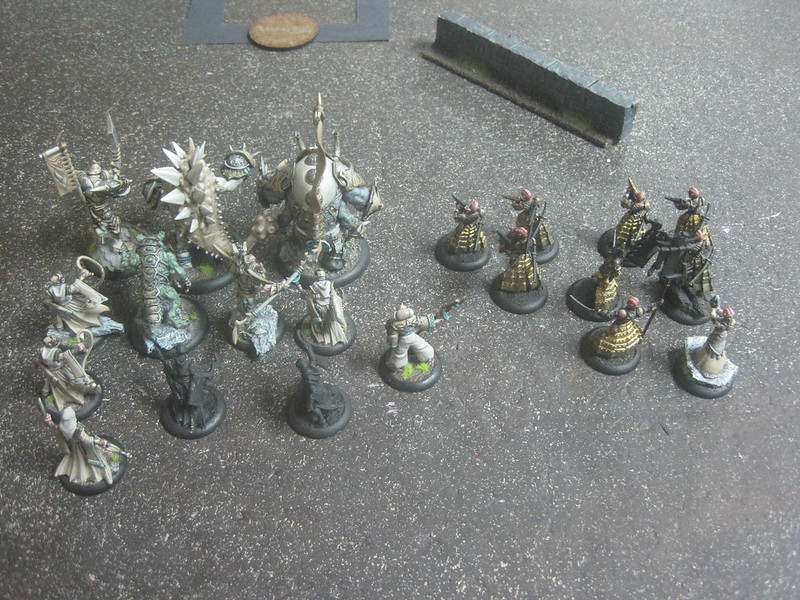 |
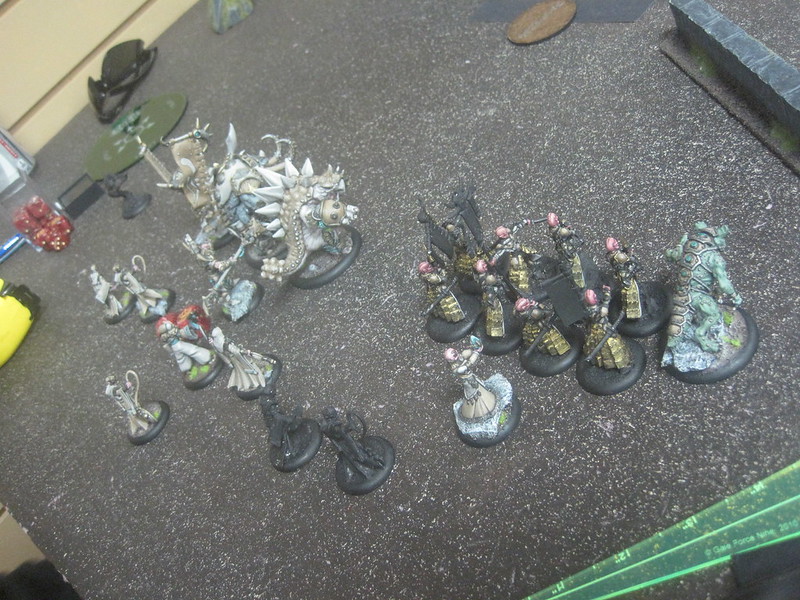
| 35 point work in progress. Not pictured, the Void Spirit. |
I ran a 35 point list, consisting of:
p Hexeris
Titan Gladiator
Rhinodon
Cyclops Savage
Krea
Full Paingivers
Min Rievers + UA
Aptimus Marketh
Extoller Soulward
Void Spirit
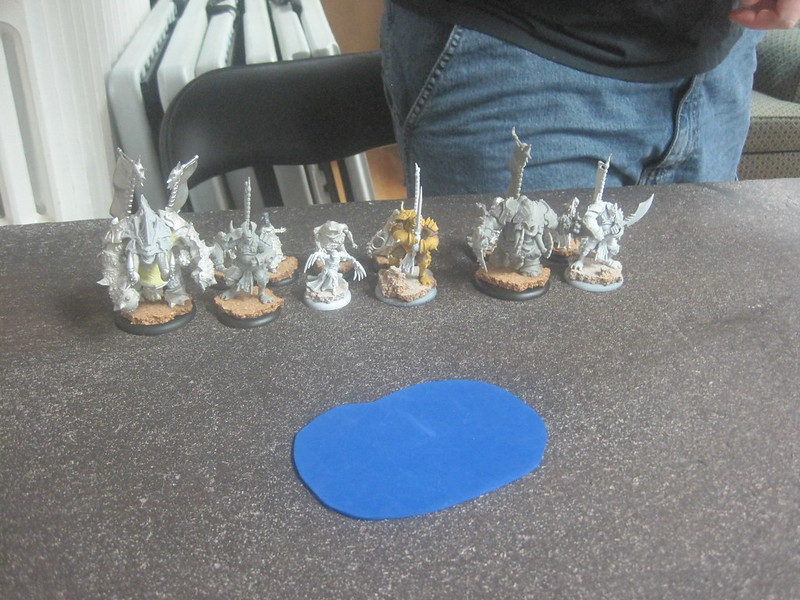
I painted Marketh, and put in some work on the soul-destroyingly fiddly Rievers. I'll be relieved when they're finished up.
 |
| Not pictured: My bitter, salty tears. |
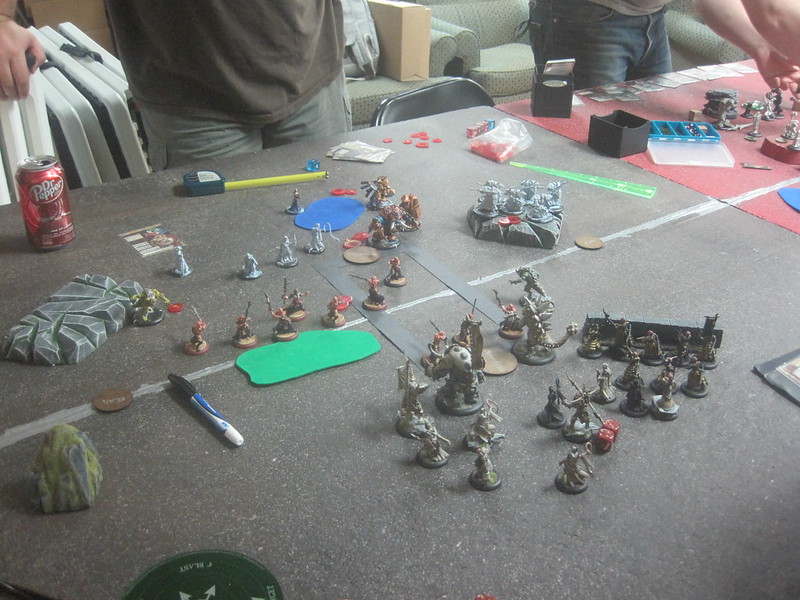
My opponent ran a beast-heavy pMorghul list, which had a couple of immediate effects. First, as he had no shooting, it reduced the utility of my Krea (which is primarily a defensive piece against shooting). It also meant that my feat (which targets enemy infantry) wasn't as useful as it could be. The fact that I realized this BEFORE the game rather than in a moment of gonad-shrivelling terror DURING the game indicates progress ;)
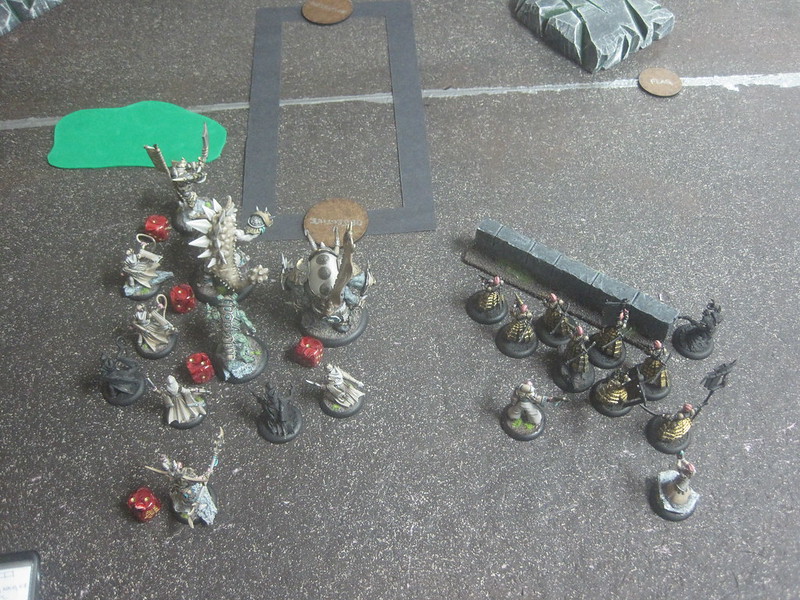 |
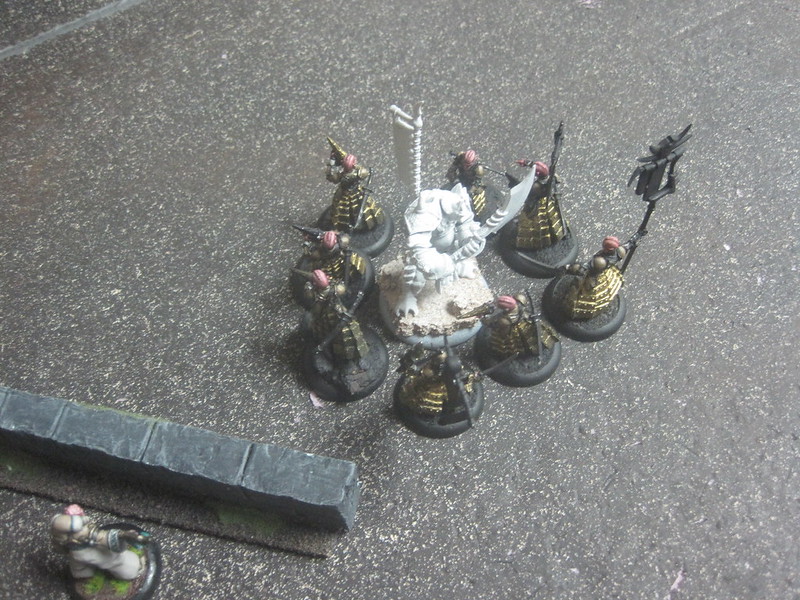
| Go forth, my minions! Actually, there's no Minions in this list, though I'd love to be able to take Gorman. |
 |
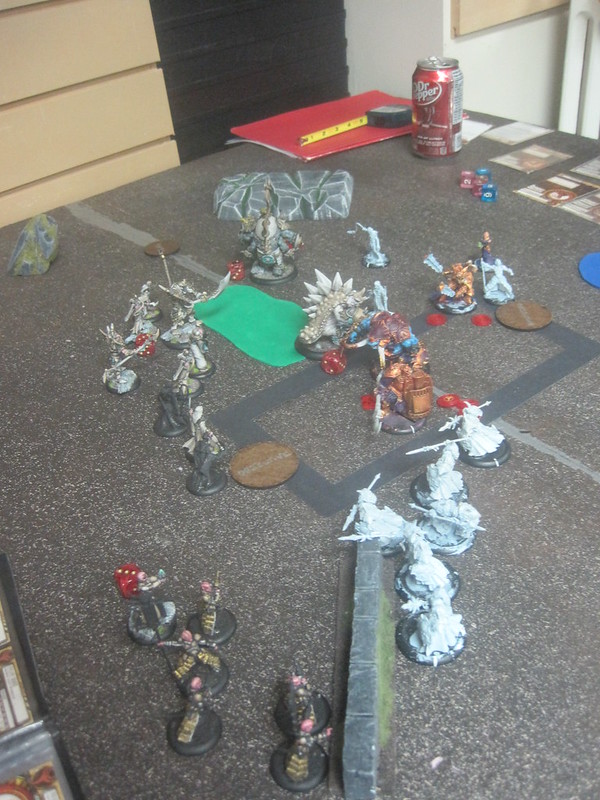
| Venator Rievers are off-picture to the right. |
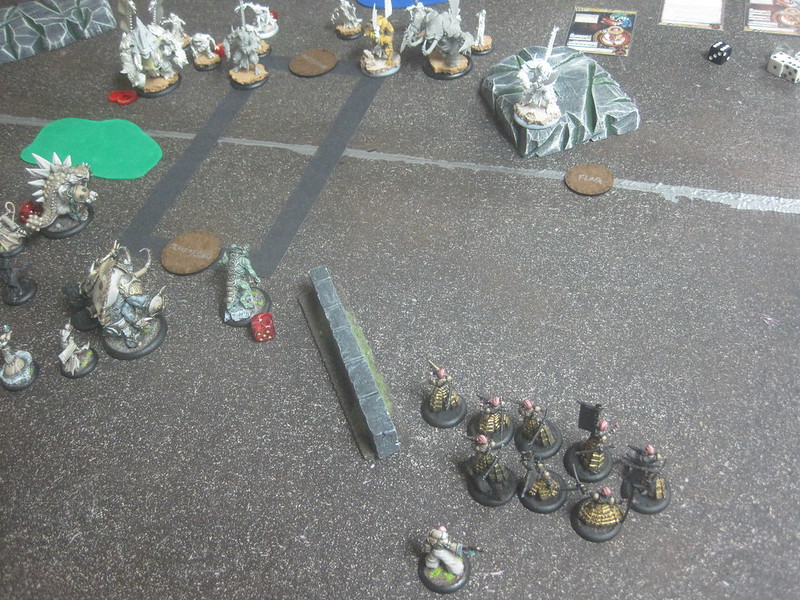 |
| Right flank. The Rievers took a shot at the Savage, but only scratched him up a little. |
I suspect there will be a learning curve with the Rievers as well. I threw them out on a flank, thinking they'd function as a reasonably independent flanking force. They got off one combined shot against the opposing Savage, and did a little damage, but were promptly engaged by the aformentioned Savage, and taken out of the game for all meaningful purposes. What I'd forgotten about is how line of sight works in the game. Little stuff can see big stuff over other little stuff, especially when their target is on a hill - that means that my Reivers don't get in each other's way when shooting at things bigger than them. I could have hung back, and shot up his beasts on the way in, instead of pushing them out and spreading them to get what I though were clear shots. Lesson learned.
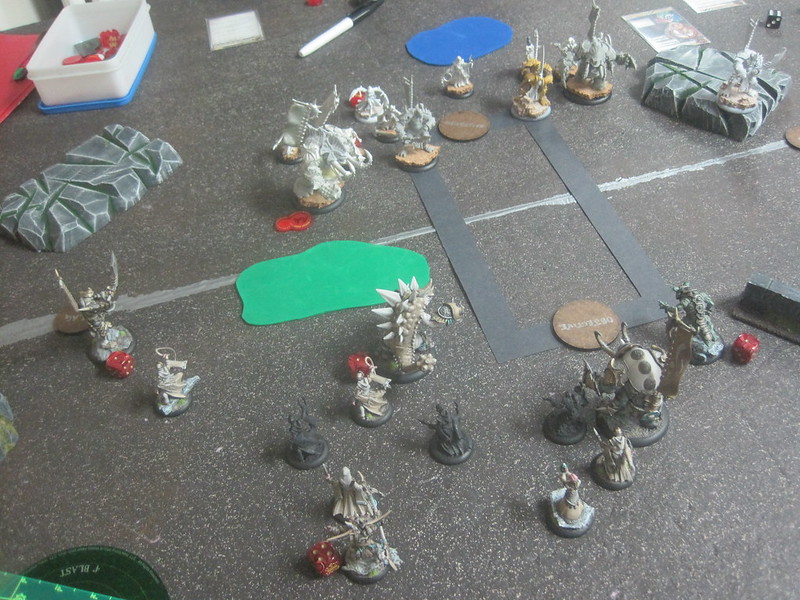
 |
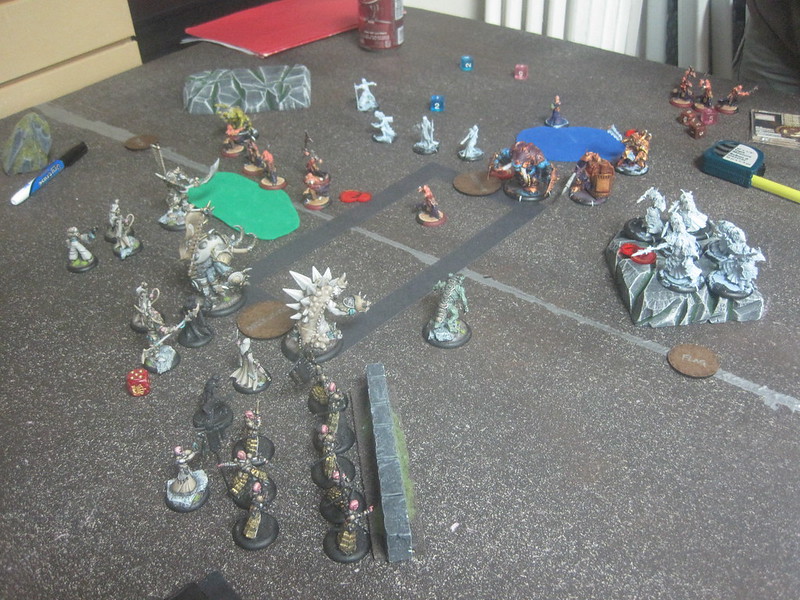
| This did not go well for the Rievers. |
The following turn, I found out about the whole "can't move through the objective because it's a model" thing, which pretty much shut me down for a turn, as it meant I didn't have charge lanes, and completely lost the initiative. The rest of the game had me more or less desperately responding to my opponent's moves, with his greater number of heavy beasts giving him the advantage in terms of attrition pressure.
 |
| To be fair, this didn't go well for everyone else, either. |
I made a last-ditch assassination run on Morghul, but with 5 fury on him, he had transfers to spare, and the game ended predictably. On the plus side, I learned a ton, both in terms of mechanics / rules, and in terms of how to use my models in game. The Hordes side of the game involves, it seems, much more active management, and it'll be a matter of practise until that becomes second nature.
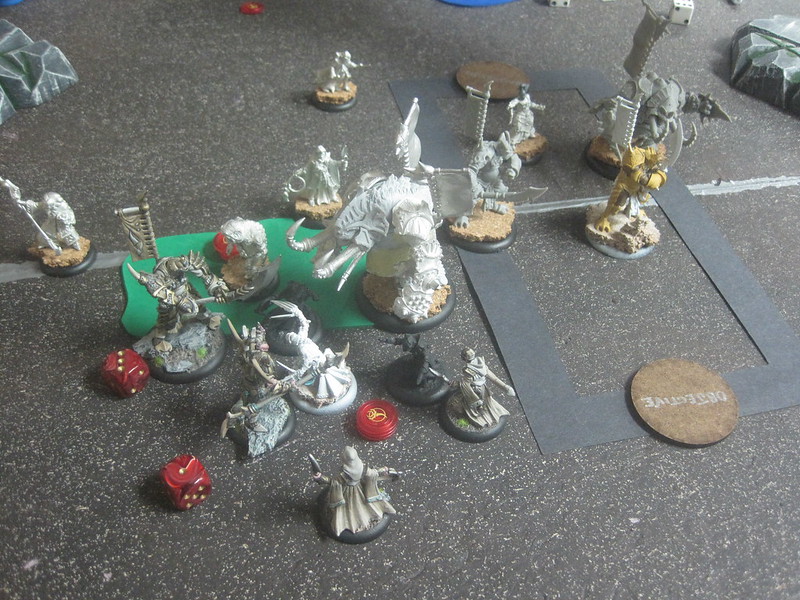 |
| Last ride of pHexy. |
Kyle had arrived part way through my game, so I handed over the reins to him, and he sat down against another mirror match, this time against pXerxis.
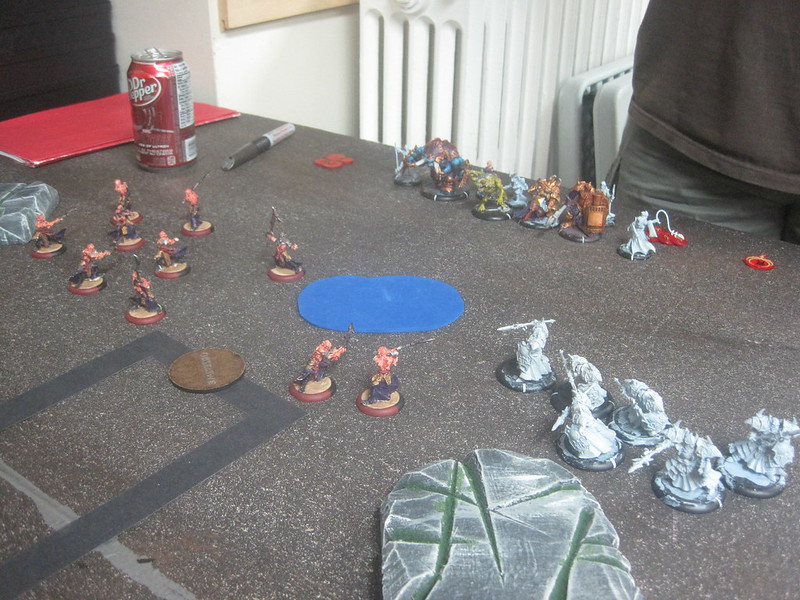 |
| Guys in the foreground are Nihilators. Think berzerkers with unusual piercings. |
On the plus side, this time there were infantry. On the minus, still no shooting. Our opponent made the gentlemanly offer to let us swap the Krea for a Drake (the offensive equivalent), but I figure you've got to learn to play around it, you know?
 |
| The thin oatmeal line. |
Kyle deployed in a similar fashion to how I had, but supported the Rievers with the Krea. Our opponent pushed his infantry forward, the Nihilators in an aggressive wave across the front to tied things up, with his Cetrati (some of the toughest, hardest-hitting infantry in the game) following closely on the right.
 |
| Note the Nihilators engaging our beasts. They're not going to do much damage, but we do need to extricate ourselves, and it puts us on the back foot. |
 |
| Moving to contest the Zone. |
One interesting moment (for me anyway) came when he manoeuvred to use the opposing objective to protect his Rhiodon. Positioned where it was, the opposing Gladiator couldn't charge his beast.
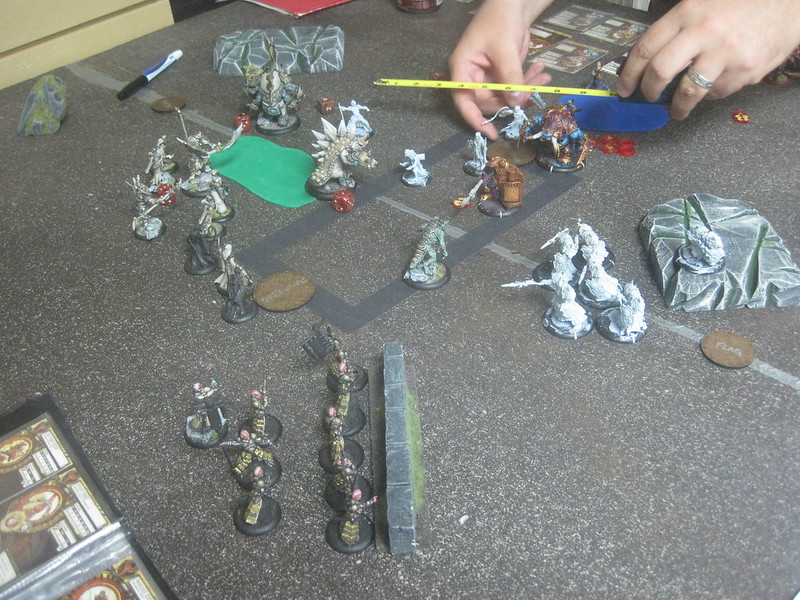 |
| Also note, the Rievers are still in the game. |
Our opponent ended up winning (IIRC, he got his Gladiator in on Hexeris), but I thought Kyl did quite well.
Now I just need to finish the filaree on those damn Rievers.
Next week I doubt I'll be out to game, as family stuff will take precedence, but it'll give me a chance to get caught up on a painting post.
FMB
No comments:
Post a Comment