Showing posts with label Muskets and Tomahawks. Show all posts

Saturday, December 12, 2015

Bolt Tomahawks

Hi all,

So, been a busy week or two in Monkeyland.  We had houseguests for a few days, as my sister and brother in law, and my youngest nephew, came to visit.  It was great to see them, as it's been months since we've last seen them (on our trip to Ontario in the summer).  While here, Cub talked his cousin (a.k.a. Hammer) into trying a game of Bolt Action.  I think we may have another convert ;)

158
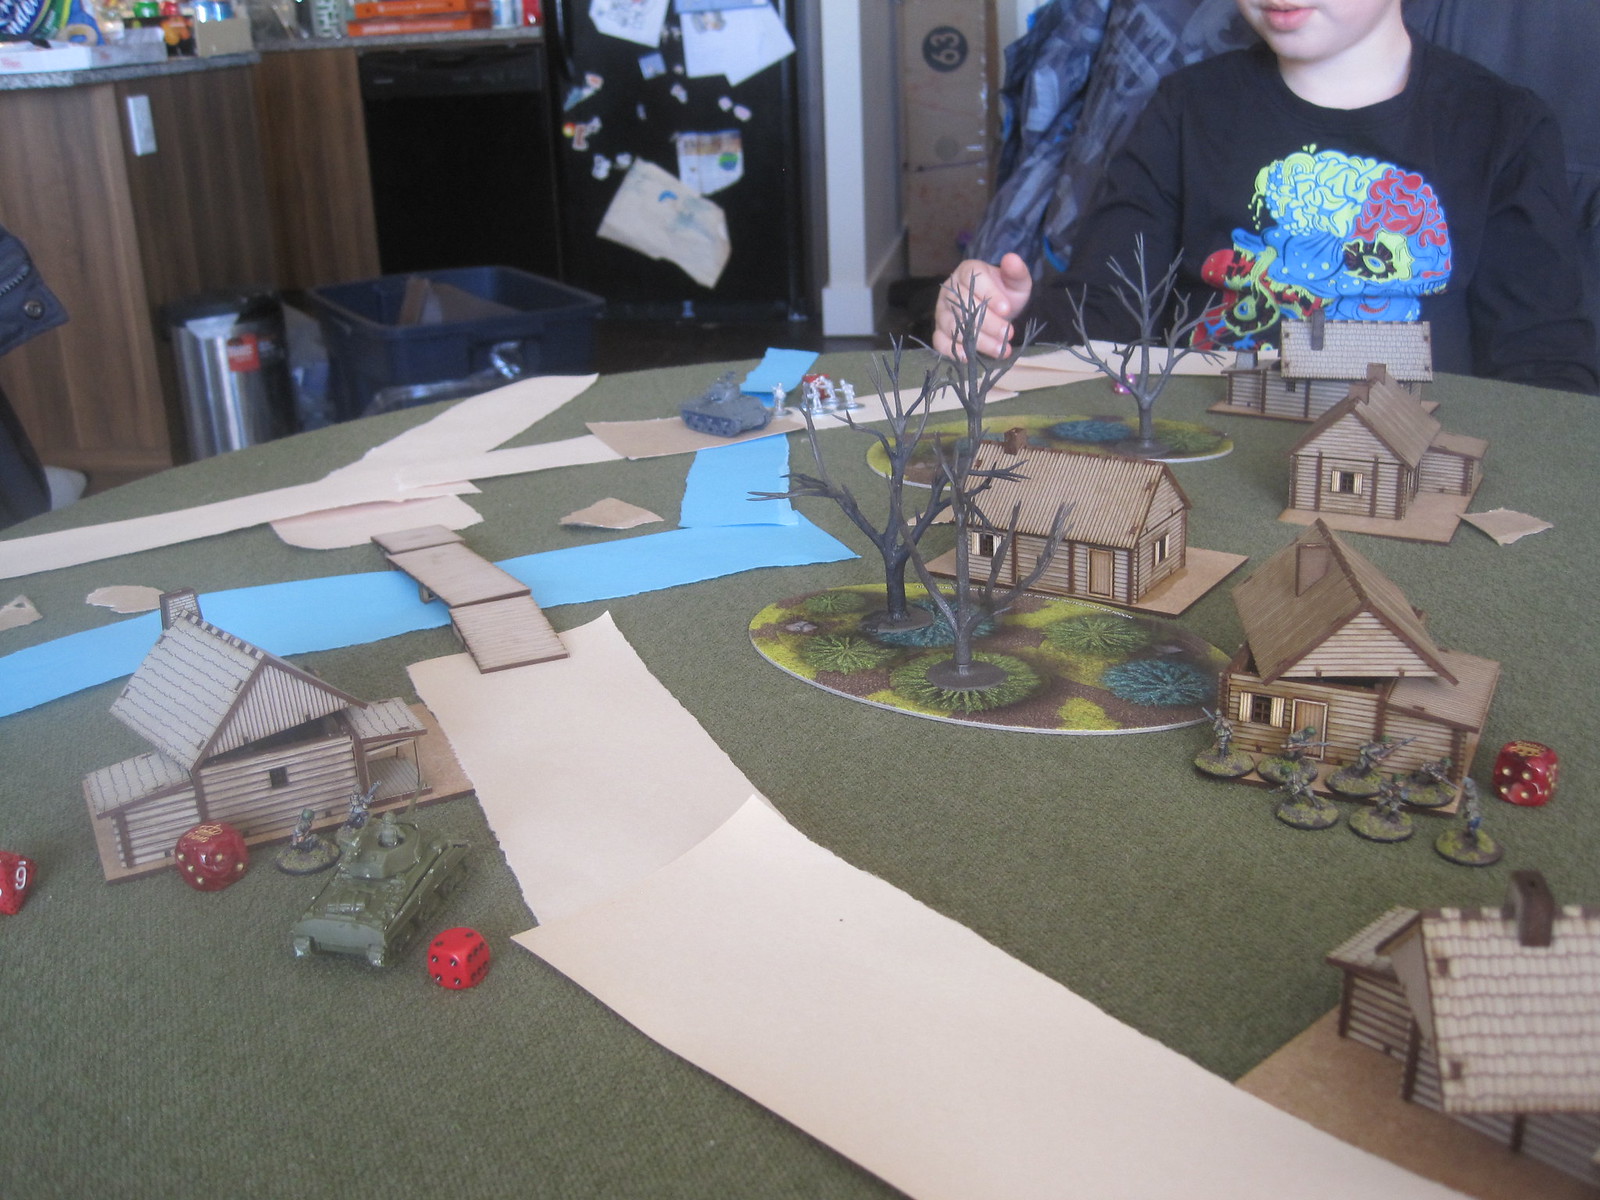
The larger red dice indicate objective buildings.


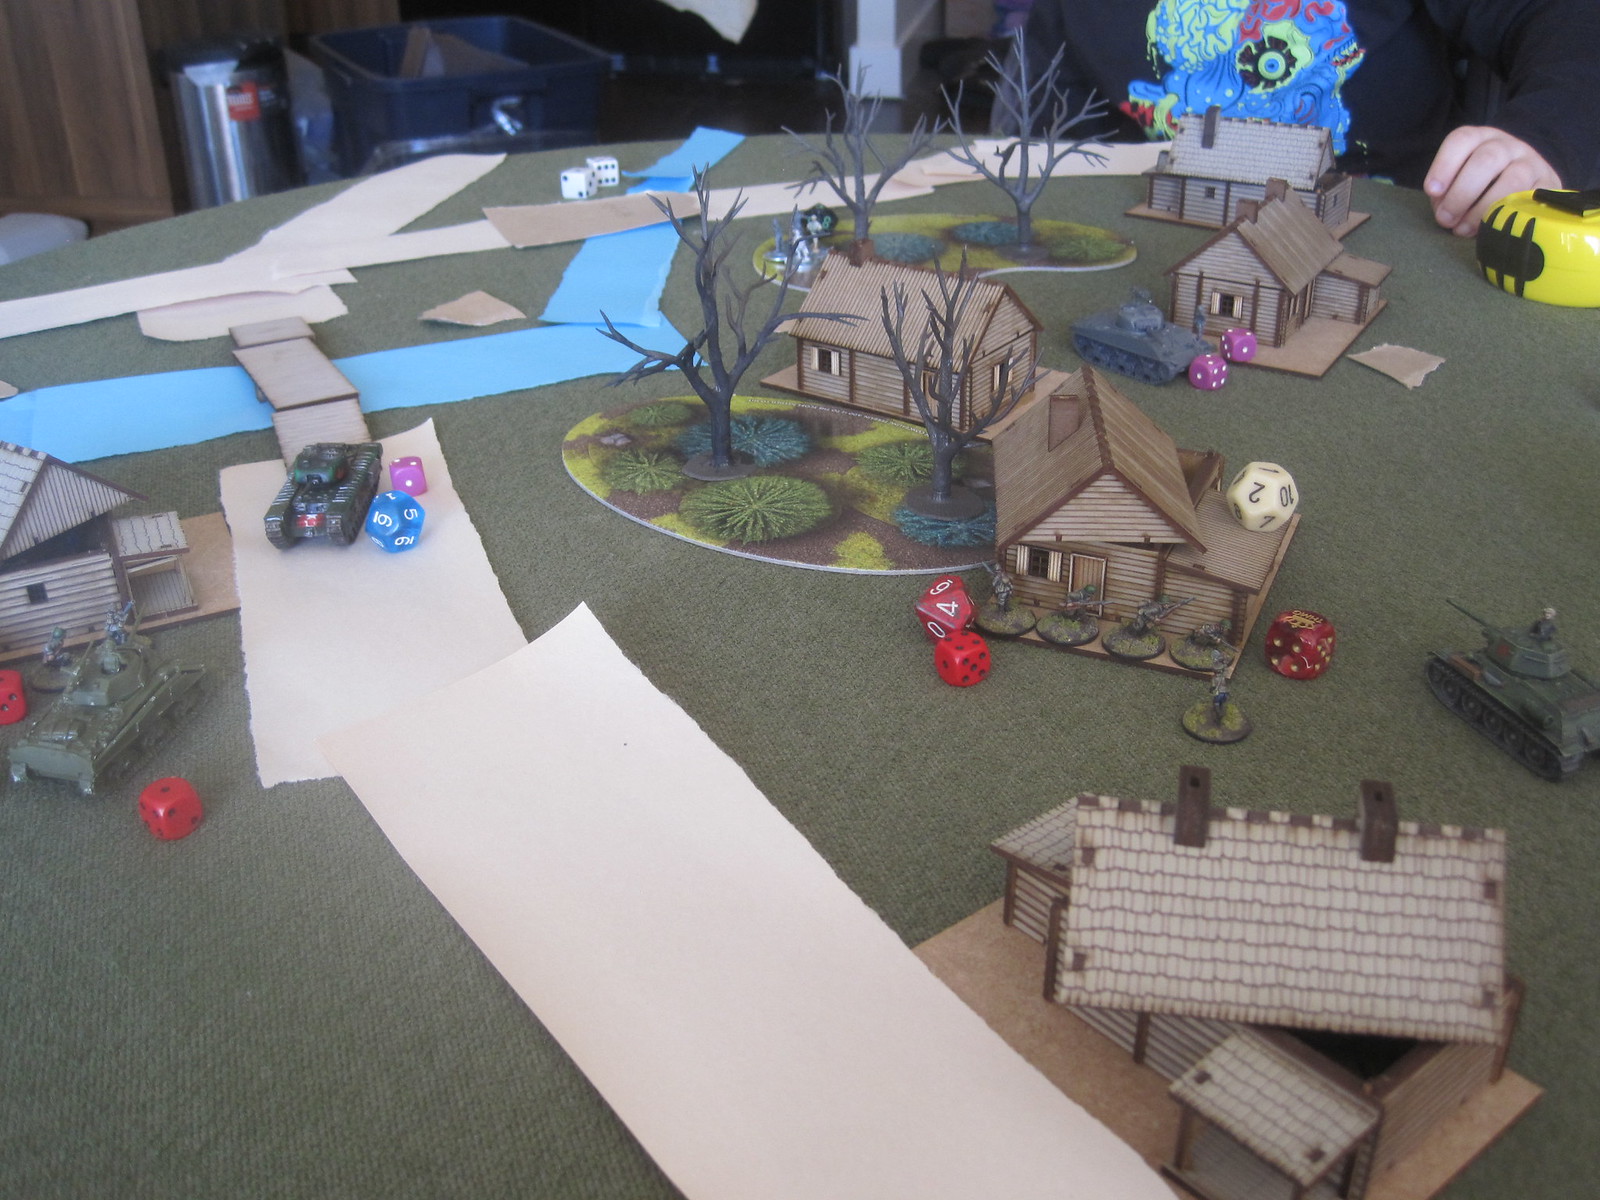
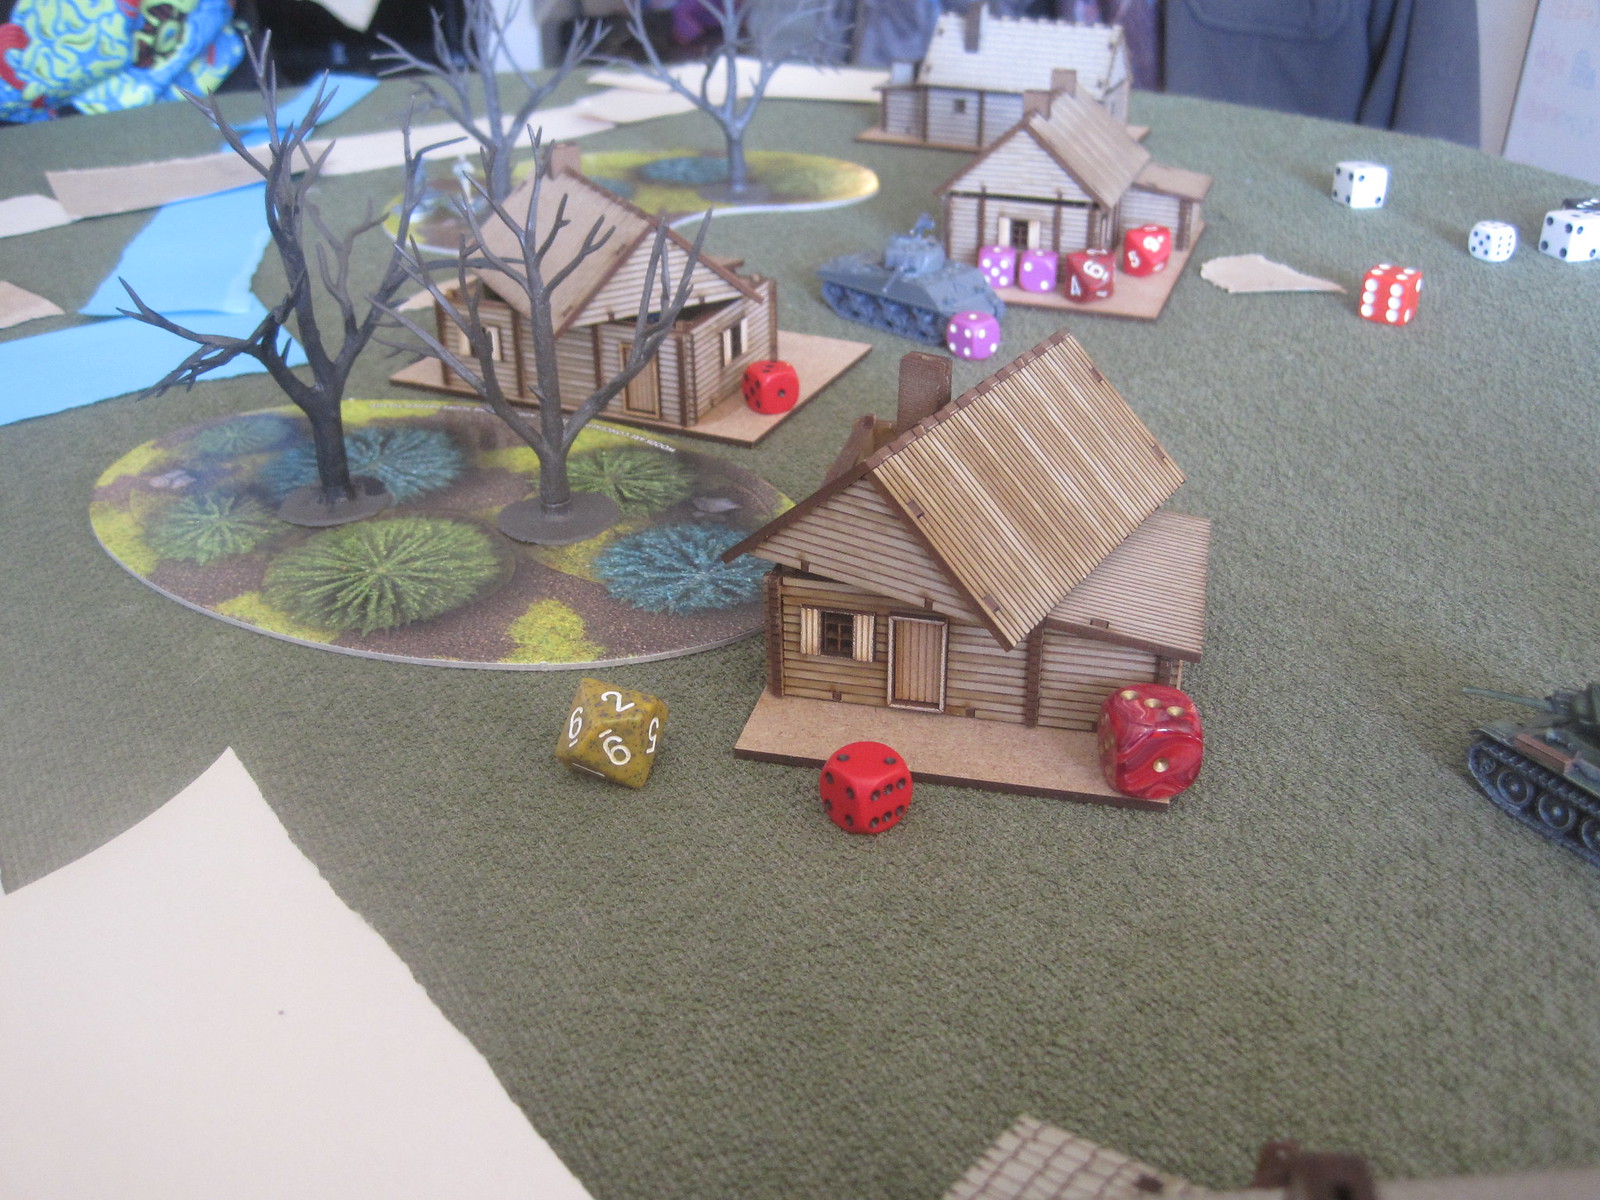
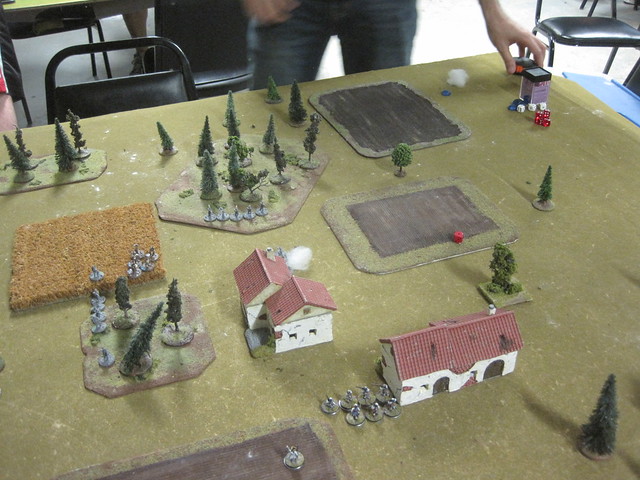
The game was objective based, with Cub's Americans looking to seize a couple of buildings from the Soviet defenders (piloted by Hammer, and consigliered by moi).

Cub wanted to break in some new tanks we'd picked up (thanks, Kyle!), and we ended up running some fairly unconventional forces, with each side fielding 200 points of infantry plus a couple tanks.  As defender, Hammer set up his units in the buildings where they could cover each other and a range of firing arcs, and waited for the American attack.

159
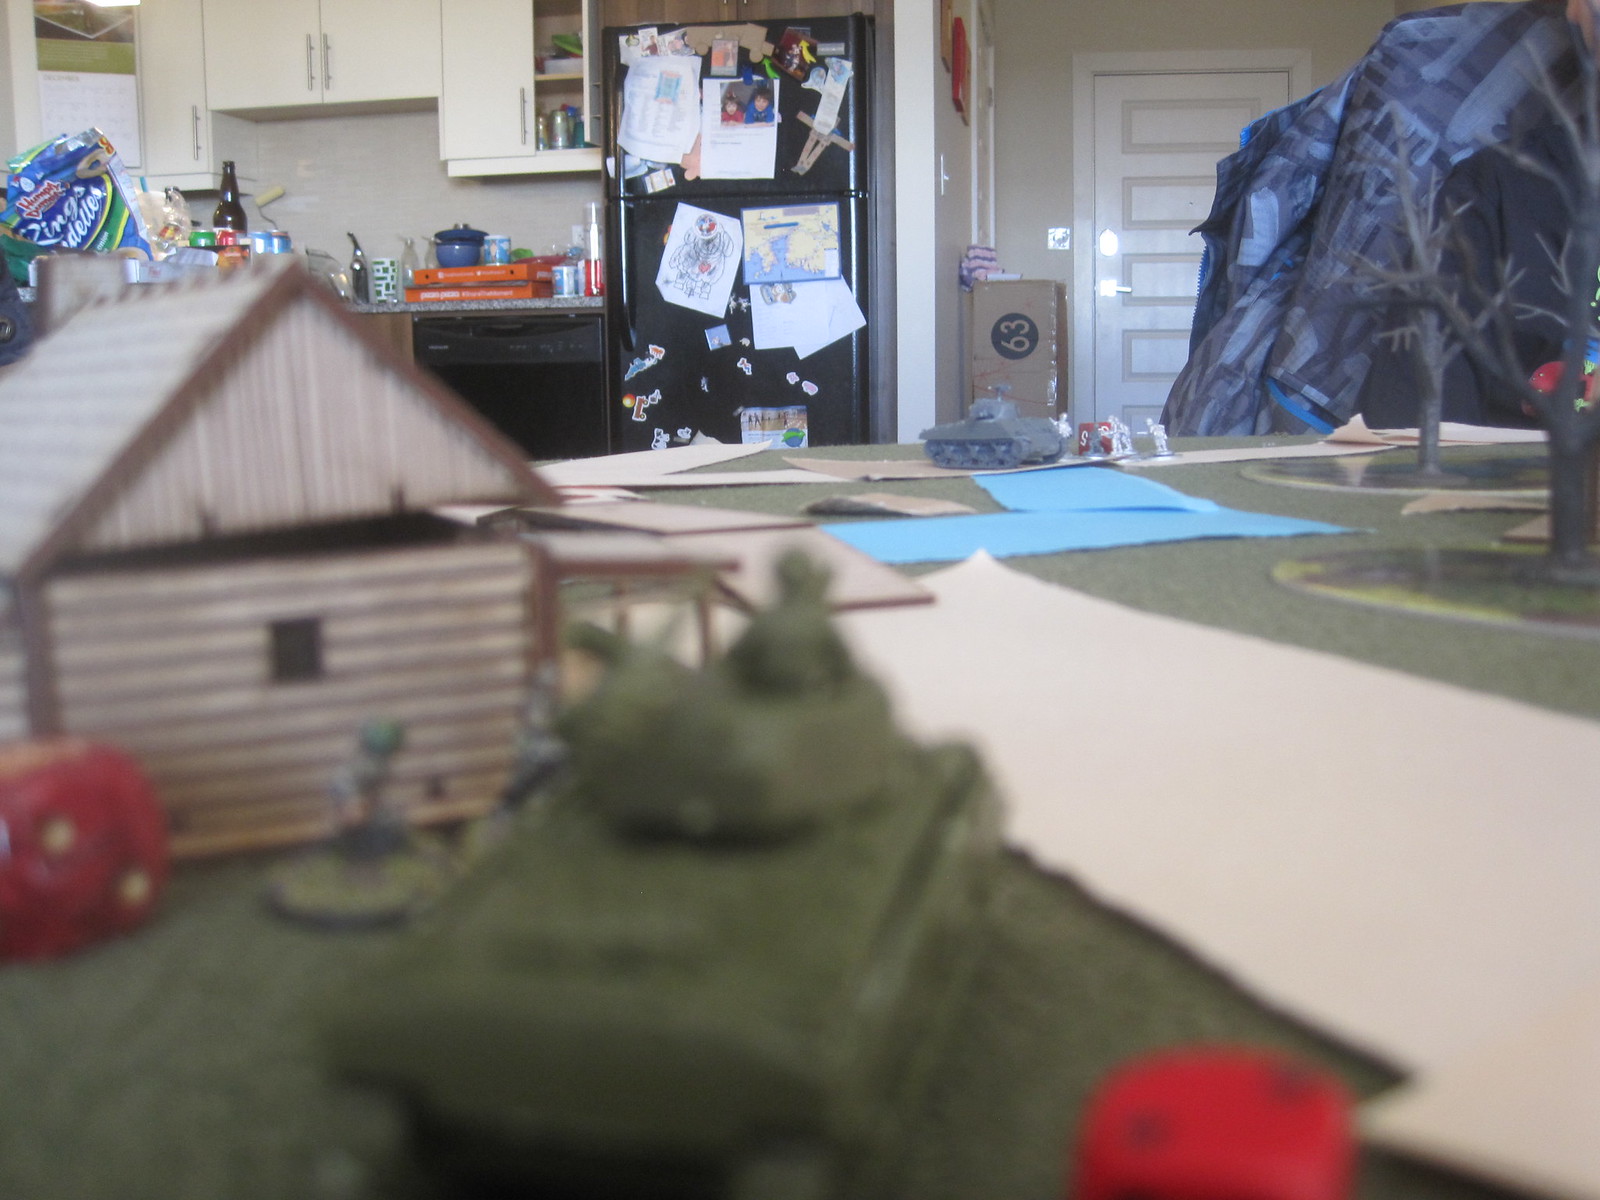
Soviet Sherman takes up an overwatch position, and searches for prey.


Early turns saw the initial American assault wave, and our reinforcements, come on the table, including the "Soviet" sherman, which took up a hull-down position behind one of the buildings.  Cub countered with his own tanks, and a first wave of infantry (plus his air observer).  The observer called in an air strike on it's earliest opportunity, but the call went unanswered for several turns.  He also jammed his tanks forward fairly aggressively (maybe a hold-over from his experiences with a Redeemer in 40k?), but in Bolt Action, that mostly gave Hammer some nice shots on their side armour.

160
American tanks charge in.


It took a couple of turns, but Cub's air strike eventually came in, and did its usual amount of insane damage.  By this point, however, the game was getting close to it's final turns, and the Americans still hadn't been able to mount a real attack on the objective buildings.

161
Air strikes thinned out the table a little.


In the end, even though the Yanks tore up the Soviets a fair bit, they couldn't take the buildings, and the game went to Hammer.  He seemed to have fun, as did the Cub, so who knows, maybe we've recruited another mini gamer?

162
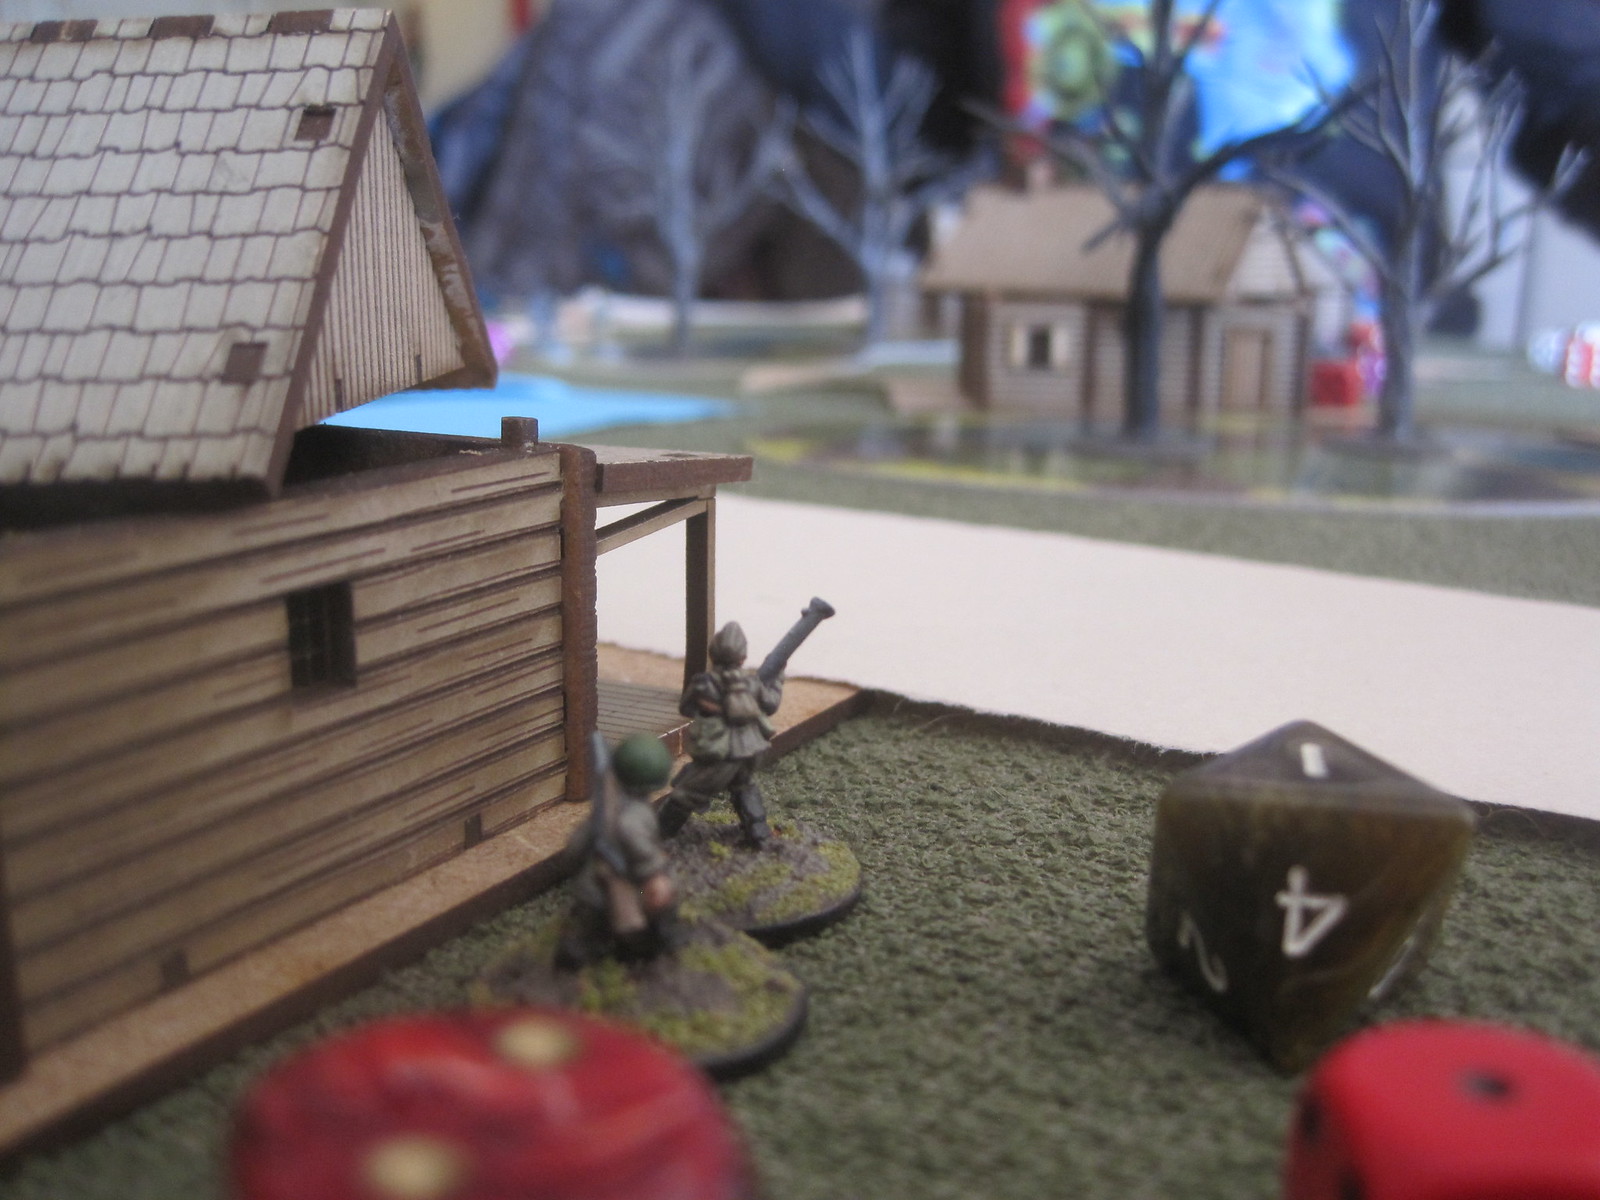
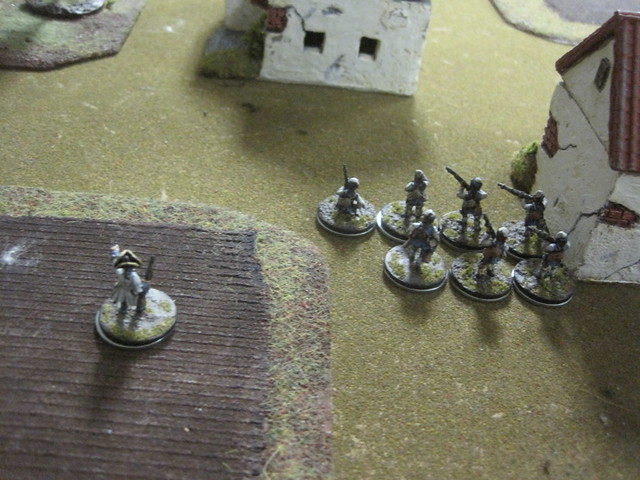
PTRD, aka, the other Russian sniper unit.


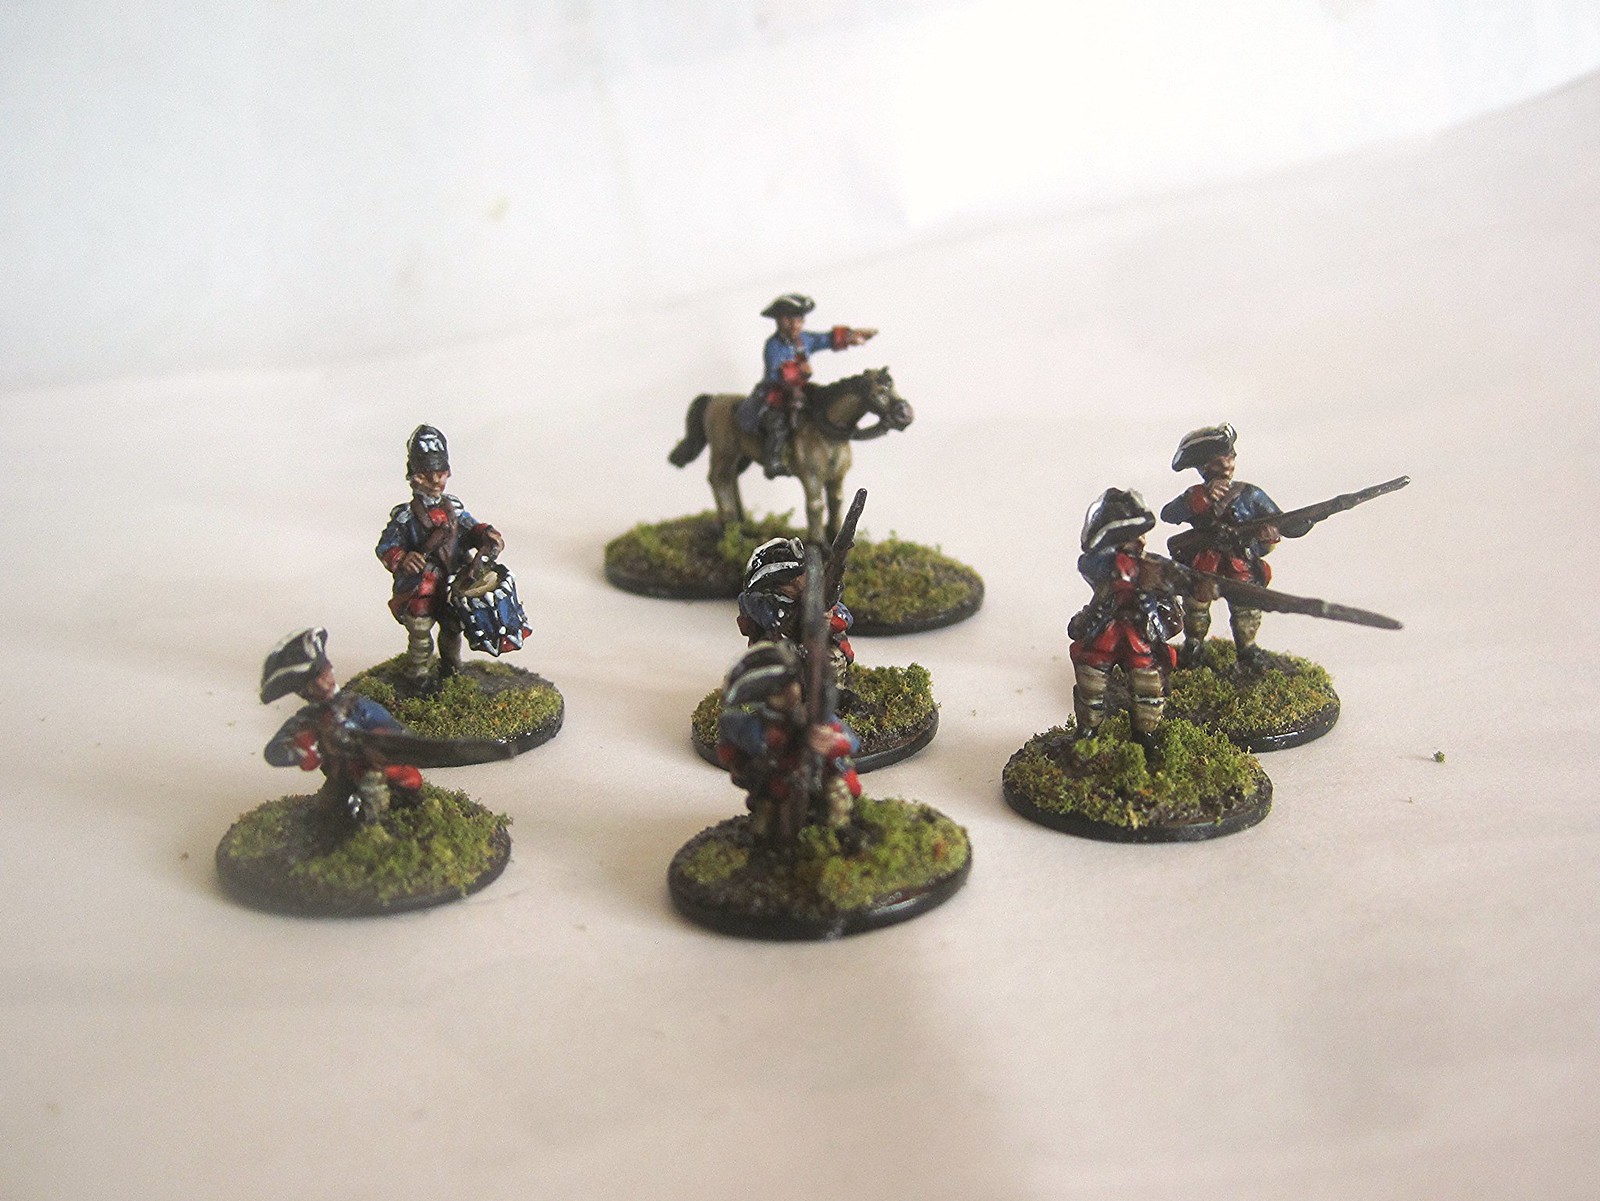
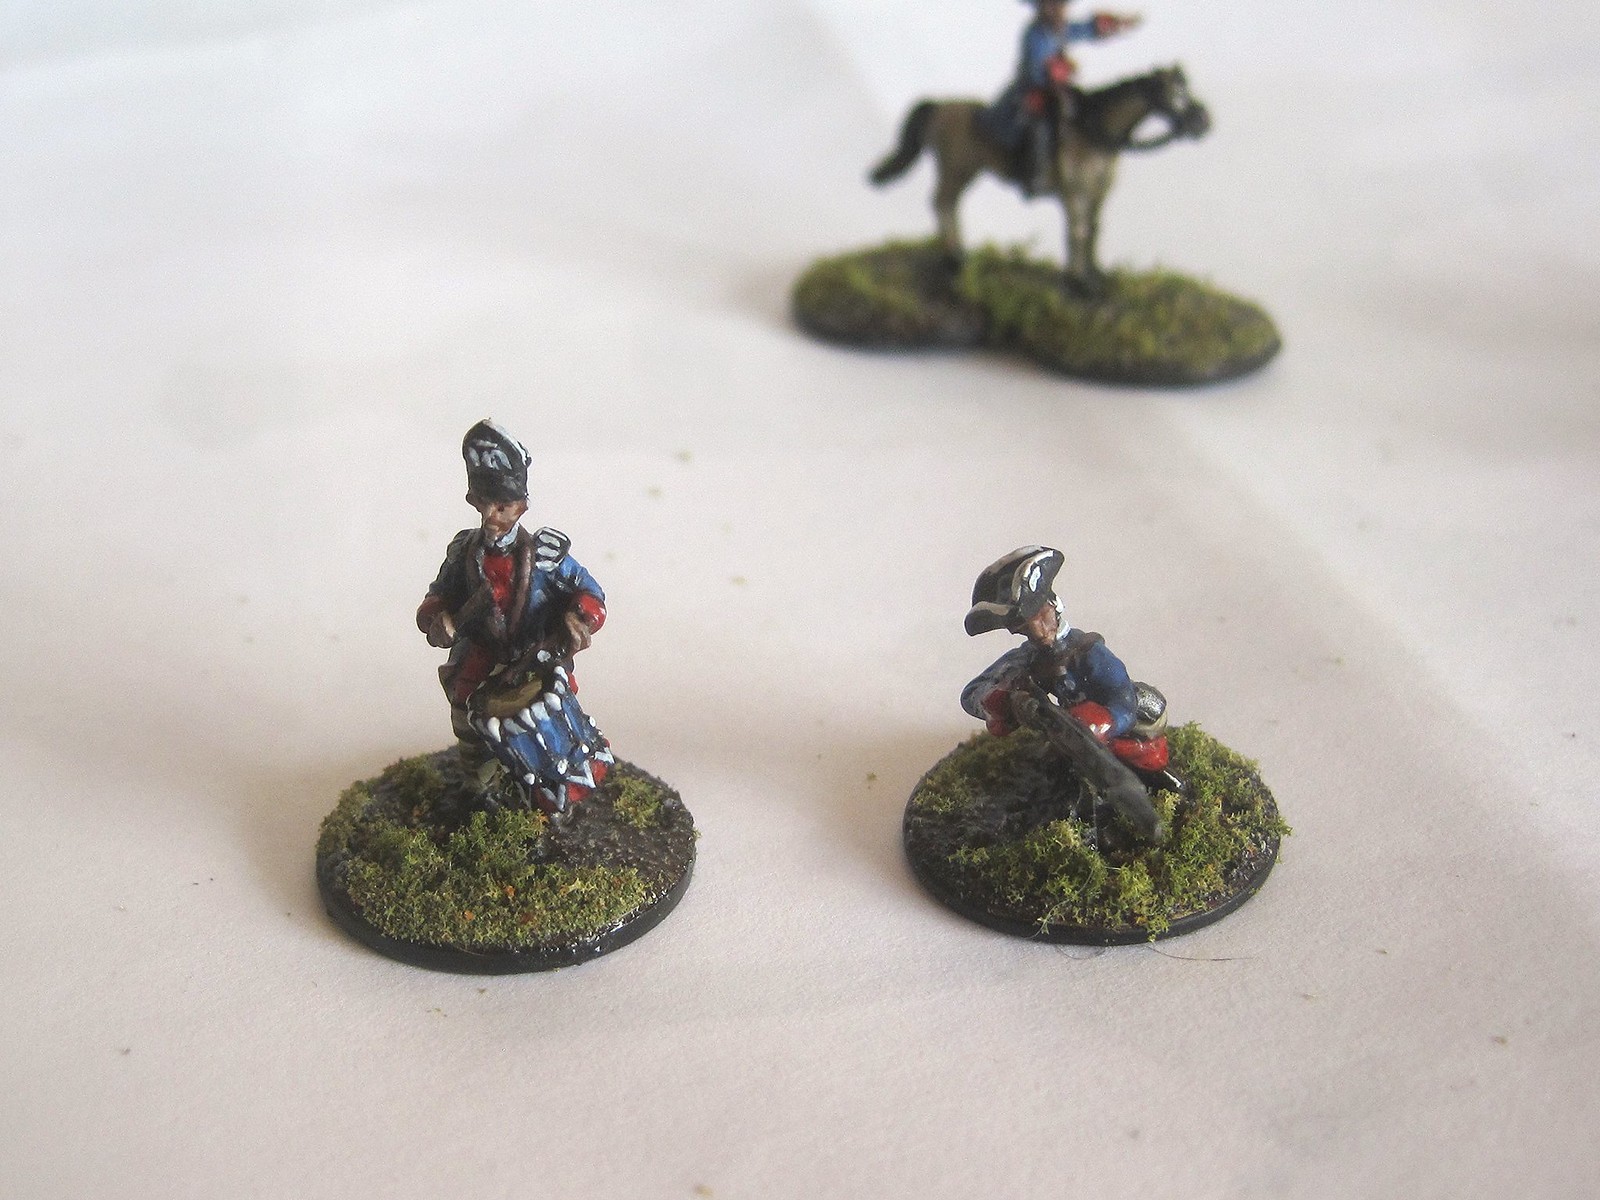
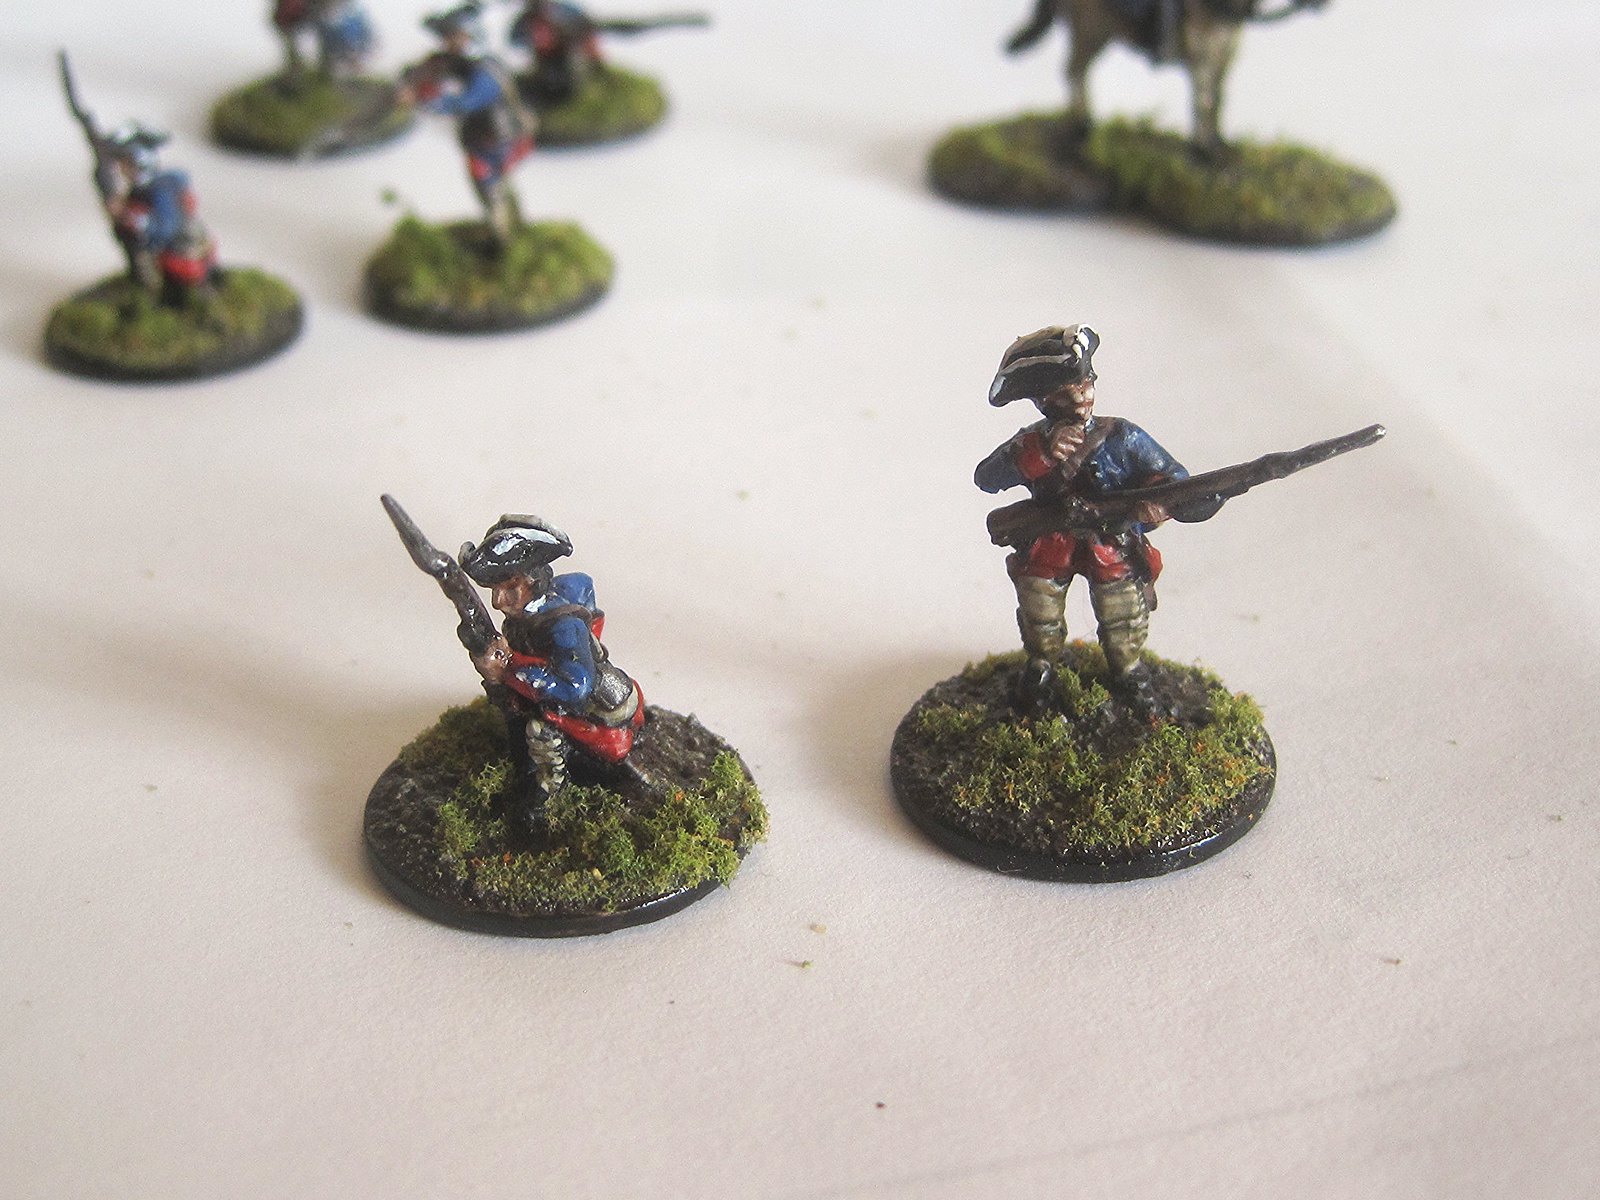
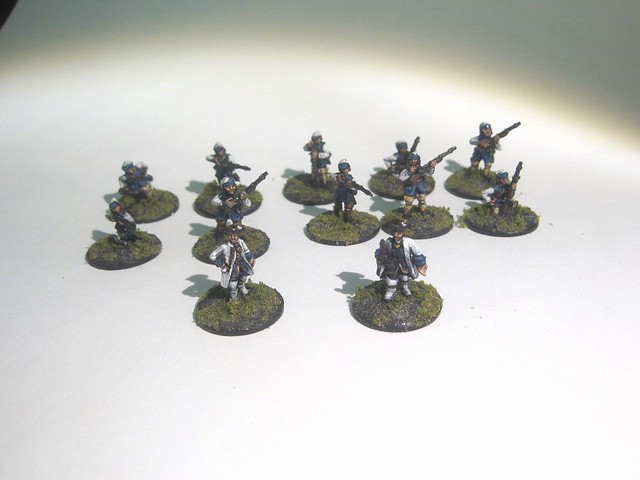
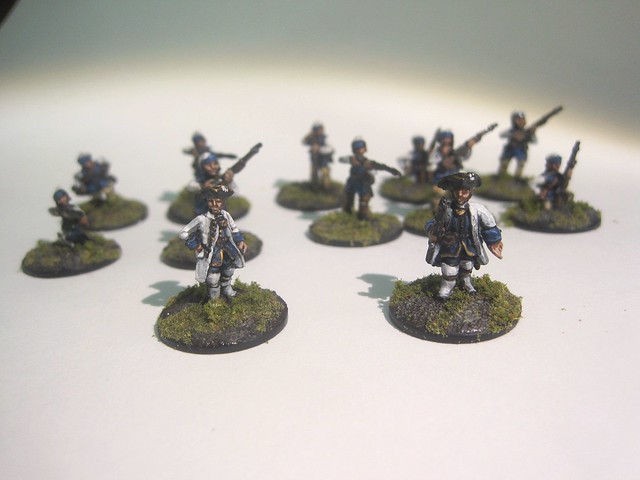
In other news, I finally got around to finishing up the Mass. militia I've mentioned, on and off, for the last year or so.

IMG_7304
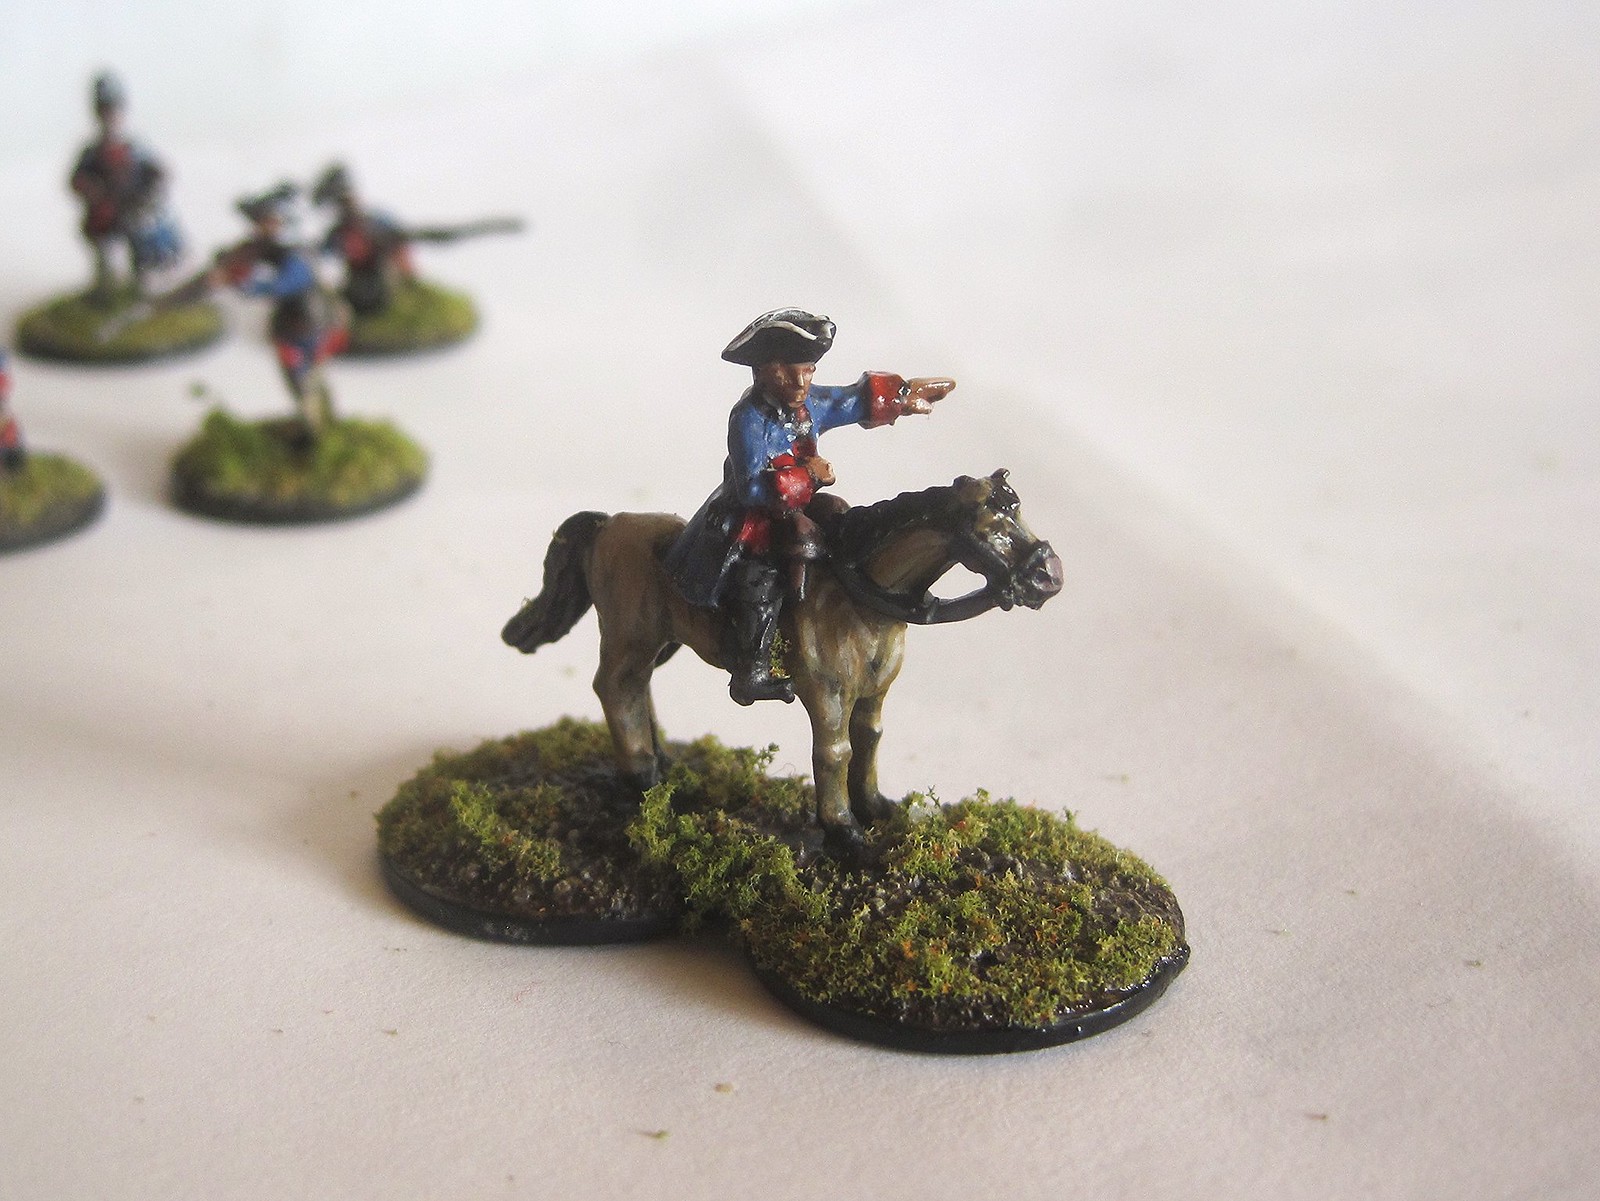
Second half of the unit, plus officer.


This gives me a full unit of the militia, which is good, because they're one of the primary outfits operating on the British side in the Acadian campaign.

IMG_7305
The drummer's a conceit, I admit, but still . . . 


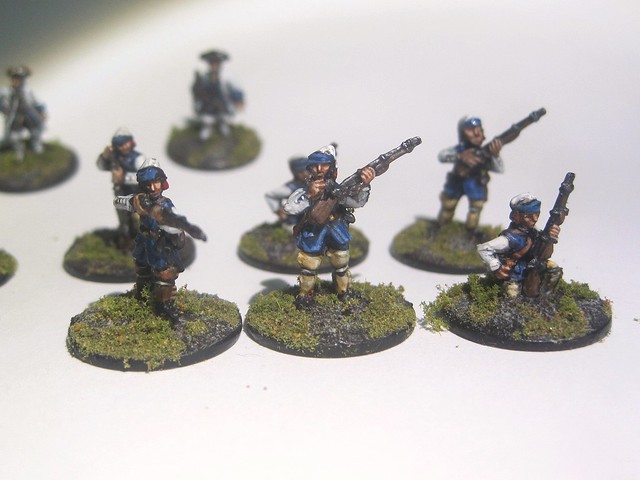
They're not as crisp as some of the other work I've done in the scale, but honestly, I'm happy just to have them finished.  I have no idea why they were so difficult to muster motivation for, but now that they're finished, I'm actually quite jazzed to do something else on the project.

IMG_7307
They're actually skirmishing Brit line, but the uniform is close enough.


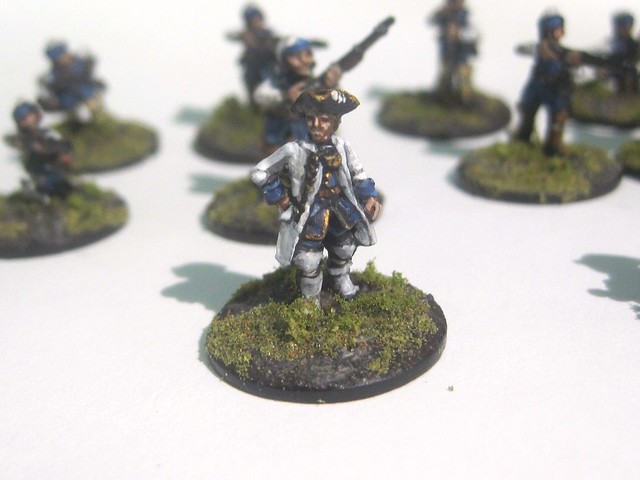
The officer, I think, turned out reasonably well.

IMG_7308
This guys gets all the fun secondary objectives.


With this lot done, I'll likely do either some Rangers (Gorham's were active throughout the region) or civilians, along with terrain - I want to dress up the 4Ground buildings, and a few weeks back, finally picked up some bigger resin buildings from Blue Moon (via last year's Blogger Secret Santa - thanks!), so I'd like to get them sorted for the table as well.

FMB


Thursday, August 28, 2014

Native Son


Hi,

Things are starting to shake down here in Monkeyland.  Finished up the orientation for Newjob yesterday, and while I'm a little sad that Cub goes back to his mom's today, the upside is that now that we're in Halifax, we'll see him again in just over a week, rather than in several months.

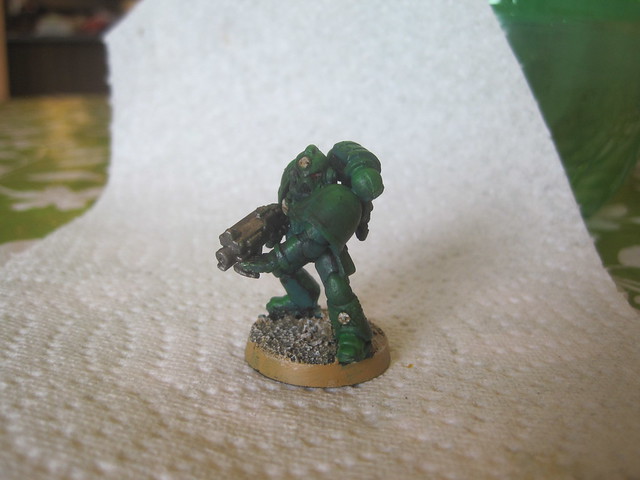
On the geek front, I've spent some time modelling and priming up most of 1000 points of 40k orks.  The Cub has shown some interest, so I figured we'd take him down to the local for a few trial games.  He's also been painting a few old space marines I've got kicking around.  Three cheers for GW, gateway to the hobby ;)  I helped him a little with the eyes, but the rest is his work.  Not bad for an 8-year old, and a far sight better than his efforts of a few years ago.

IMG_4082

IMG_4083

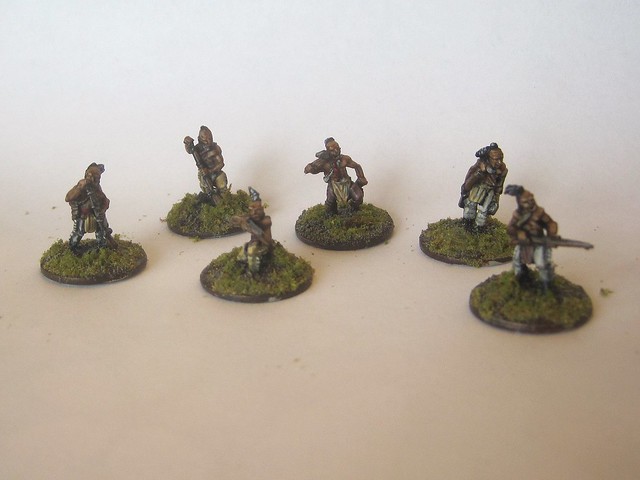
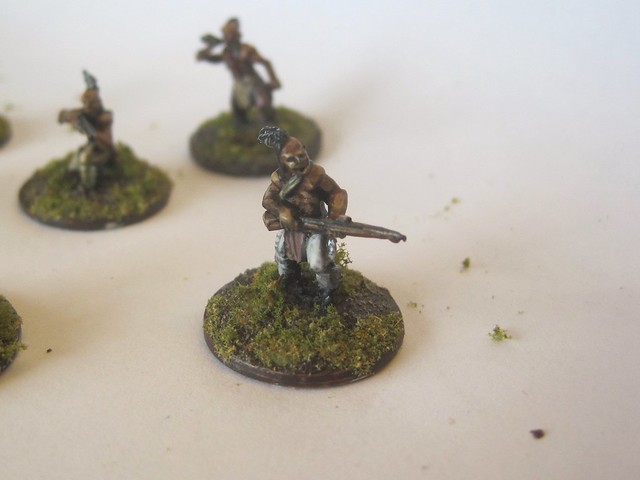
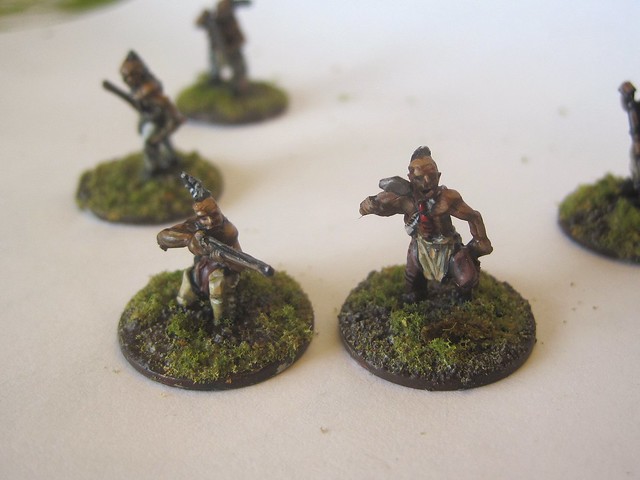
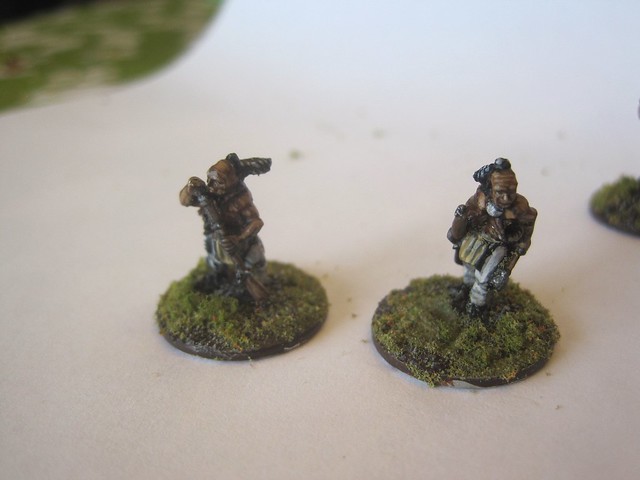
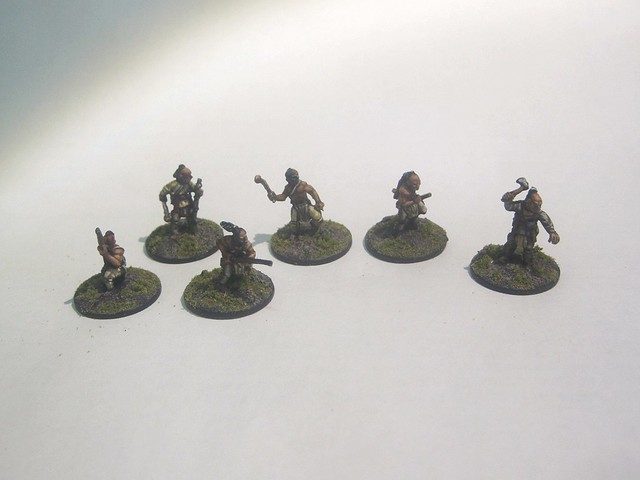
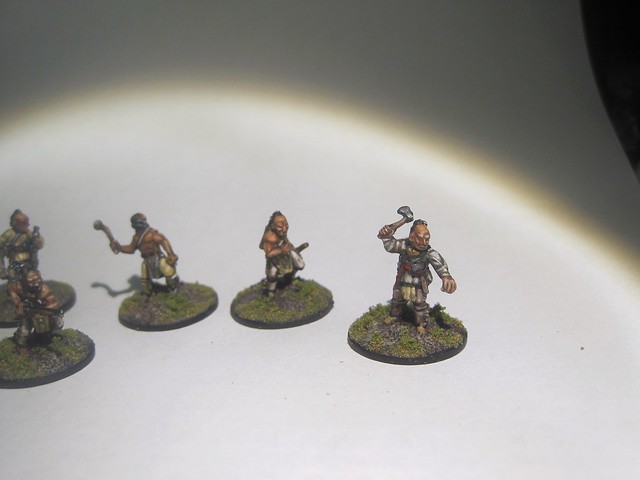
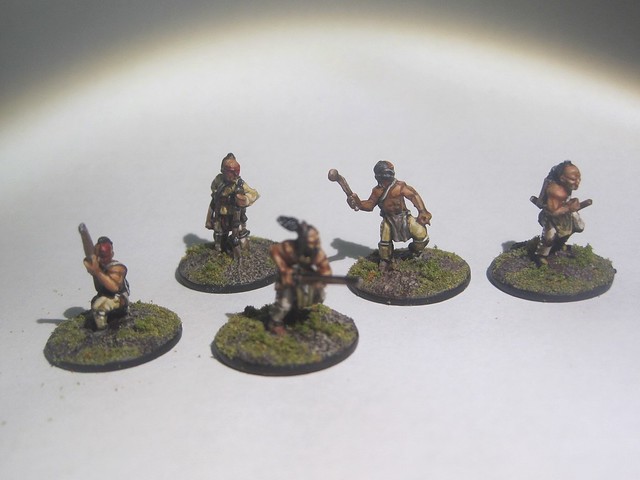
For myself, I've managed to paint up a few more Natives for M&T. I like how they turned out, and feel better about these than the last batch of French.  Less rush, less feel of "work".  One thing that's pretty clear about how things will operate here; in the absence of any regular gaming, my painting is less instrumental.  With no pressure to get stuff on the table, I might get less done, but will also be painting for the joy of it, which comes with it's own advantages.

IMG_4077

I also had a chance the other night to sit down and plan out the Acadian project a little.  Historically, this is one of those "margins of empire" struggles.  It bears a similar relationship to the F&IW as that bears to the 7YW proper.  While the bulk of the literature I've seen focuses on the Ohio / Champlain corridor / St. Lawrence theatres, there was a long-running guerrilla conflict, preceding the formal outbreak of war by several years.  French marines, militia and provincials, Abenaki and Mik'maq, Massachusetts colonial militia, mercenary ranger companies, and more, along with shifting identities, and mounting violence and atrocity.  The Acadians, with close kinship ties to the Mik'maq, cultural and religious ones to the French, and economic ones to Boston and Massachusetts, were torn apart, and eventually forcibly relocated.

IMG_4079

Before we came out here, I picked up a mess of the 18mm Blue Moon figures.  The more I paint these, the more I like them.  I think, given the often metis nature of the Acadian community, and the sometimes haphazard equipment of the informal combatants, I might try my hand at some conversions.  I've done head swaps in this scale before, when I was putting with FoW cossacks, so I'm kind of interested to see what I can cook up here.

IMG_4080

Another thing I'm looking forward to is making some terrain.  In addition to several 4Ground buildings, I'm going to need some terrain basics - hills, trees, etc.  I've been purusing some websites out there, and will see what I can cook up.

IMG_4081

To help get me in the mood, I've been reading Faragher's "A Great and Noble Scheme" on the morning commute.  It's a sympathetic history of the Acadians from the earliest settlements to expulsion, and stresses the various connections that both pushed the Acadians towards neutrality, and eventually made that position untenable.  I've been finding some interesting similarities to recent histories of the US RevWar and 1812.  The Acadians comprised a nativist and North American culture, distinct from the imperial cultures that fought over Acadia territory.  In many ways, they were ahead of their time, foreshadowing some of the issues that would drive later conflicts to different ends.  If you get a chance, I'd recommend reading it.

FMB


Tuesday, July 1, 2014

Lords of the Backcountry


Hi,

Finished up another unit of Compagnie Franche de la Marine today, along with some officers.

001

I'm not as happy with these guys as the first batch.  Not sure if it's just a darker blue, or if I rushed them a little.  They're serviceable, but they don't tickle me the way the first batch did.

002

With these finished, I'm within spitting distance of 400 points.  Another unit of natives, and some talents for the officers, and I'm good to go.

004

005

With that in mind, I've been poking around looking for ideas to build around.  I came across some discussion of the fighting in Acadie (modern-day Nova Scotia and New Brunswick).  This includes both the conflicts preceding the SYW (like Father Le Loutre's War), the guerrilla fighting surrounding the Acadian Expulsion, and formal campaigns like that of the Bay of Fundy.

There's plenty of unit types on both sides, lots of gaming potential, but it's a little different than the traditional "Hudson corridor" story of the conflict.  I'm going to pick up some 4ground buildings, and some more BM figs, and see what I can work up.

FMB

Monday, June 16, 2014

Ready for Action

Hi,

Last week's game seems to have juiced up my painting muse, and I managed to finish off the last unit I need for a fully painted 200 points of Musket and Tomahawks goodness.

001

It's my second unit of natives, the ones I usually deploy with enhanced H2H effectiveness.

002\

004

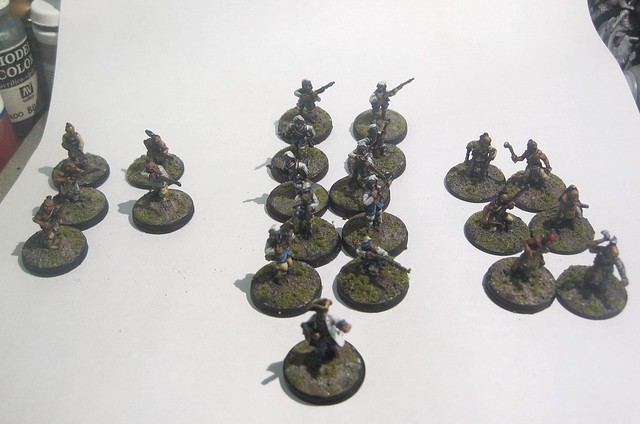
With these guys completed, I now have 200 points fully painted, and have started thinking about how to expand to 400.

005

The basic plan is more of the same, adding another unit of each type, and an officer of each type as well.  That'll give me some good flexibility on the table.  Now I just need to get painting.

FMB

Saturday, June 14, 2014

Defenders of the people.

Hi,

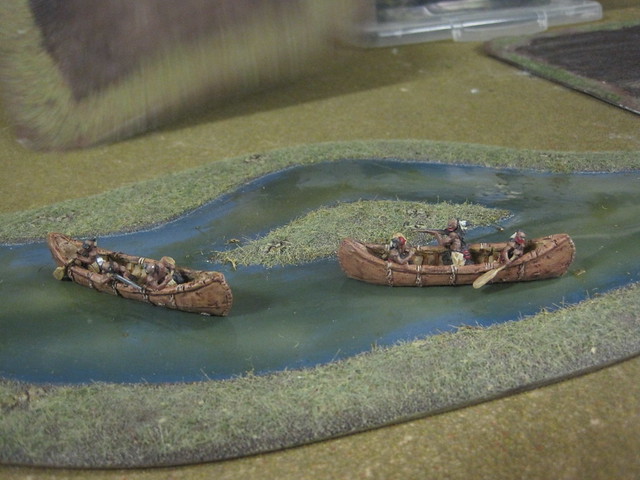
Wednesday saw me and Foxlington sit down to a game, the first in a while, as the two of us seem to have been missing each other of late.  Muskets and Tomahawks, 200 points, but a bunch of firsts for me.  Fox plays a pure Native force (first time I've played against that force), he uses boats (ditto), and for the first time I ran my Marines as regulars (new again).

018
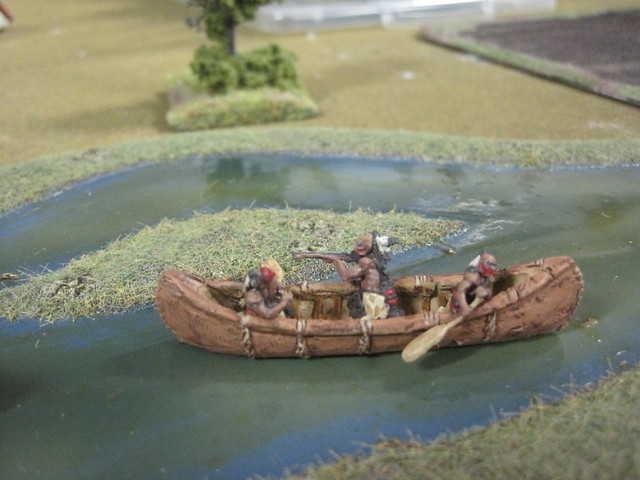
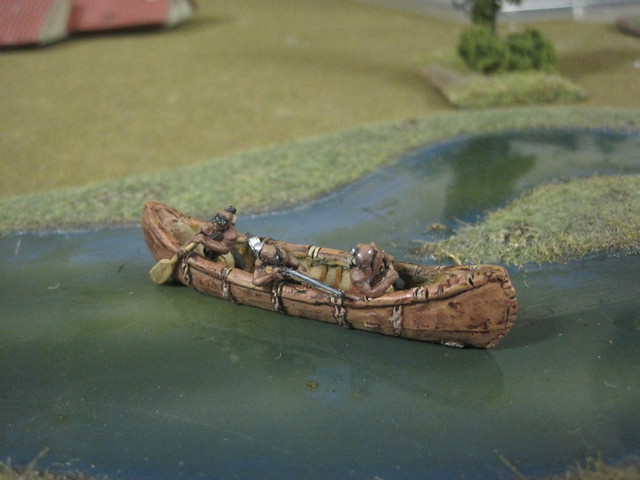
Foxlington's boats.  I think we can all agree, he's done a terrific job.

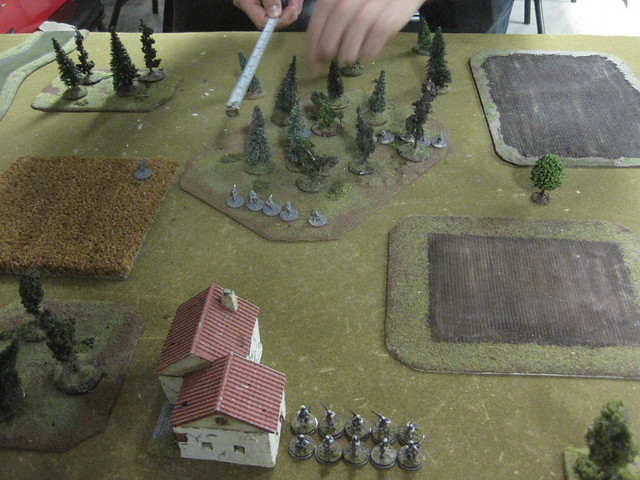
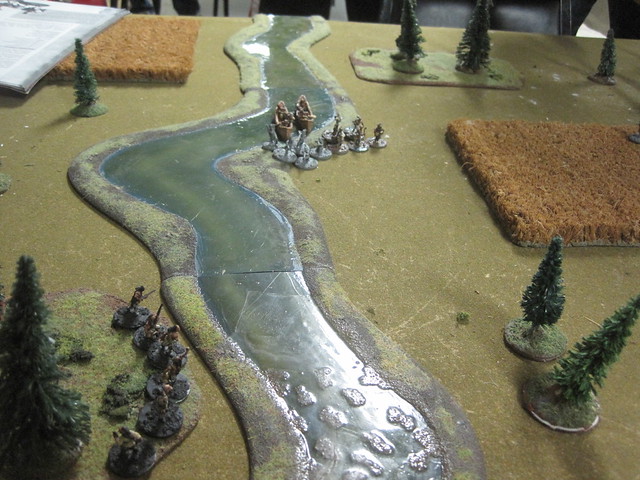
The game itself turned out to be pretty straightforward.  Foxlington had the Raid objective, I had Engagement.  As it turns out, we both had Usurpation as a side plot (officer must stay 4" away from all units), and in an interesting twist, we ended up playing a night game.  I deployed my unit of ten  Marines and the officer towards the centre of the table, supported by rifle armed Natives, and a second unit of natives from the Pays d'en Haut (no rifles, but good in close combat) out on my left flank to cover the river (if you buy boats, you get to deploy a river, and Fox had one running across the short edge about a 3rd of the way in on my left).

Fox deployed his boats (2 canoes, each with a unit), and the rest of his force in the wooded approach to the settlement I was defending.

009
Marines take up position to defend the settlement.

Early stages of the game were pretty straightforward.  I advanced my marines in firing line to defend the settlement, while my rifle-armed natives pushed forward to take up position in the forward building.  My back-country allies moved to cover the ford, while Foxlington moved up, sticking to cover as much as possible.

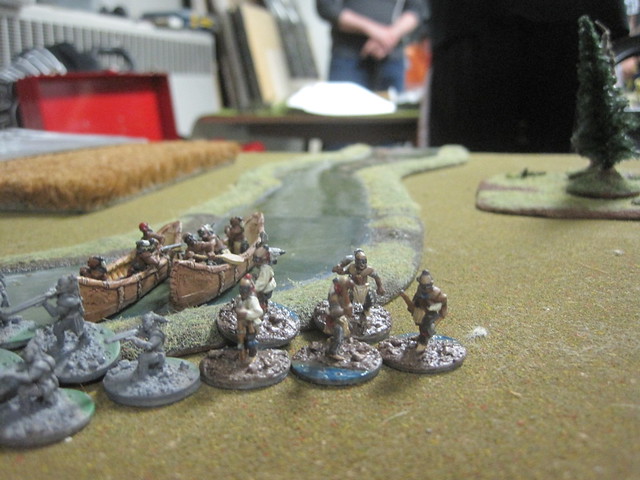
With my unit covering the ford, Fox opted to beach his canoes, and have his water-borne units join the main assault.

011
Check out the water effects on the bases.

This was a bit of a double-edged sword for me.  One the one hand, it meant that there were two units of enemy raiders with relatively unimpeded access to my defending units and the settlement.  On the other hand, it meant I had a unit in what amounted to the enemy's rear, always a good option.

010
That's my Pays d'en Haut fellows in the foreground.

Back in the centre, my troops were struggling.  While my allies had taken up a defensible position in the buildings, my Marines were out in the open (in order to gain the benefits of their Firing Line ability, they had to assume a formation only possible in open terrain).  I might have done better to put them in the buildings as well, but I wanted to try out Firing Line, having only experienced it from the receiving side so far.

The cover of night meant that the extra range of my rifle-armed troops was mostly nullified, and Fox was able to get his raiders in quite close, before unloading on my marines.  Several fell, and the unit recoiled into the lee of the buildings.  This had the added "bonus" of costing my my sub-plot, as the marines had pulled back to within 4" of the French officer.

012
Driven back by fierce musketry, the Marines suddenly realize their officer is an imposter!

Meanwhile, a run of activation cards meant that Foxlington's water-borne troops were pressing hard toward the settlement; my beleaguered defenders were looking a little surrounded.

014
A bit of a bad situation.  There's 5 native allies in the forward building, and they're looking a little lonely.

013

But then the pendulum swung.  Having waited until their targets drew into point blank range, my Natives holed up in the building opened fire.  They gutted the unit to their front, and managed a casualty on one of the boat units drawing in on their flank.

015
Boom!

This is where the weakness of the Native force kicked in.  While they are absolutely peerless as guerrilla fighters and skirmishers (natives in the woods are hard to deal with), when they take casualties, they tend to react dramatically.  This is partly a product of their morale table, and partly a product of the fact that they deploy in small units (it also reflects the historical record; natives fought to kill the other guy, not to get killed, and would typically withdraw and redeploy when facing heavy fire).  The net effect is that one of Fox's units simply disintegrated, while the other recoiled in flight (it wouldn't activate for the rest of the turn).

016
Going to have learn the mohawk for "Screw this shit!"

Foxlington, undeterred, returned fire, driving my rifle-armed allies out of the forward building (they also got a Flight! result), which he then occupied.

Things pretty much hung in the balance.  Fox was going to be able to fire at least one of the buildings on his next activation, and if he drove back my Marines, would have a decent shot at the other.  If I was going to pull this out, I'd need to take a chance.  On the next activation for my Marines, I had them advance, and then assault the building that Fox's troops had just occupied.

Now ordinarily, the cover buildings provide can be game-changing.  For whatever reason, however, this game, things worked out a little unexpectedly, both when my guys were driven out by fire, and when I assaulted in response.  My Marines, apparently angered by the casualties they'd taken, drove the raiders out of the building, killing several in the fight, and more when their opponents fled.

017
Audace!  Toujours audace!

Foxlington had now taken fairly significant casualties, and it was time for my allies from the hinterland to shine.  On their next activation, they fell on the fleeing unit that had been driven back earlier the turn (the one in the cornfield), and managed to do enough damage to tip Foxlington over the 2/3 threashold.  The French and their allies had managed to drive back the raiders.  The survivors fled to their boats, and paddled away.

019
Lesson 1:  Never get off the boat.

020
Especially a good-looking boat like this.

The end of the game kind of surprised me, as it happens.  With such a small point level, hitting that 2/3 kill mark can happen quite quickly.  The game could have easily gone either way, however.  The building assault was risky as hell, and had my Marines lost, I'm pretty sure that the raiders would have proceeded to torch the buildings.

Firing line was useful, but at least in this game, seemed less impressive on the friendly side (possibly a product of my Marines' lower shooting value).  On the other hand, the morale table for Regulars was terrific.  It was also interesting to see a force made up entirely of Natives.  I think they'd be a challenge to play, for me, as they really depend on their commander being patient, and using their ability to exploit cover to whittle down an opponent before closing, something that my tendency to aggressive play would make rather difficult.

If things ever settle down around here in terms of employment, I'm going to have to pick up some more stuff for this game.  I'd like to end up with some playable diversity for both the French and English, along with some terrain of my own; those 4Ground buildings are looking more and more tempting.  I really like M&T, and love the period.  This one, I think, is for the long haul.

FMB

Thursday, May 15, 2014

A close run thing . . .


Hi,

Wednesday night saw a rather entertaining game of Muskets and Tomahawks down at the Dueling Grounds.  We ran a 4-way multiplayer game, with my companie franch de la marine and native allies teamed up with Vonplutz's French regulars, against Nick the Lemming's British rangers, and Destruct30's British regulars.  The French were raiding in the back-country, looking to burn down a small settlement, and the British were out to stop them by eliminating 2/3 of the raiding force.  In addition, Vonplutz had the subplot of assassinating one of the British officers, while I had to recover a prisoner in British hands.  We'd have a busy time of it tonight.
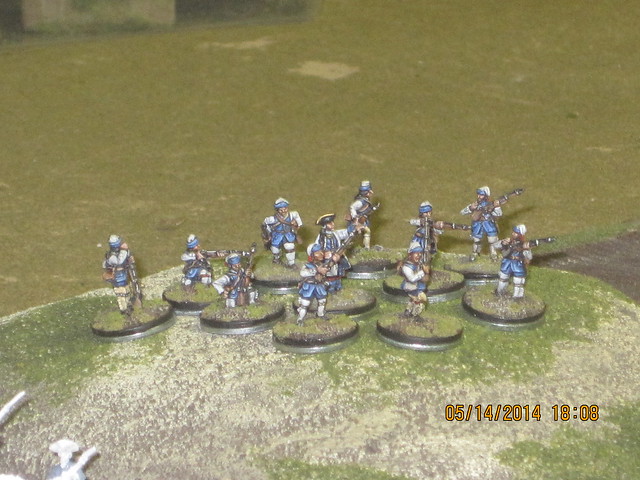
004
Brave servants of the King.

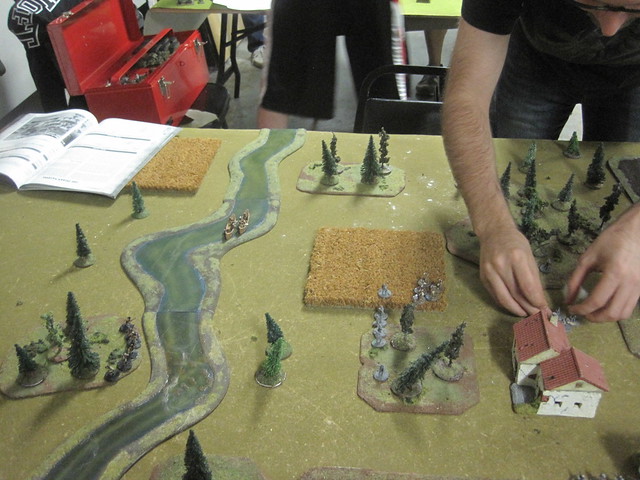
VP and I deployed along one of the short table edges, with his regulars and my marines towards the centre, and my native units thrown out on the wings.  Terrain on the table was thick, so we knew that my light troops would be moving faster, and we consequently gave the regulars the most direct route possible.  Aside from forests, etc., the table was dominated by a shallow stream across the centre.  The regulars would struggle to cross it aside from the bridge, and even my marines and allies would be slowed down . . .

003
Some of the opposition.  Those are Lemming's Rangers in the woods.

In the early stages of the game, I pushed my light troops forward, and they began a long-range musket duel with the British regulars concentrating in the settlement.  As it happened, this gave our opponents the first of their subplots, as we'd opened the hostilities.  *sigh*

Our own French troops slogged their way through the woods, while the British rangers sought out firing positions in cover, and began to pepper us with long-range rifle volleys.
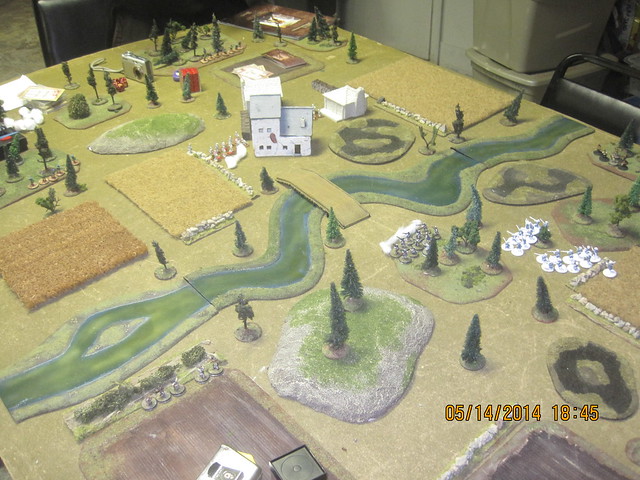
005
Basic situation towards the end of the first turn.  Marines in the centre, regulars advancing on their right.

006
My rifle armed allies take up a firing position opposite the second unit of rangers.  Settlement is visible top right.

On the right, I pushed forward a small unit of allies from the Great Lakes country.  These guys are notorious in the club for getting up close and personal, and I'd paid for the special rule that makes them especially nasty in close combat.  I'd hoped to sneak in behind the English, and draw away some of the defenders, giving time for the French troops to organize an assault on the town.
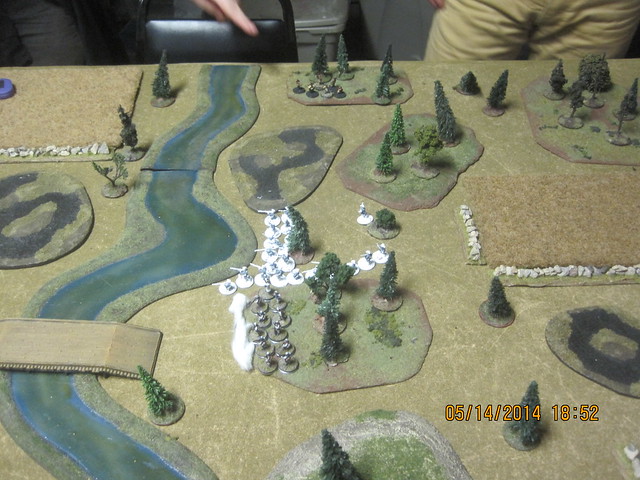
007
French infantry mass before crossing the river.

VP's French regulars were now approaching the river, formed up into firing lines, and began to exchange volleys with their opposite numbers on the other side of the river.  I took the opportunity to oblique down-table, planning to cross the river downstream from the bridge.
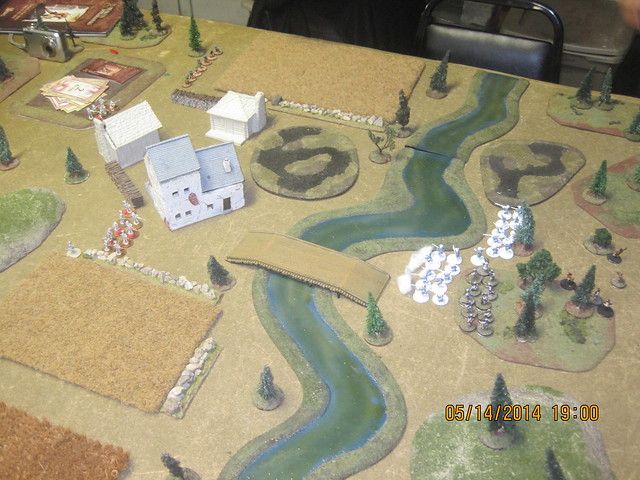
008
French regulars move out to cover the bridge.  British regulars return fire.

009
The marines move downstream to make way for the advancing regulars.

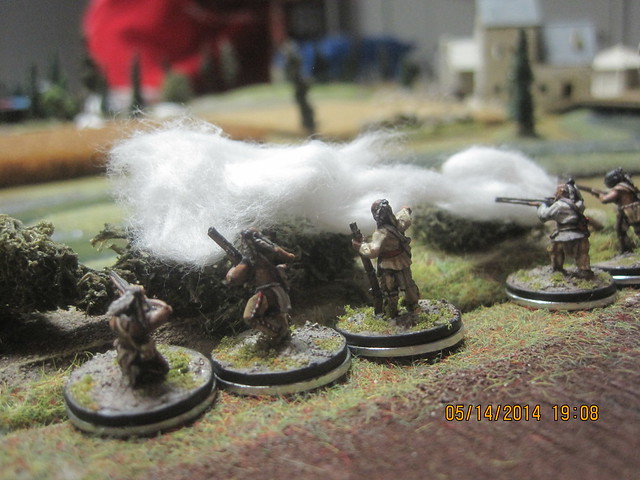
My rifle-armed allies kept up a stiff fire against the Rangers opposite them, but firing at long-range seemed to limit their effectiveness.
012
Rifle allies provide covering fire.

011
In the distance, rangers and British regulars lurk.

Their opposite numbers, in the meantime, had switched tactics, moving away from the flank (where an open field covered by Rangers limited their options), and back toward the centre.  Recognizing an opportunity, I rushed them forward, crossing the bridge, and leaving them in easy charging distance of a unit of British regulars.

014
In a headlong rush, my allies charge across the bridge.

This was a gamble.  We were about halfway through the activation deck, and it would come down to whether the native allies or the British drew a card first.  If we did, my allies would be in among the Redcoats, tomahawks gleaming.  If not, they'd receive a point-blank volley from the British firing line.

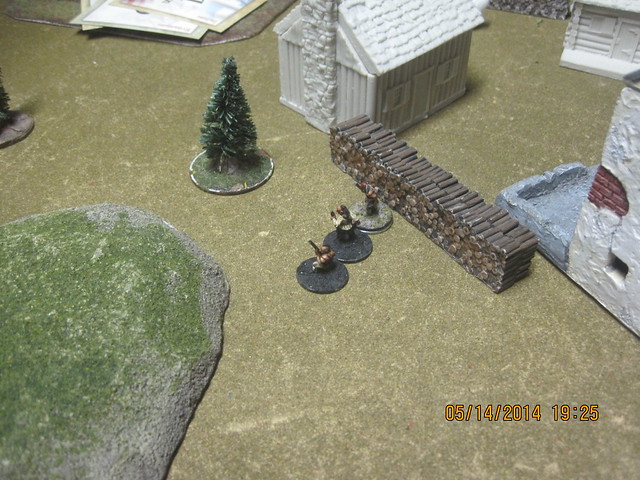
But my warriors had luck on their side.  With their activation card drawn, they ran across the bridge, and closed in on the Brits.  Combat swung back and forth, but the British were driven back, until finally, only my warriors were left standing.
016
Too fleet for the British, they cut down a unit of regulars.

017
The south path to the village is now clear.

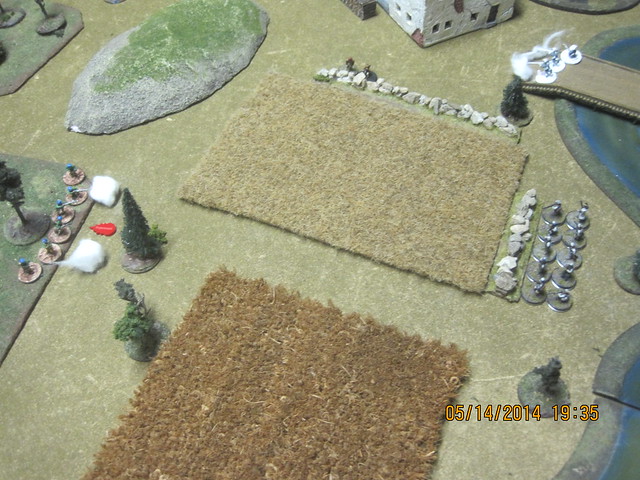
With one side of the settlement cleared of defenders, the French now had a real shot at making their objective.  I moved my marines into cover behind a rock wall, and began pouring fire into the lower Ranger unit, hoping to drive them back.  The remnants of my allies charged home on the British officer who'd survived the destruction of his unit.  His death met one of our sideplots; Vonplutz's grudge had been settled.  Meanwhile, a unit of French regulars, somewhat battered  by fire from both rangers and regulars, closed in on the buildings.
019
Marines move to suppress the rangers.

020

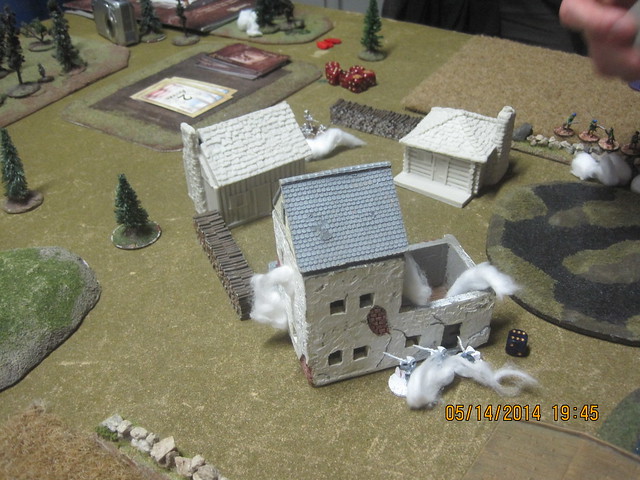
Once across the bridge, the first unit of French regulars set to the job of firing the buildings.  The first went up fairly quickly.
023

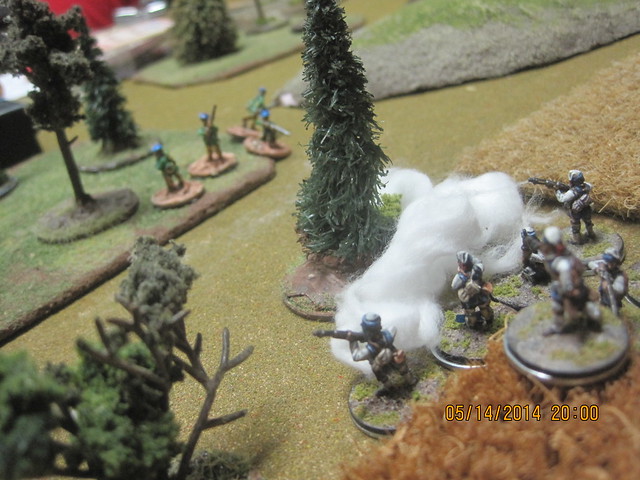
Meanwhile, frustrated by my inability to shoot the rangers lurking in the woods, I decided the marines would take a leaf from their allies book, and attempt to flush out the rangers with knife and gun-butt.  As with the charge across the bridge, this would be a gamble.  Fingers crossed!
024

026

This time, however, the cards didn't break my way.  The rangers drew first, and their fire drove my marines back.  Vonplutz, however, used the distraction to get his second unit of regulars across the bridge, and they worked their way through the town, skirmishing as they went.
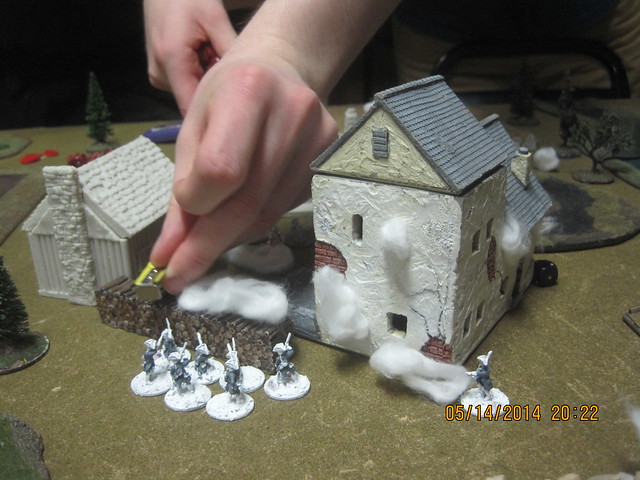
028

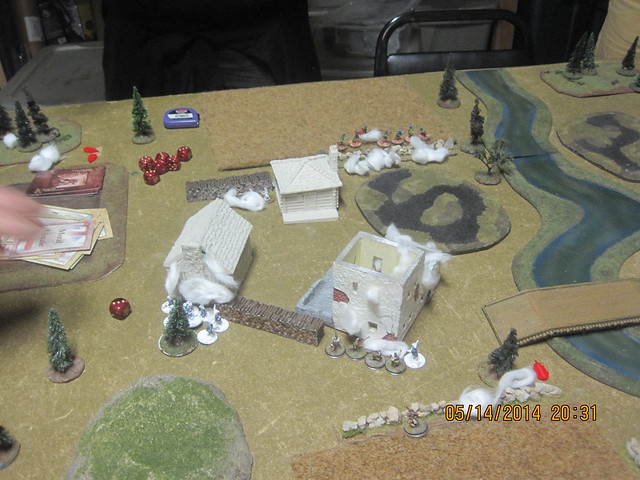
My marines made a second try at the rangers, and this time, closed the gap.  Athough it cost them, they wiped out the lower ranger unit.  Now one whole side of the village was undefended.  All we had to do was fire the remaining buildings.  The British were now dangerously short on men, but we were bleeding casualties as well.  If they could pick off a few more of our troops before we fired all three buildings, they'd have us.
029

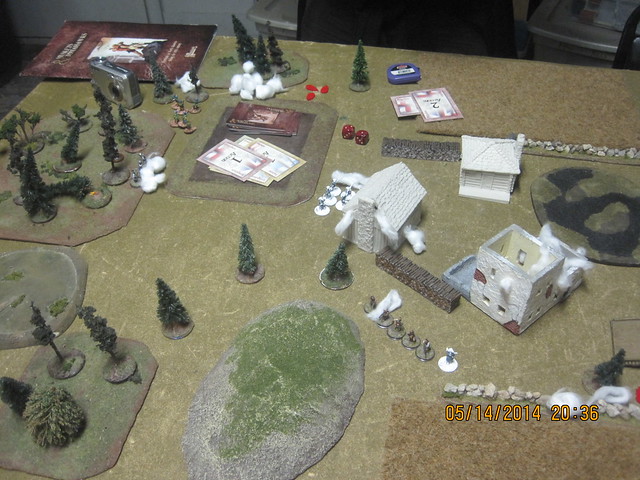
The remnants of my marines pushed deep into the woods on the British side of the table, eventually making contact with an escaped prisoner.  If I could keep him alive, his valuable information would be useful (and meet my own subplot conditions).  We caught a break when the British drew their morale card, and the last survivors of the second British regular unit broke and ran.

VP fired the second building, but we were walking a tightrope.  2-3 more casualties, and our opponents would win on the spot.  There was no way we could get to the third building without exposing ourselves to withering fire from the rangers.  The British, however, drew their morale card early in the following turn.  Their officer high-tailed it, and their rangers recoiled, moving them perilously close to the table edge.  My marines, the few of them left, fired a volley at extreme musket range.  One ranger fell, the rest recoiled again, this time taking them off the table.  With the field abandoned by the British, and both subplots met, the French had won!
030

What a squeaker!  Two more dead, and we'd have lost, something that could have been caused by drawing our morale card, or a decent turn of shooting by the rangers.  The raid was successful, but costly.  Hopefully, it would discourage the English from their presumptuous trespassing on his Majesty's lands.

E