Got down to the Dueling Grounds last night for a THMG club night. Didn't actually get a game in, due to some scheduling / time constraints, but I did get some good pictures of the games going on, as well as serving as ref / rules looker-upper / cheering section for a game of Bolt Action.
We rolled the first scenario (Envelopment), which requires the attacker to try and move across the table, into the defenders deployment zone, or ideally off the defender's table edge. Defender gets 2 points per enemy unit destroyed, attacker gets 1, plus 2 for ending up in the defender's zone, plus 3 for going off the defender's edge. The game had Vonplutz's fallschirmjaegers, assisted by Mikola, defending against AlexM's yank airborne, assisted by michaeld.
Turn one saw the Americans move on to the table, with one squad moving up the gully on their right, and the other advancing through pockets of cover on their left. They'd also set up a fire base in the field on the far left, including an MMG and a medium mortar.
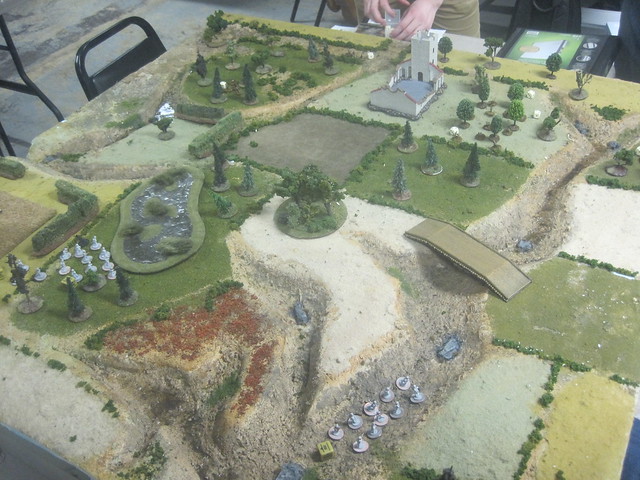
The Germans were hidden in various cover across their table edge, with one unit in reserve, and flanking. Hidden status considerably magnifies the cover bonus against shooting. While units can be targeted (the opponent knows they're there), they're sufficiently uncertain that actually getting effecting fire on the unit is difficult. The status is lost once a unit moves, fires, or is successfully fired upon. A flanking move in reserve allows a player to bring a unit in from a pre-determined table edge, and the later you bring them on, the further up the table edge you can bring them.
In turn two, the Americans continued their advance, while the Germans repositioned a unit to counter the Americans in the gully. Both sides exchanged some fire at long range, with minimal effect.

Turn three, things started to heat up. The Americans in the gully worked their way out, and started trading fire in earnest with the German squad across the table, while the other two squads traded pot shots around the edge of the large hedgerow.
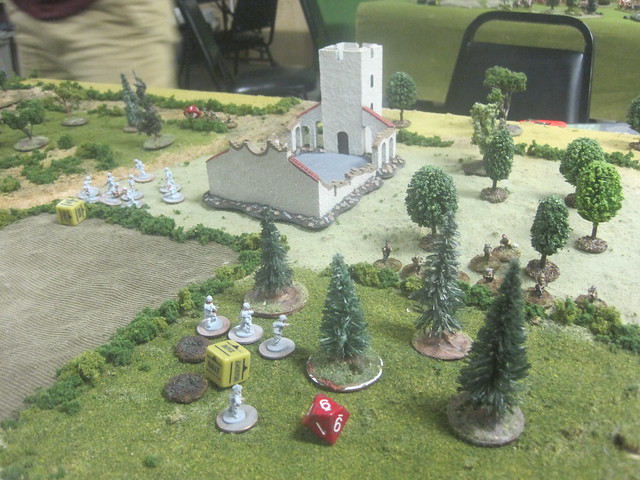
At this point, the Germans made one of their bolder moves in the game. Their flanking reserves came on deep on the American's left, within 6 inches of the US MMG and mortar, the latter of which they assaulted, wiping it out. On their next activation die, AlexM decided to counter-attack with his mortar team, but they were also overwhelmed. Vonplutz had wiped out the US firebase in one move. It would be up to the paratroop squads themselves to pull out the mission.

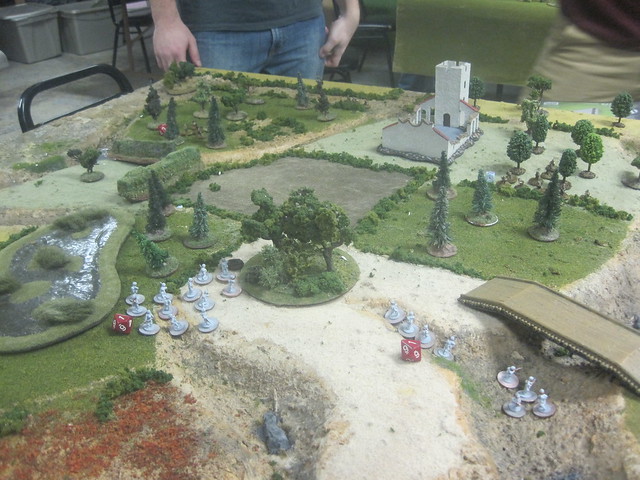
The Americans consolidated their position into a firing line, taking cover behind the low brush, and started trading shots with the Germans in earnest. The effect was a steady stacking of pins on one of the German positions.
The yanks kept pushing forward, but the squad on the left bogged down under heavy fire. They were taking hits from the fallschirmjaeger squad in front of them, a MMG, and occasional fire from the German command squad, and it started to pile up.

Meanwhile, the remnants of their outflanking squad redeployed to cover, looking for more targets of opportunity.

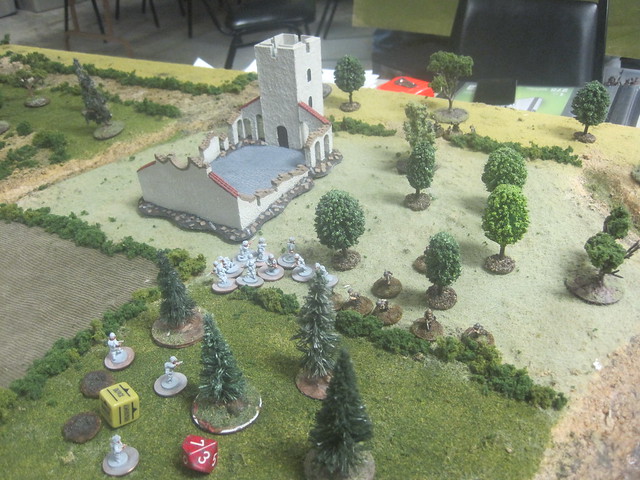
By the final turn of the game, the firefight was at point blank range. Vonplutz decided he was better off staying put than risking an assault over the hedge, while michaeld's squad had taken so many pins he couldn't manage to successfully activate it! Meanwhile, AlexM's paratroops continued to pour fire into any German unit that exposed itself, racking up enemy casualties as opportunity permitted.
In the final turn, AlexM's squad, having picked off the remnants on their side of the table, swung across in an assault move against Vonplutz's lieutenant. In a flurry of boots and riflebutts, the German officer went down.
The Americans had pulled it out, 5 points to 4. This was a pretty fun game, even without me actively playing. Even around turn 4, I thought the Germans were going to pull it out, but the Americans were able to concentrate fire, and put the hurt on some weakened German units, while still driving forward consistently enough to pick up some scenario points. Good game, and I hope we picked up a few new converts to BA.
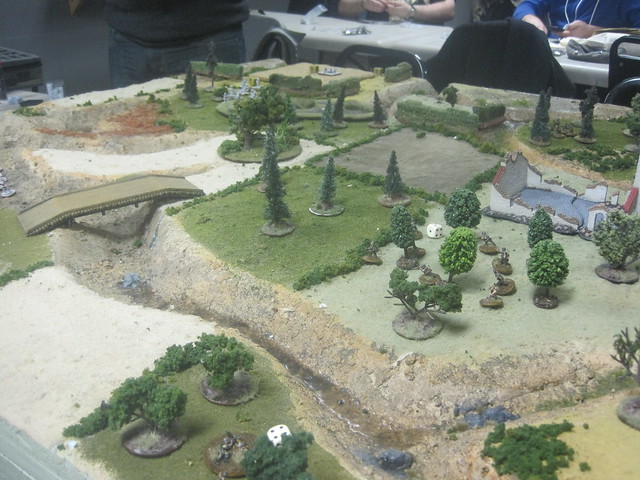
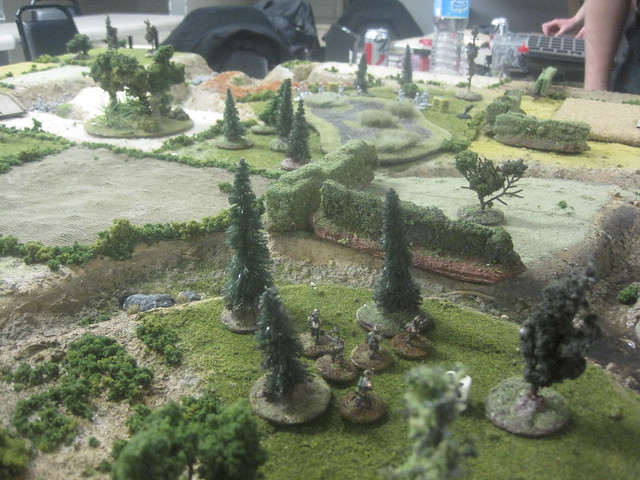
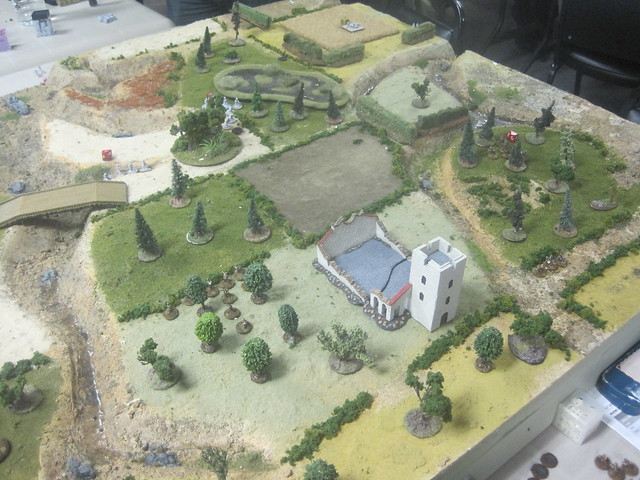
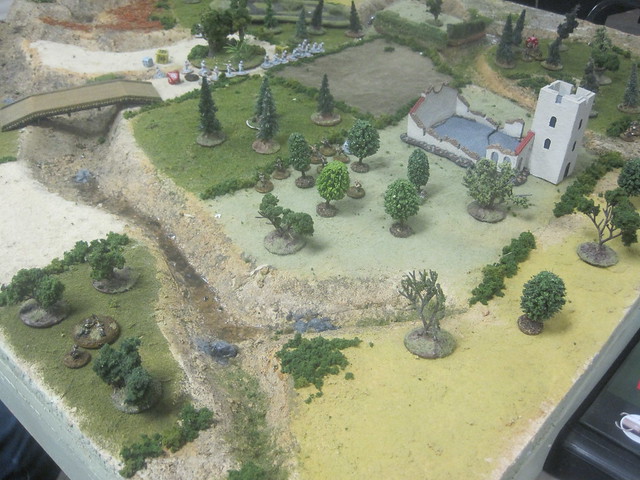
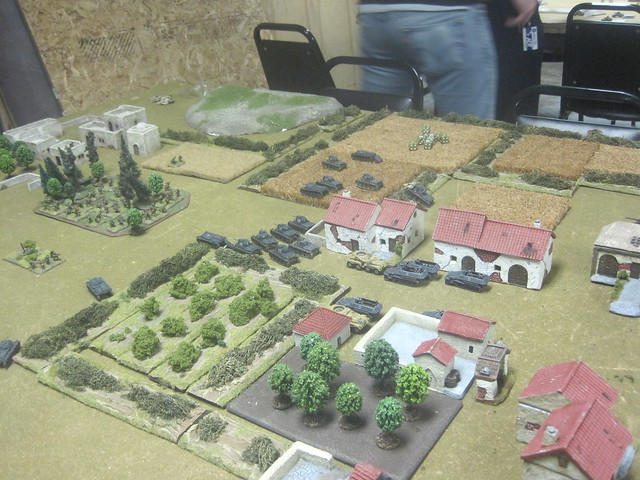
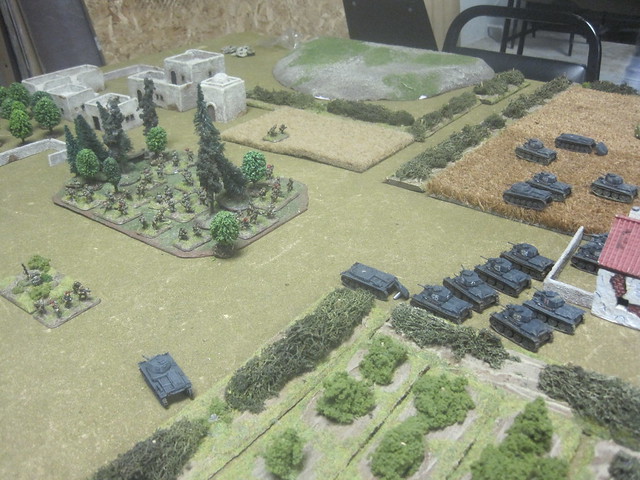
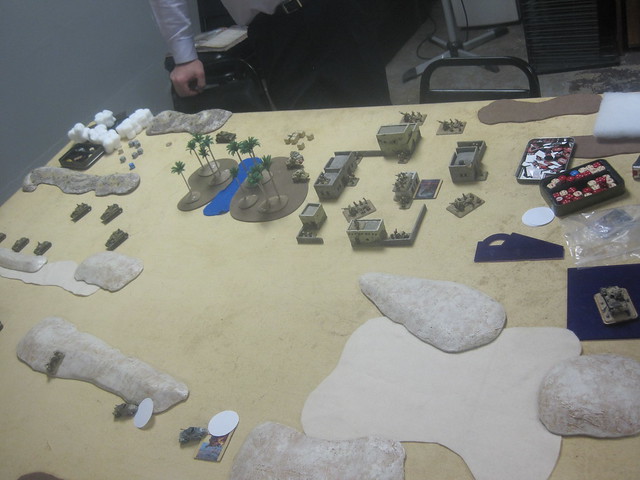
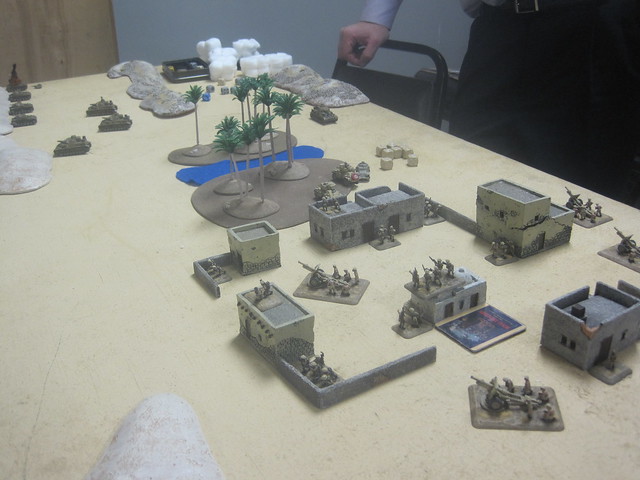
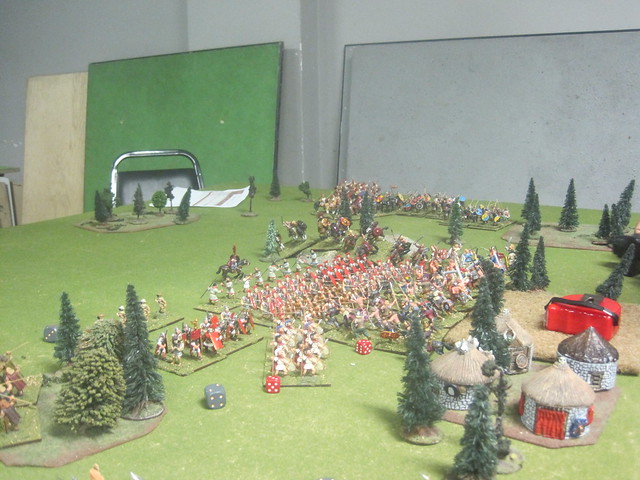
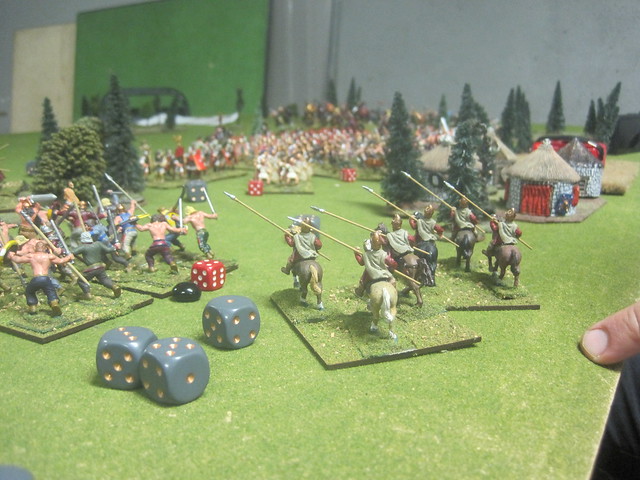
While this was going on, we had a couple of FoW games being played in the background, and a Hail Caesar game as well. Pretty pics follow. I am reliably informed the itsy-bitsy tanks are Czech 38ts.

FMB
You and me both about that Turn 4 comment. Hell I though I could even scrape a minor victory in the final turn but alas the dice did not allow me to wipe out Michael's squad.
ReplyDeleteGreat looking tables and figures!
ReplyDeleteThe first table is my favourite, very realistic! Fabulous pictures...and a great new background for your blog!
ReplyDeleteBst,
Phil.
Is the Bolt Action game 15mm?
ReplyDeleteYep, most of us have leftover FoW stuff in 15mm, so we decided to go with that.
DeleteGreat batrep and nice tables.
ReplyDeleteFantastic tables.
ReplyDeleteI love those tables!